


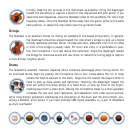

Initially, keep the mic as close to the instrument as possible, tilting the diaphragm
toward the soundhole to capture a blend of low frequencies and pick sound. If you
need more low frequencies, move the Snowball closer to the soundhole. For more high
frequency detail, move the Snowball farther away from the guitar, either at the same
neck position, or above the instrument near the guitarist’s head.
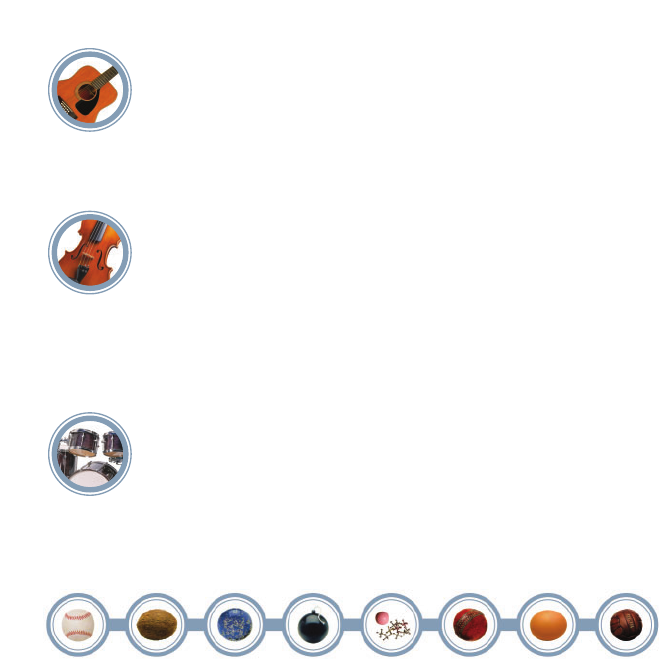
Strings
The Snowball is an excellent choice for miking all members of the bowed string family. In general,
the diaphragm should be angled toward the instrument’s bridge to pick up a blend
of body resonance and bow sound. On bass and cello, placement from 3 to 6 inches
in front of the bridge is usually ideal. For violin and viola, it is preferable to posi-
tion the microphone 1 to 2 feet above the instrument. Angle the diaphragm toward
the bridge for more bow sound and low tones, or toward the tuning pegs to capture
a more diffuse, brighter sound.
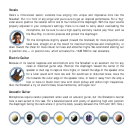
Drums
The Snowball’s excellent transient response offers numerous advantages when miking drums. For
kit and hand drums, begin by placing the microphone two to four inches above the rim or hoop
(where the head is secured to the shell). Angle the mic toward the player’s stick or
hand to pick up more attack and definition. Orienting the diaphragm toward the
shell will soften the sharp attack of a hand drum, or pick up more of the bright,
crackling buzz from a snare drum. Moving the microphone closer to a drum generally
increases the low end, shell resonance, and separation from other sound sources,
while more distant placement emphasizes the interaction of the drum and the environment, pro-
ducing a blended, airier sound. If you have multiple USB inputs available, try a pair of Snowballs
as drum overheads!