


E-83
Saving Files
You can use the procedures in this section to save Song
Memory, Synthesizer, and other data you create to SD
memory cards for later loading when you need it. See
“Savable File Types” on page E-80 for information about the
type of data you can save.
PREPARATION
• Insert a memory card that has been formatted on the
digital piano into the digital piano’s card slot. Make sure
that the write-protect switch of the memory card is not
in the write-protect position.
NOTE
• Depending on the type and the amount of data involved,
a data save or load operation can take anywhere from a
few minutes to more than 30 minutes to complete. The
message “Pls Wait” will remain on the display to indicate
that a data save or load operation is being performed.
IMPORTANT!
• Never try to perform any operation while “Pls Wait” is
displayed. Performing any operation can cause Flash
memory, or memory card data to be deleted, and
damage the digital piano’s memory and cause it to
malfunction.
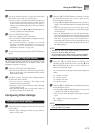
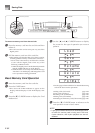
To save a file to a memory card
1
Press the CARD button.
• This causes the CARD indicator to appear on the
display, and also displays “Card” in the display’s text
area.
2
Press the [̄] CURSOR button to display the Card
Mode menu.
3
Use the [̇] and [̈] CURSOR buttons to display
the “Save” screen.
4
Press the [̄] CURSOR button to advance to the
file type selection screen.
5
Use the [̇] and [̈] CURSOR buttons to select the
file type.
6
Press the [̄] CURSOR button to advance to the
user area selection screen.
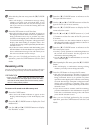
7
Use the [̇] and [̈] CURSOR buttons or [+] and
[–] buttons to select the user area where the file
you want to save is located.
• The numeric area of the display will show the user
area number, while the text area will show the user
area name*.
* Except registrations and user songs
• Pressing the EXIT or [̆] CURSOR button at this time
will return you to the file type selection screen.
• The user area selection screen will not appear if the
file you selected is a package file or “All Data” file. In
this case, skip this step and go directly to screen.
8
Press the [̄] CURSOR button to advance to the
file name input screen.
• The initial default file name of the SMF will be the
same as the name of the user area you selected in
step 7.
• Use the [+] and [–] buttons to scroll through letters at
the current cursor location. See the page E-87 for
information about inputting text.
• Use the [̇] and [̈] CURSOR buttons to move the
cursor left and right.
9
After inputting the file name, press the [̄] CURSOR
button.
• If you are saving song data, the file type selection
screen appears next. Use the [̇] and [̈] CURSOR
buttons to select “SMF” or “SONG”. After selecting a
file type, press the [̄] CURSOR button.
• This will display a confirmation message asking
whether you really want to save the data. If the media
already contains a file with the same name, a
confirmation message appears asking if you want to
overwrite the existing file with a new one.
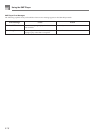
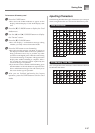
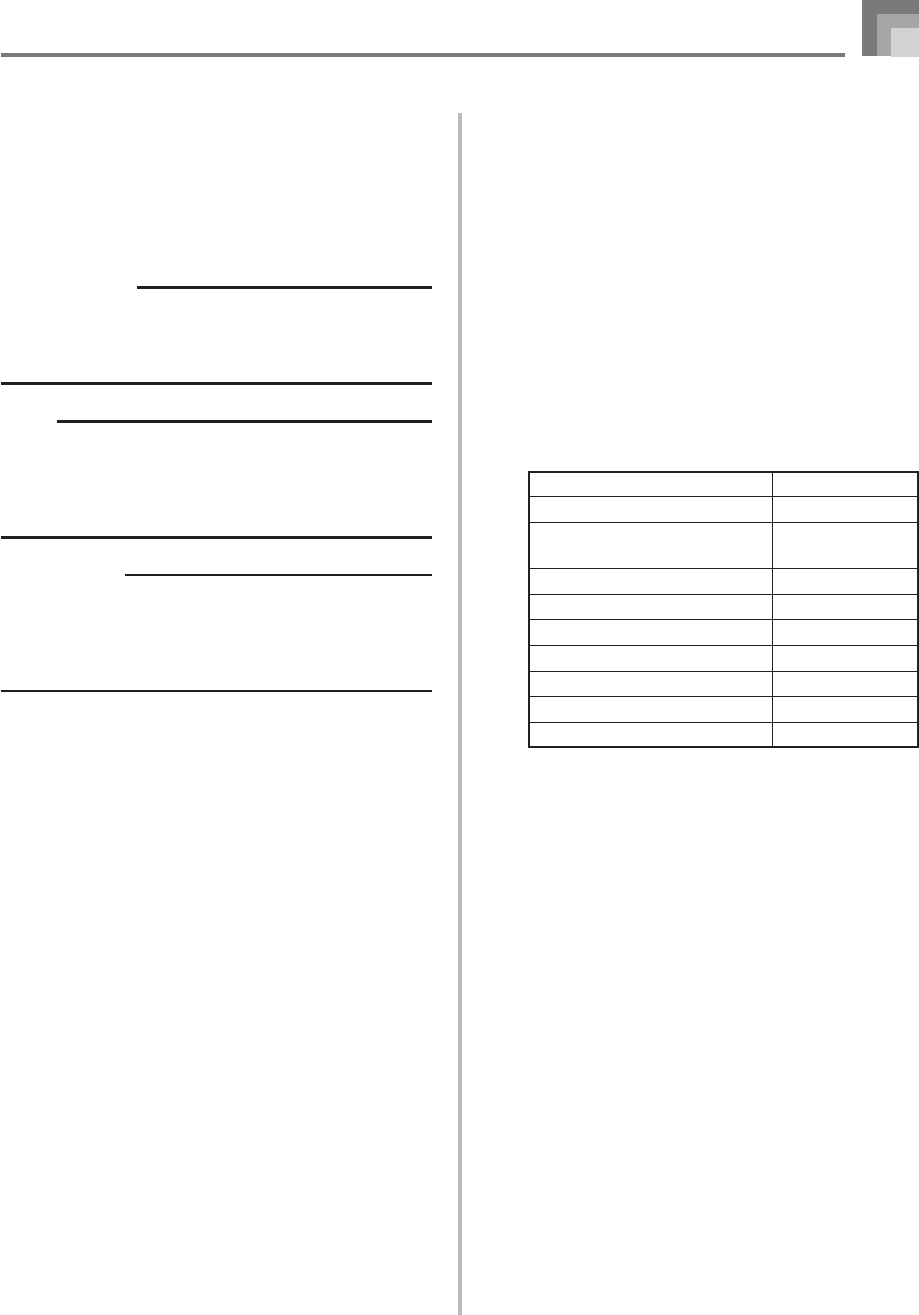
Saving Data
Rhythm Patterns
Registrations
User Songs Created in the
Song Memory Mode
Drum Sounds with Waveform
Drawbar Organ Tones
Tones
Tones with Waveforms
DSP
Package File
All User Data
Initial file name displayed on the screen
U_PTRN00
U_RGST00
U_SONG00
U_DRUM00
U_ORGN00
U_TONE00
U_TONW00
U_EFCT00
PACKAGE0
ALLDATA0