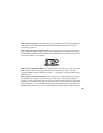
Step 2. Select the Wah Type - Since the Wah effect is in the Comp/Wah section, press the Comp/Wah button
again. The LED next to Wah will begin to flash. Rotate the Data Wheel until the Display shows the number 1
(representing a classic wah).
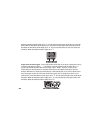
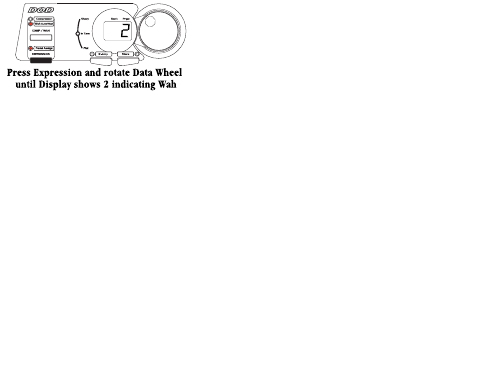
Step 3. Assign the Expression Pedal to Wah - Press the Expression button. The LED next to Pedal Assign
begins to flash. If the Expression Pedal is currently assigned to a Parameter, the assigned Parameter’s LED will
flash also. Rotate the Data Wheel until the LED next to Wah is flashing with the Pedal Assign LED (this should
correspond to a number 2 in the Display).
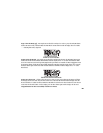
Step 4. Select the Amp/Guitar Model - Press the Model button. An LED next to the currently selected Amp
Model will begin to flash. Continue to press the Model button until the LED next to “Classic” is lit. If the
Amp/Guitar Modeling is bypassed (indicated by two dashes -- in the Display), rotate the Data Wheel until the
Display shows on.
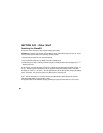
Step 5. Adjust the Tone/Gate Parameters - In this sample Preset, we wanted medium gain, and boosted
bass and treble. Press the button in the Tone/Gate column. The LED next to Volume will begin to flash. This
parameter is a matter of personal taste, but for the sake of this example let’s set this to about 85 by rotating the
Data Wheel. Press the Tone/Gate button again and the LED next to Gain will begin to flash. Rotate the Data Wheel
until the Display shows 75. Press the Tone/Gate button again and the LED next to Treble will flash. Rotate the
Data Wheel until the Display shows 4. Press the Tone/Gate button again and the LED next to High Mid flashes.
27


