


-20-
H8180/H8181 Bass Guitar Kit
String Height
Tools Needed Qty
Hex Wrench 1.5mm ............................................
1
Guitar Capo ........................................................
1
Metal Straightedge .............................................
1
Steel Ruler (
1
⁄64" Resolution) ...............................1
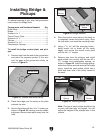
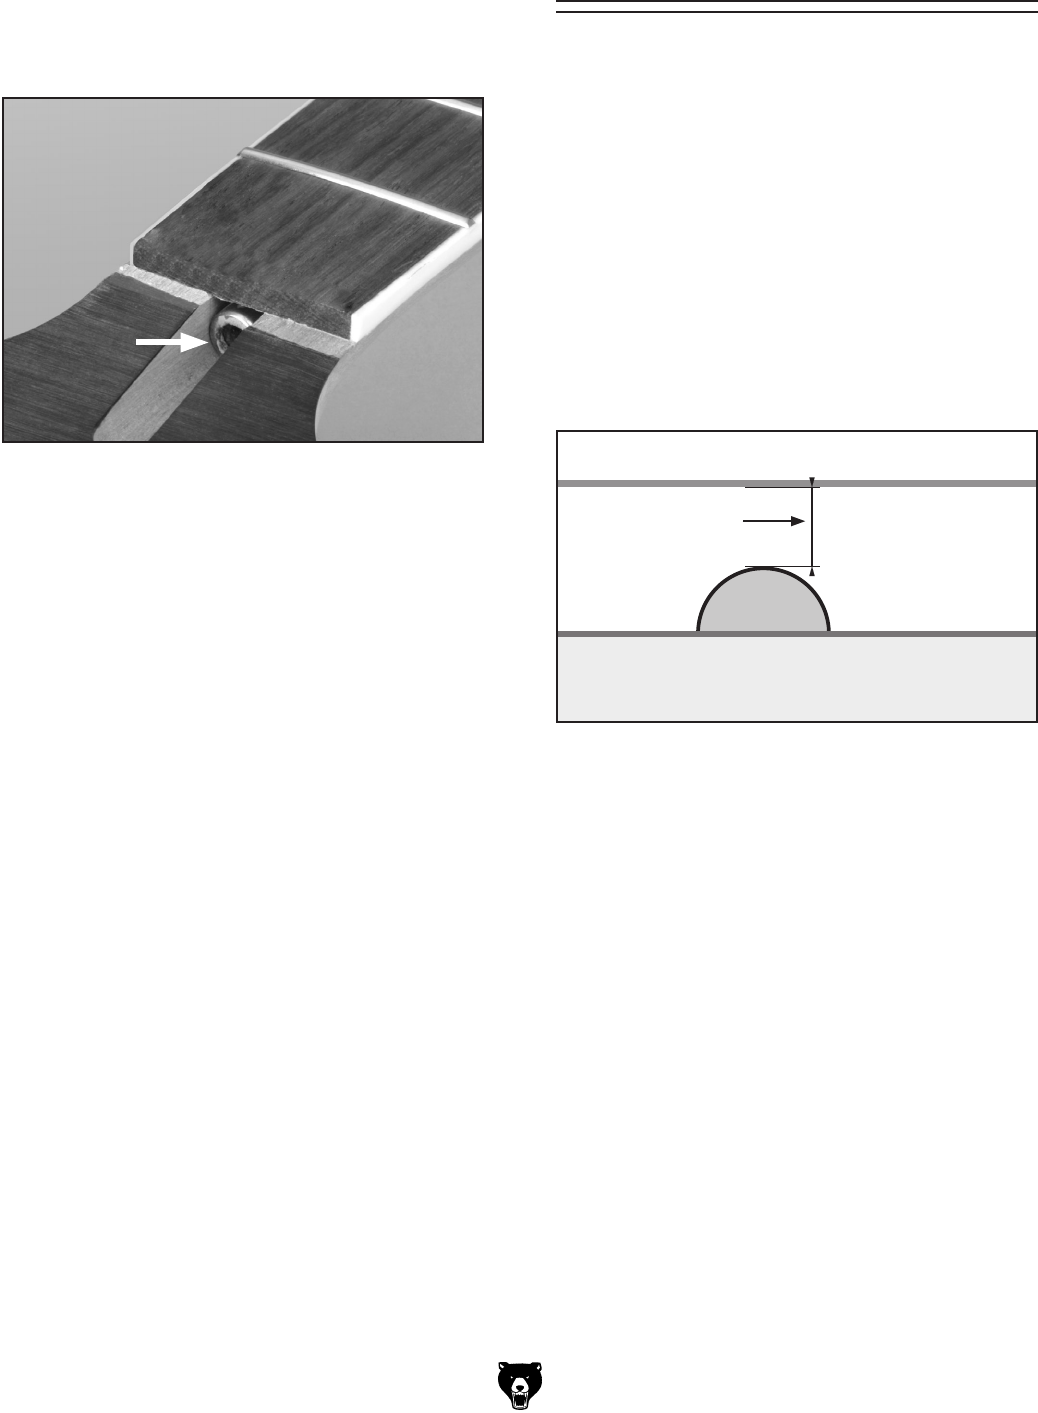
Correct string height is crucial for maximizing
the playability of your electric guitar. The action
or string height is the distance between the top
face of the fret and the bottom face of the string
(Figure 33). Adjust the action depending upon
your playing type. If you play with a light touch, set
the action low, if you play heavy-handed, set the
action higher to avoid fret buzz.
Figure 33. String height measurement.
String Height
(Action)
String
Fret
Fingerboard
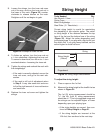
To adjust the string height:
1. Place a capo on the 1st fret.
2. Measure the string height at the twelfth fret as
shown in
Figure 34.
The 1st (G) string measurement should be
5
/64", the 4th (Low E) string measurement
should be
6
/64". This is a suggested range and
the strings can be adjusted higher or lower
depending upon your playing type.
—If the string heights are correct, then con
-
tinue to Pickup Height on
Page 21.
—If the string heights are incorrect at the
12th fret, then continue to the next step.
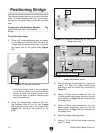
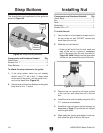
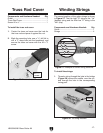
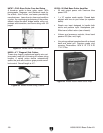
3. Loosen the strings, turn the truss rod cover
out of the way, and turn the truss rod nut in
the base of the neck (
Figure 32) counter-
clockwise to release tension on the neck.
Retighten until the nut begins to grab.
4. To flatten an up-bow, turn the truss rod nut
a
1
/4 turn clockwise—tightening the truss rod.
To correct a down-bow, turn the nut a
1
/4 turn
counterclockwise—loosening the truss rod.
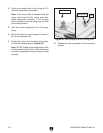
5. Tighten the strings and recheck the neck with
the straightedge.
—If the neck is correctly adjusted, secure the
truss rod cover, and go to the next sub-
section.
—If the neck is still out of adjustment return
to Step 3. It may take some trial and error
to find the right amount of truss rod tension
and neck bow.
6. Replace the truss rod cover and tighten the
strings.
Figure 32. Example of truss rod nut.