


109
EN
6
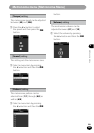
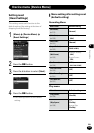
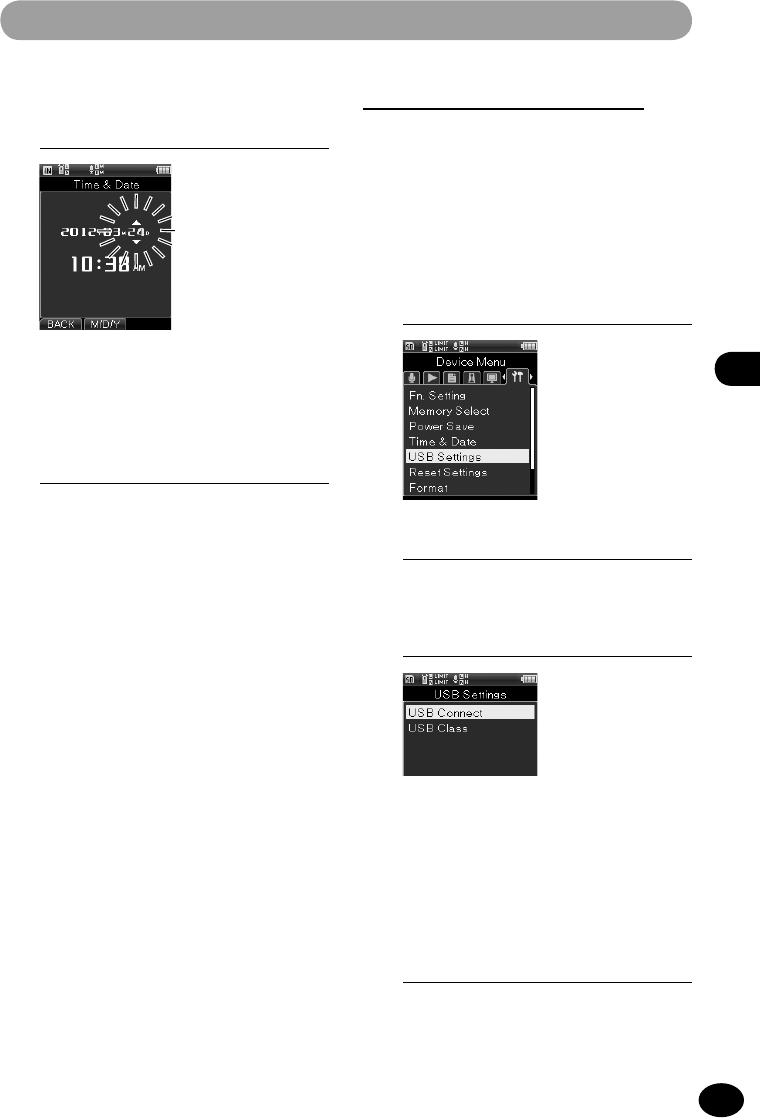
Device Menu
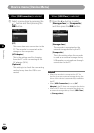
USB setting [USB Settings]
You can select [PC], which enables files to
be sent/received through a connection to
a PC, and [AC Adapter], which charges the
recorder via connection of a USB connecting
AC adapter (A514).
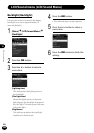
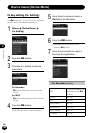
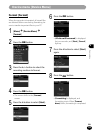
1
[Menu]
{
[Device Menu]
{
[USB Settings]
3
Press the
+
/
−
button to select a
menu item.
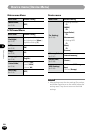
[USB Connection]
This menu item is for setting up con-
nection to the PC.
[USB Class]
This sets the USB class.
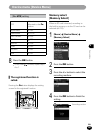
4
Press the
OK
button.
•
The selected menu screen appears.
•
Following the same steps, press the
9
/
0
button to select a menu
item and select the
+
/
−
button.
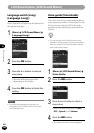
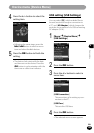
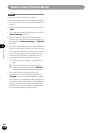
5
Press the
OK
button to finish the
setting.
•
The device clock starts with the date
and time set on the device. Press the
OK
button in sychronization with the
time tone or other time indicator.
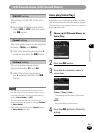
4
Press the
+
/
−
button to select the
setting item.
Device menu [Device Menu]
2
Press the
OK
button.