9
English
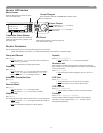
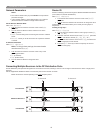
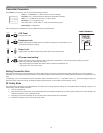
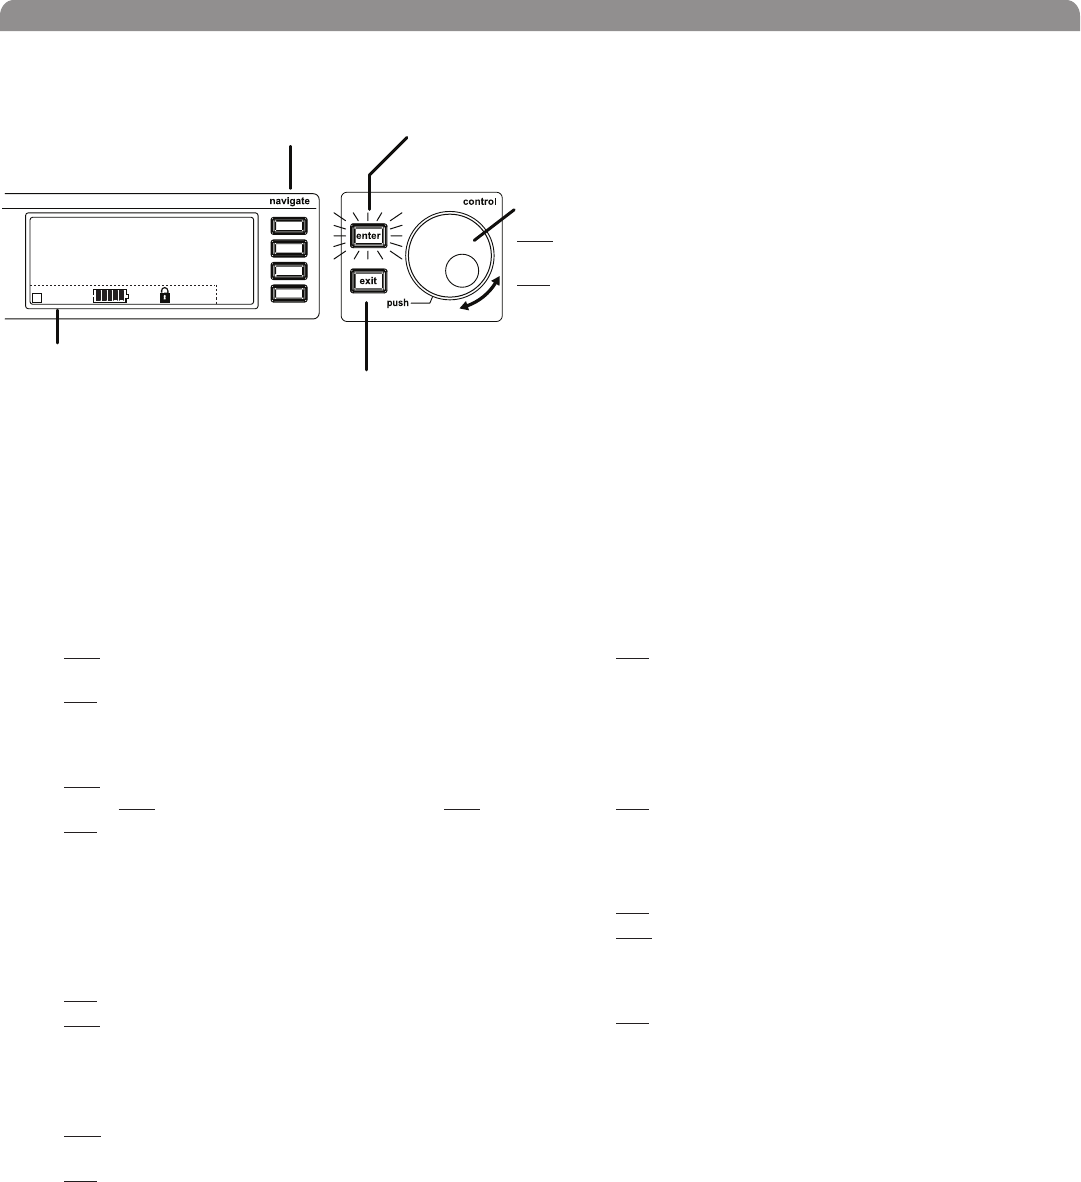
Receiver LCD Interface
Menu Access
Press the Navigate key next to the menu
item you want to select.
Radio
Audio
Util
SHURE
G: 3 Ch: 1 Out: -0dB
+12 dB
+
Hi
524-025 MHz TV: 32
Sync
F, P, FP
Accept Changes
After changing a parameter, the ENTER button flashes. Press
it to save the value.
Cursor Control
Push the Control wheel to move the
cursor to the next item.
Turn the Control wheel to change a
parameter value.
Exit/Cancel
Press the Exit button to cancel changes and
return to the previous menu.
Transmitter Status Display
Everything under the dotted line reflects the
settings for the transmitter, if present. (main
title screen only).
Receiver Parameters
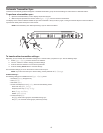
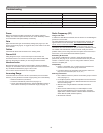
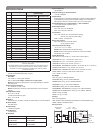
Use the following instructions to set parameters through the LCD interface.
NOTE: After adjusting a parameter, you must press the flashing ENTER button to accept the change.
Group and Channel
Menu: Radio
• Push the Control wheel to move the cursor to the Group (G)
or Channel (Ch) parameter.
• Turn the Control wheel to change the parameter.
Frequency
Menu: Radio
• Push the Control wheel to move the cursor to the integer
value (524.025 MHz) or fractional value (524.025).
• Turn the Control wheel to change the value.
Automatic Transmitter Sync
Menu: Sync
• See page 15.
Receiver Name
Menu: Util
• Turn the Control wheel to change the letter.
• Push the Control wheel to move to the next letter.
Output Level
Menu: Audio
This setting adjusts the signal level at the XLR and 1/4” audio output jacks.
• Turn the Control wheel to change the relative level in dB. (0
dB to –32 dB).
• Turn the wheel all the way down to mute the outputs.
Squelch
Menu: Radio > Squelch
• Turn the Control wheel to change the parameter
Receiver Lock
When locked, the receiver settings cannot be changed from the front
panel. However, you can still navigate the LCD menu to view the settings
(and turn the lock off).
Menu: Util > Lock
• Turn the Control wheel to toggle the lock on or off (ON or
OFF).
LCD View
Menu: Util > Title
• Turn the Control wheel to mark an item for display.
• Push the Control wheel to move to the next item.
LCD Contrast
Menu: Util > Contrast
• Turn the Control wheel to increase or decrease contrast.
Tonekey
Menu: Radio > Squelch > Tonekey
Tonekey squelch mutes the outputs unless the receiver detects a
transmitter. Tonekey should be left on (On) except for certain
troubleshooting operations.


