AW1600 Owner’s Manual
Deleting an unwanted sample
11
Quick loop sampler
126
Here’s how you can delete unused data (before the start point and after the end point) from a
specific sample, or completely erase an individual sample.
1
In the Quick Loop Sampler section, repeat-
edly press the [SAMPLE EDIT] key or hold
down the [SAMPLE EDIT] key and use the
CURSOR [ ]/[ ] keys to access the MEM-
ORY page of the SAMPLE screen.
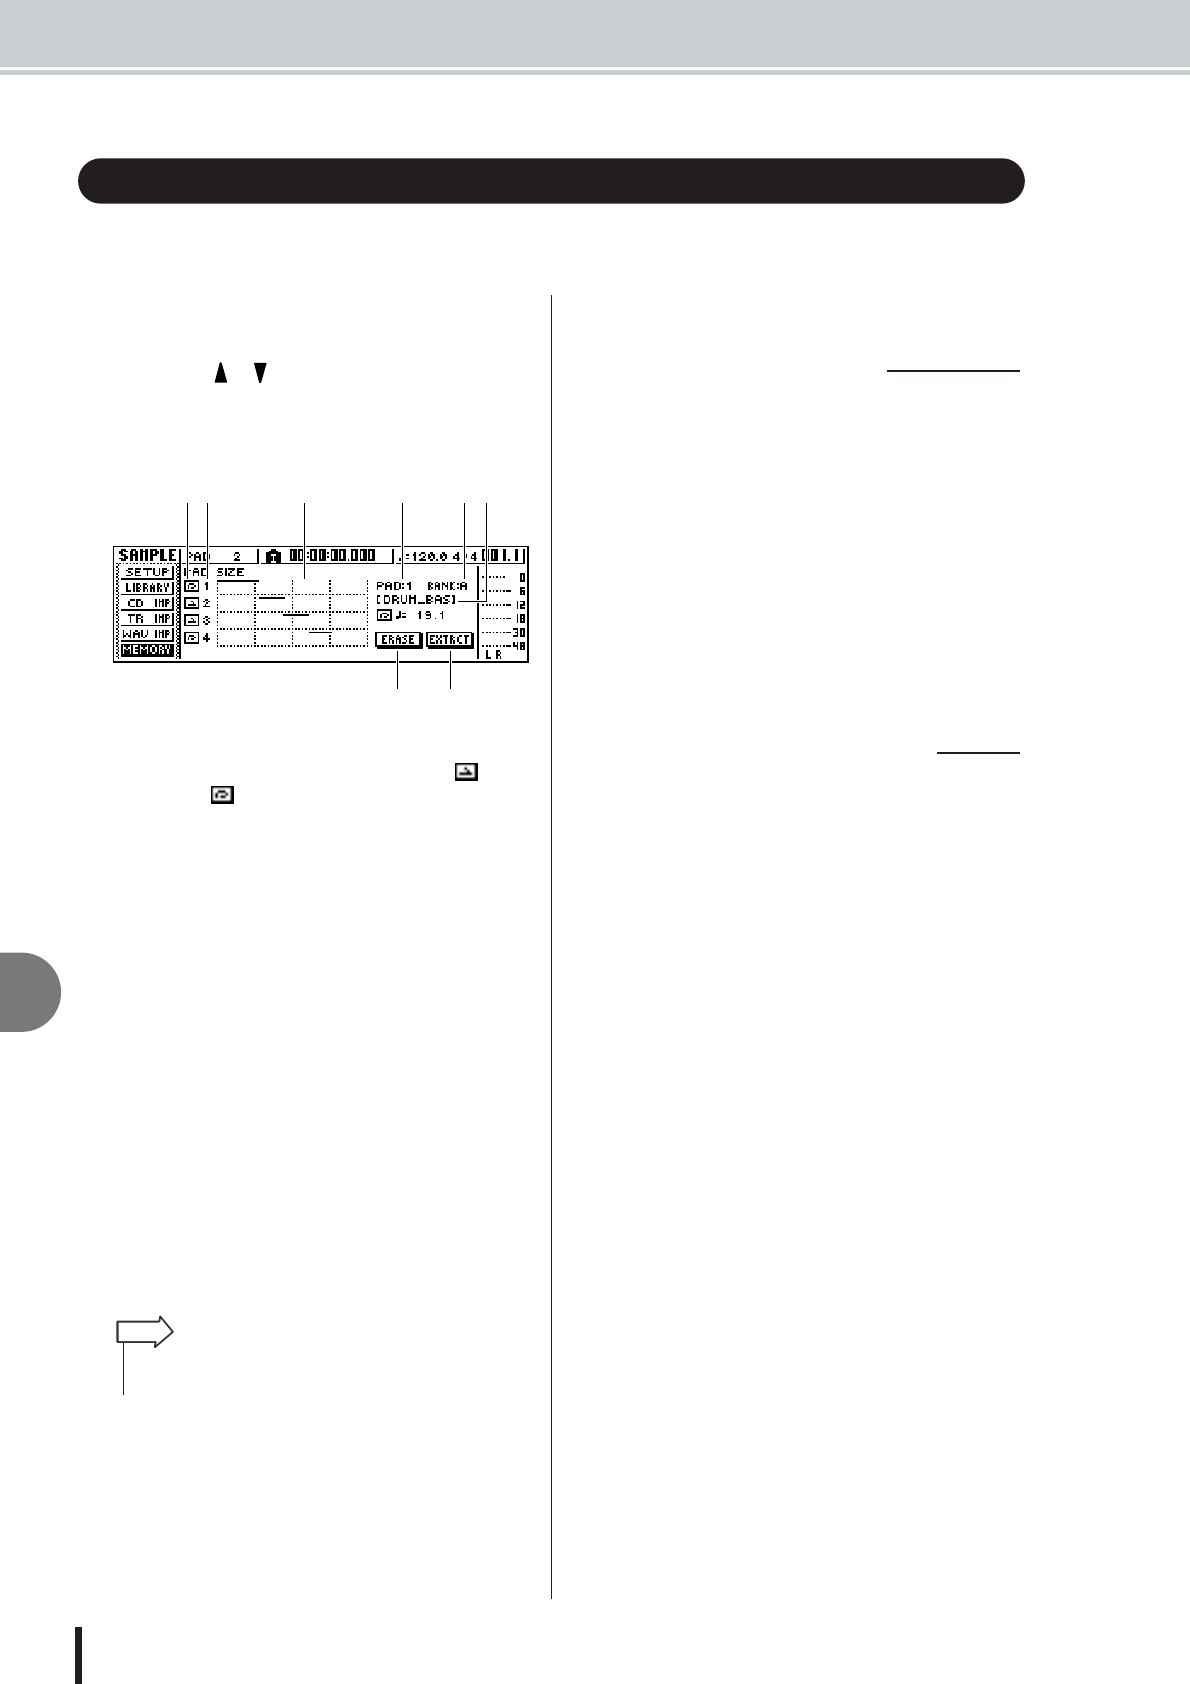
In this page you can delete the unused portion of a
sample, or erase an unwanted sample.
1 One Shot/Loop mode
This icon indicates whether One Shot mode ( ) or
Loop Mode ( ) is selected for the sample assigned to
the pad.
B Pad number
Indicates the pad number 1–4.
C Size
This area graphically indicates the memory size of
each sample. The horizontal line indicates the amount
of memory used by each pad.
D PAD
E BANK
These select the pad (1–4) and sample bank (A–D) to
which the operation will apply.
F Sample name
Indicates the name of the sample for the pad and sam-
ple selected in
4 and 5.
G ERASE button
Erases the specified sample.
H EXTRACT button
Discards the unused portions (before the start point
and after the end point) of the specified sample.
2
Move the cursor to the PAD/BANK fields,
and turn the [DATA/JOG] dial to select the
pad and sample bank.
The procedure after this point will depend on the function
that you want to execute.
1
To erase the entire selected sample, move
the cursor to the ERASE button and press
the [ENTER] key.
A popup window will ask you to confirm that you
want to erase the sample.
2
To execute the erasure, move the cursor to
the OK button and press the [ENTER] key.
If you decide to cancel, move the cursor to the CAN-
CEL button and press the [ENTER] key.
1
Move the cursor to the EXTRACT button
and press the [ENTER] key.
A popup window will ask you to confirm that you
want to delete the data.
2
To execute the deletion, move the cursor to
the OK button and press the [ENTER] key.
If you decide to cancel, move the cursor to the CAN-
CEL button and press the [ENTER] key.
Deleting an unwanted sample
7 8
612 3 4 5
•For details on how to adjust the start point and end point of a
sample, refer to page 122.
HINT
■ To erase the entire sample
■ To delete the unused
portions of the selected sample


