


29
Getting Started
●
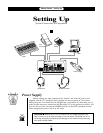
Setting Up
Setting Up
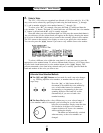
Breath Controller Calibration
Proper operation of the breath controller is vital to achieving the best possible sound
from the VL1. Although the controller is factory-calibrated to match most requirements,
we recommend that you carefully calibrate the breath controller for optimum performance
with your own playing style.
1. Make Sure the Breath Controller Is Connected
Make sure the breath controller is properly connected: turn the power OFF, plug in
the breath controller, then turn the power ON.
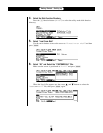
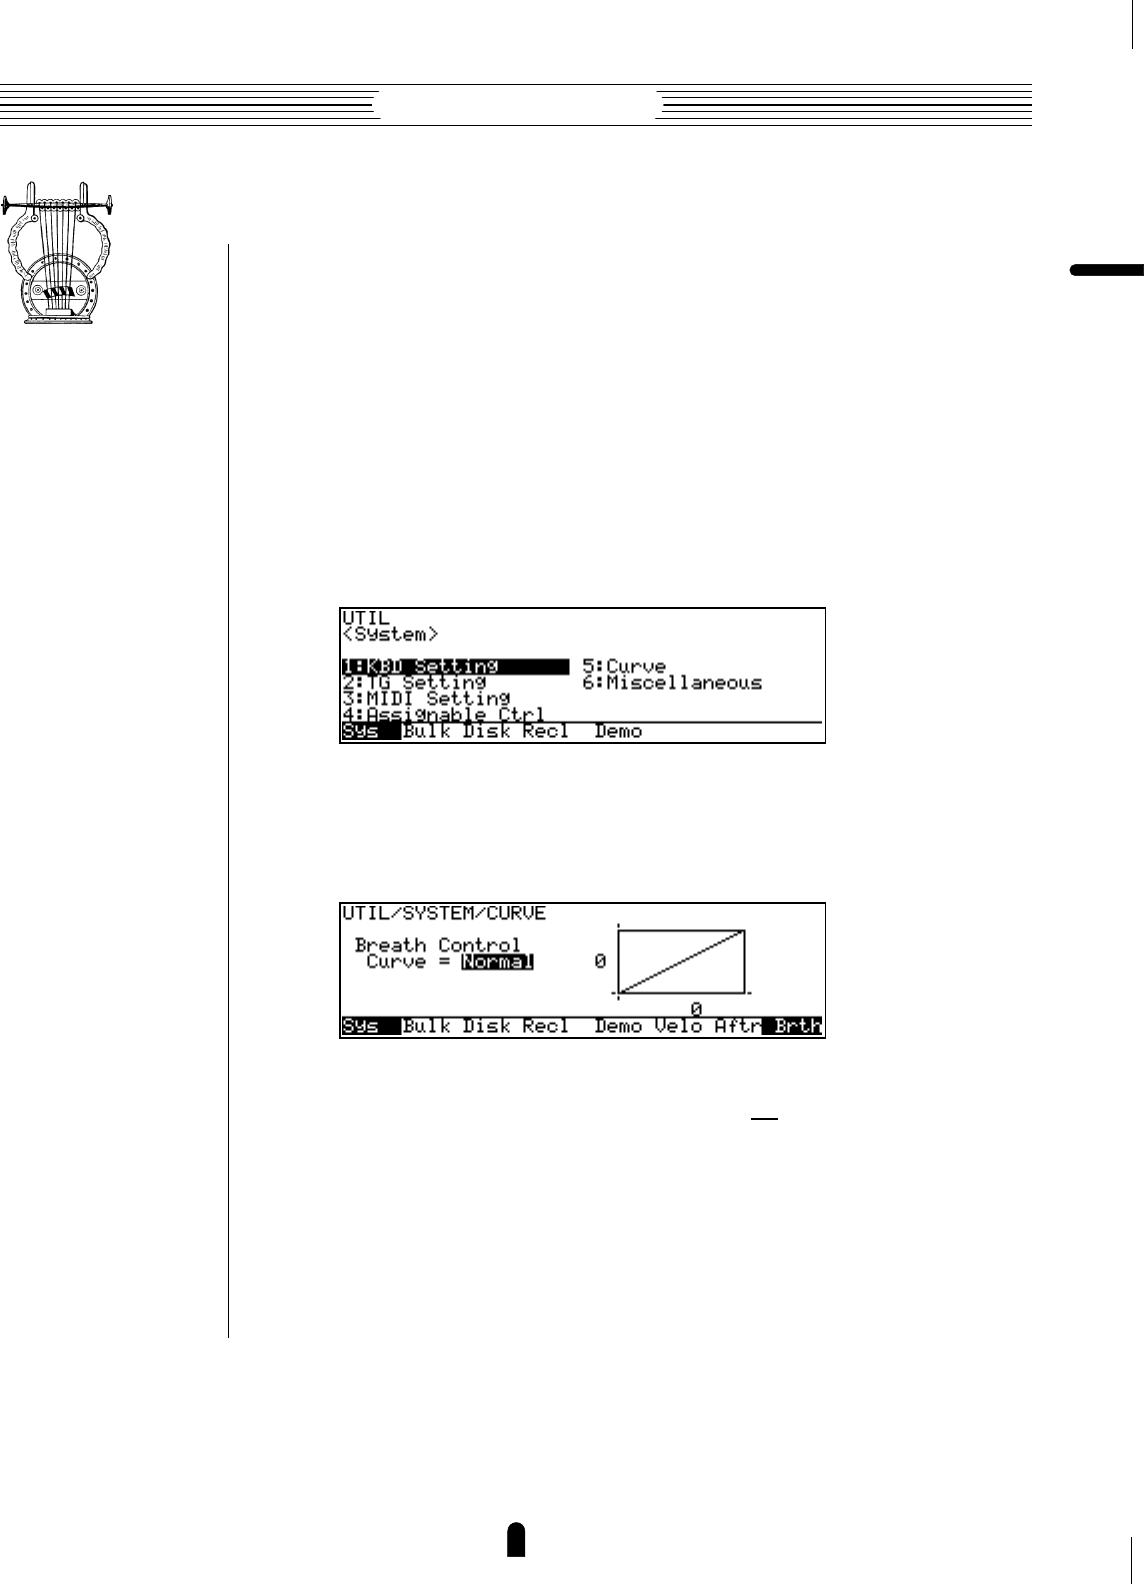
2. Select the Utility Mode System Page
Press the U button to select the utility mode. Then, if it is not already se-
lected when the utility mode display appears, press the ¡ button to select the “Sys-
tem” function page.
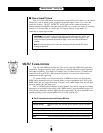
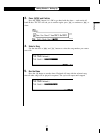
3. Go To the Utility Mode Curve Page and Select “Brth”
Use the cursor buttons to move the cursor to “5:Curve”, then press [ to call
the “Curve” function page. When the curve display appears press the • function
button (“Brth”) to call the breath controller curve page.
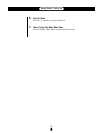
4. Adjust the Breath Controller Offset
The following adjustment must be performed while not blowing into the breath
controller mouthpiece. Do not hold the breath controller in your mouth.
Rotate the breath controller OFFSET trimmer slowly clockwise, using the supplied
screwdriver, until the vertical cursors above and below the curve graph move slightly to
the right and the number below the graph is greater that “0”. Then slowly rotate the
trimmer carefully counter-clockwise until the number below the graph just reaches “0”
(the cursors will be lined up with the left end of the graph), then stop. This completes the
offset adjustment.