SERVSELECT II™ INSTALLER/USER GUIDE
30
4.6 Scanning Your System
In scan mode, the appliance automatically scans from port to port (server to server).
You can scan up to 16 servers, specifying which servers to scan and the number of
seconds that each server will display. The scanning order is determined by placement
of the server in the list. The list is always shown in scanning order. You can, however,
choose to display the server s name or EID number by pressing the appropriate button.
To add servers to the scan list:
1. Press
Print Screen. The Main dialog box will appear.
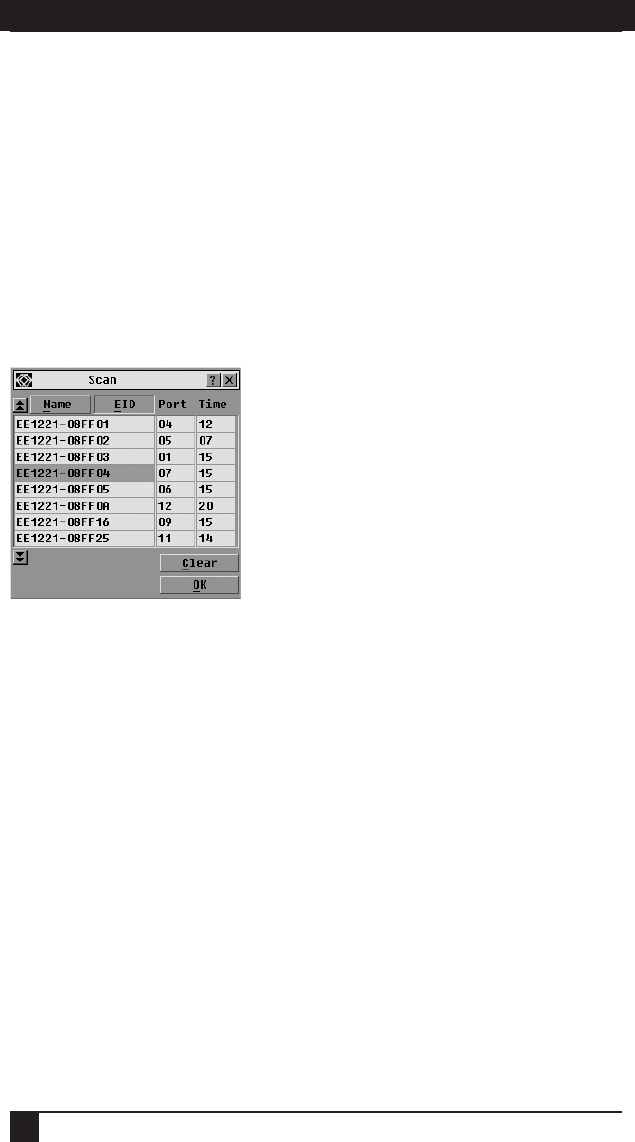
2. Click Setup - Scan. The Scan dialog box appears.
Figure 4-14. Scan Dialog Box
3. Determine the order within the list to add the server. If there are no servers in the
scan list, your cursor will appear in a blank line at the top of the list.
-or-
To add a server to the end of the list, place your cursor in the last server entry
and press the
Down Arrow key.
-or-
To add a server in the midst of an existing list, place your cursor at the entry
below where you want to insert a new server and press
Insert.
4. Type the fi rst few characters of a server name or port number to scan. The fi rst
matching server will appear in the line.
-or-
To move through the list, press the following keyboard commands in the Name, Port
or Sec column to move through the list of servers available to scan.
a. Press
Alt+Down Arrow to move the cursor down through the list of servers.
b. Press Alt+Up Arrow to move the cursor up through the list of servers.
c. Press Alt+Home to move the cursor to the fi rst server in the list.
d. Press Alt+End to move the cursor to the last server in the list.


