4-41
Cisco Unified IP Phone Administration Guide for Cisco Unified Communications Manager 8.6 (SCCP and SIP)
OL-23091-01
Chapter 4 Configuring Settings on the Cisco Unified IP Phones
Security Configuration Menu
Unlocking the CTL and ITL Files
To unlock the CTL and ITL files from the Security Configuration screen, follow these steps:
Procedure
Step 1 Press **# to unlock options on the overall setting menu of the Cisco Unified IP Phone.
Step 2 Select Trust List > CTL file or ITL file (depending on which file is installed in your phone).
Note If both CTL and ITL files are installed in your phone, you can choose either option.
Step 3 Press Unlock softkey to unlock Trust List files on the phone. The CTL or ITL files, if installed on your
phone, will be unlocked together.
Note When you press the Unlock softkey, it changes to Lock. If you decide not to change the TFTP server option,
press the Lock softkey to lock the CTL file.
.
ITL File Submenu
The ITL File screen includes the options that are described in Table 4-22.
If an ITL file is installed on the phone, you can access the ITL File submenu by pressing the Settings
button and choosing Security Configuration > Trust List.
Note The TFTP server generates the ITL file. The Trust Verification Service does not generate the ITL file.
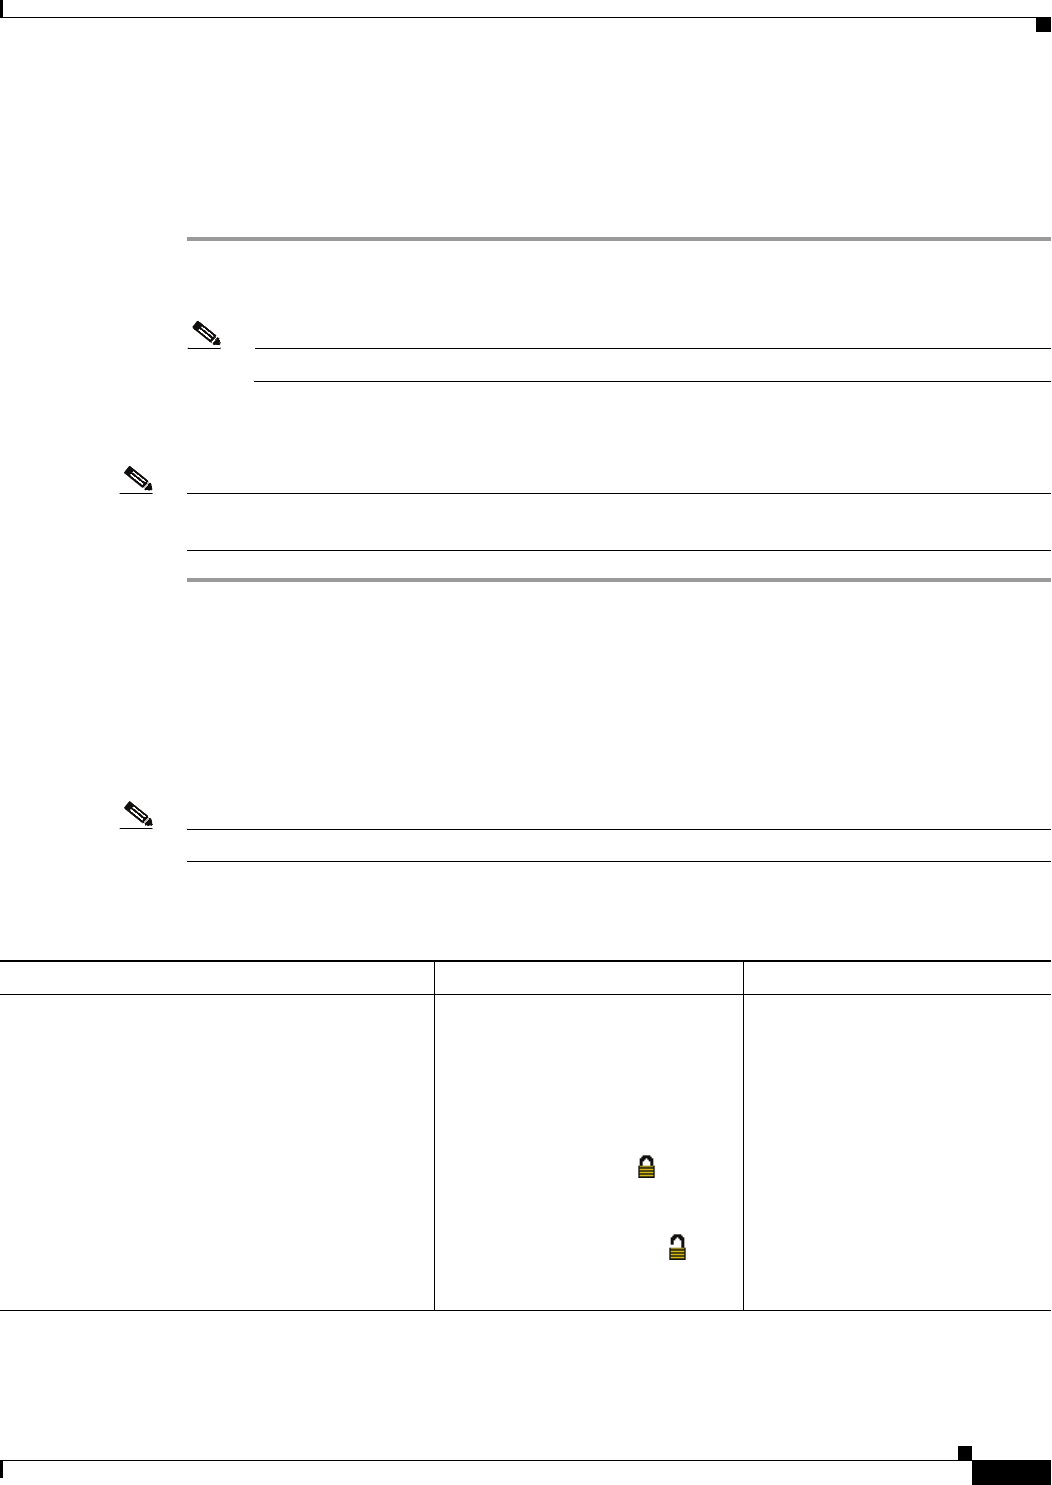
Ta b l e 4-22 ITL File Settings
Option Description To Change
ITL File Displays the MD5 hash of the
Identity Trust List (ITL) file that is
installed in the phone. If security is
configured for the phone, the ITL
file installs automatically when the
phone reboots or resets.
A locked padlock icon in this
option indicates that the ITL file is
locked.
An unlocked padlock icon
indicates that the ITL file is
unlocked.
For more information about the
ITL file, see
Security by Default in
Cisco Unified Communications
Manager Security Guide.


