Sub fan and fan duct
1. Before proceeding, remove the following components:
●
DIMM cover. See
DIMM cover and DIMM on page 57.
●
Formatter cover and formatter PCA. See
Formatter cover and formatter PCA on page 60.
●
Rear-door assembly. See
Rear-door assembly on page 62.
●
Left cover. See
Left cover on page 66.
●
Top-right cover. See
Top-right cover on page 73.
●
Control panel. See
Control panel on page 74.
●
Front-right and right-side cover assembly. See
Front-right and right-side cover assembly
on page 76.
●
Lower-right cover. See
Lower-right cover and bracket on page 80.
●
Top cover. See
Top cover on page 84.
●
Power switch assembly. See
Power-switch assembly on page 96.
TIP: Removing the power-switch assembly makes it easier to disconnect the connectors at
the front of the ECU.
●
Engine controller unit (ECU). See
Engine control unit (ECU) on page 110.
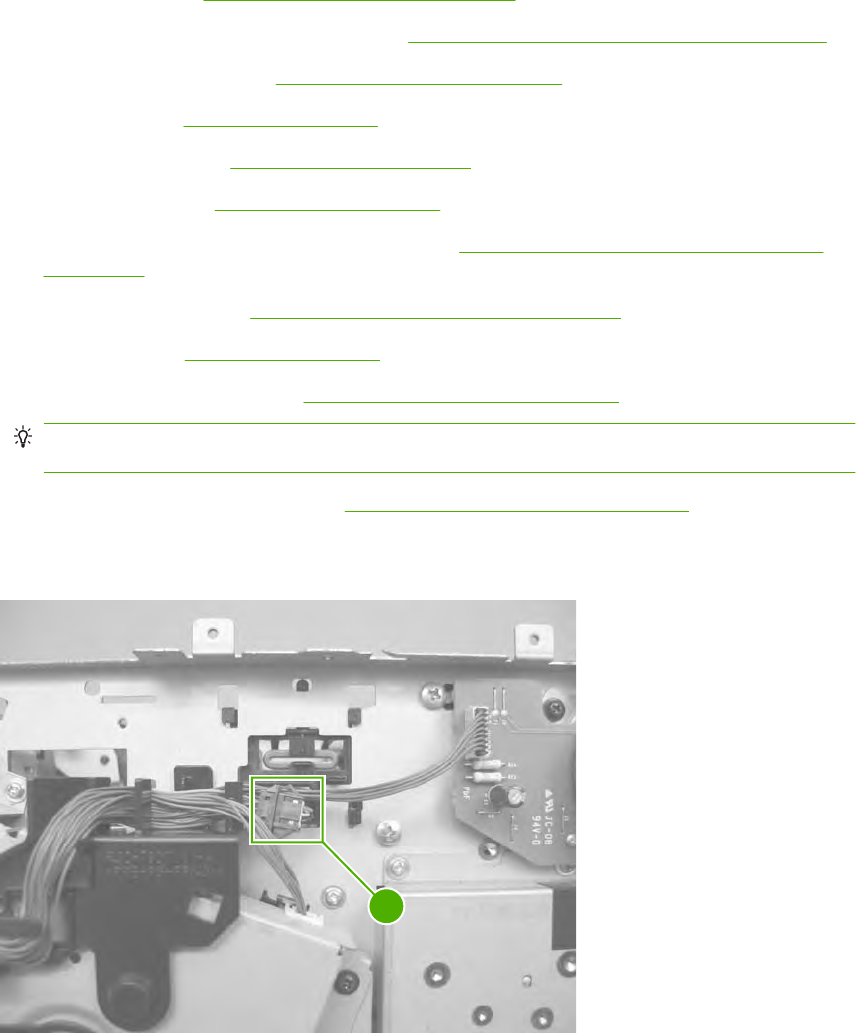
2. Disconnect one connector (callout 1).
Figure 2-111 Removing the sub fan and fan duct (1 of 5)
1
118 Chapter 2 Removal and replacement ENWW


