8686 87
Return to the Top page
Setting Up
Return to the Top page
Setting Up
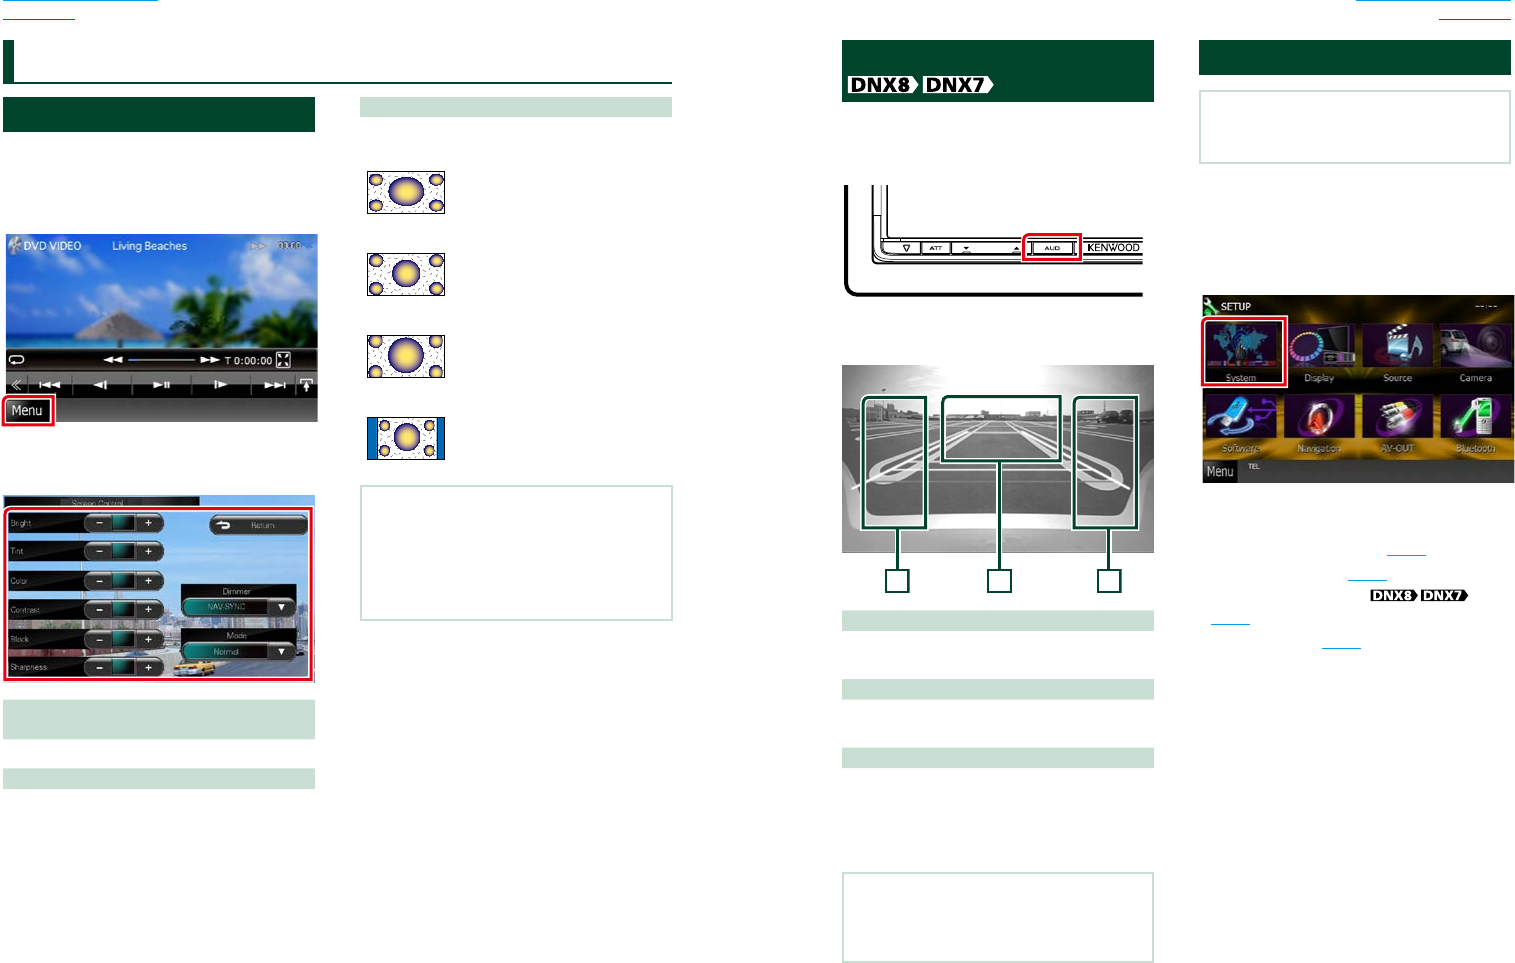
Monitor Screen Setup
YoucanadjustimagequalityiniPodvideo,
picturefile,menuscreen,etc.
1 Touch the lower left area of any screen
for at least 1 second.
Screen Control screen appears.
2 Adjust each item as follows.
Bright/Tint/Color/Contrast/Black/
Sharpness
Adjusts each item.
Dimmer
Select dimmer mode.
ON: The display and buttons dim.
OFF: The display and buttons do not dim.
SYNC (Default): Turns the dimmer function on
or off when the vehicle light
control switch is turned on
or off.
NAV-SYNC: Turns the dimmer function on or
off according to the Navigation
Day/Night display setting.
Mode (Playback screen only)
Select screen mode.
Full: Full picture mode
Just: Justify picture mode
Zoom: Zoom picture mode
Normal: Normal picture mode
NOTE
•Adjusting items are different depending on the
current source.
•You can perform this function only when you
have applied the parking brake.
•The image quality can be set for each source.
Setting Up
View Camera Control
YoucansetupdisplaywhenaCMOS-300
Seriesviewcameraisused.
1 Press the <AUD> button for 1second.
Camera view screen appears.
2 Adjust each item as follows.
321
1 Guideline
Touching each time turns on or off the
guideline display alternately.
2 Switching the View Camera
Touching each time changes between the
front view camera and rear view camera.
3 Angle
Touching each time changes camera angles in
the following order:
Super wide view/ Wide view/ Overhead view/
Wide view + Top view/ Corner view
NOTE
•The video camera controls described above
may not be operable depending the connected
cameras.
System Setup
NOTE
•Each operation in this section can be started from
the multi function menu.
1 Touch [Menu] on any screen.
TOP Menu screen appears.
2 Touch [SETUP].
3 Touch [System].
System Menu screen appears.
See the following section for each setting.
• Set up the user interface (P.88)
• Adjust touch panel (P.89)
• Set up external switch
(P.90)
• Set up memory (P.90)


