Using the Operator Panel
ADVANCED OPERATION GUIDE 2-59
NOTE: The RAM disk can not be used when an optional hard disk is
installed.
The RAM disk stores data only temporarily. When the printer is reset or
turned off, the stored data will be erased.
The RAM disk is allocated within the printer's memory available to users.
If the size of the RAM disk is set too large, the printing speed may
decrease or the memory may become insufficient.
Setting the RAM Disk Size
1
Press [MENU].
2
Press U or V repeatedly until RAM Disk
Mode appears.
3
Press [OK] ([ENTER]). A blinking question
mark (?) appears. Press U or V to select
On. Press [OK] ([ENTER]).
4
Press Z. Press U or V repeatedly until
>RAM Disk Size appears. The data size
also appears.
5
Press [OK] ([ENTER]). A blinking cursor (_)
appears. Press U or V to display the
desired size. Definable RAM disk size is
0001 to 1024.
This range varies depending on the total memory size of the printer. The
setting exceeding this range is automatically adjusted to the maximum
RAM disk size.
6
When the desired RAM disk size is displayed, press [OK] ([ENTER]).
7
Press [MENU]. The display returns to Ready. Turn the printer off and then
on again. The selected RAM disk size is activated after the printer is
restarted.
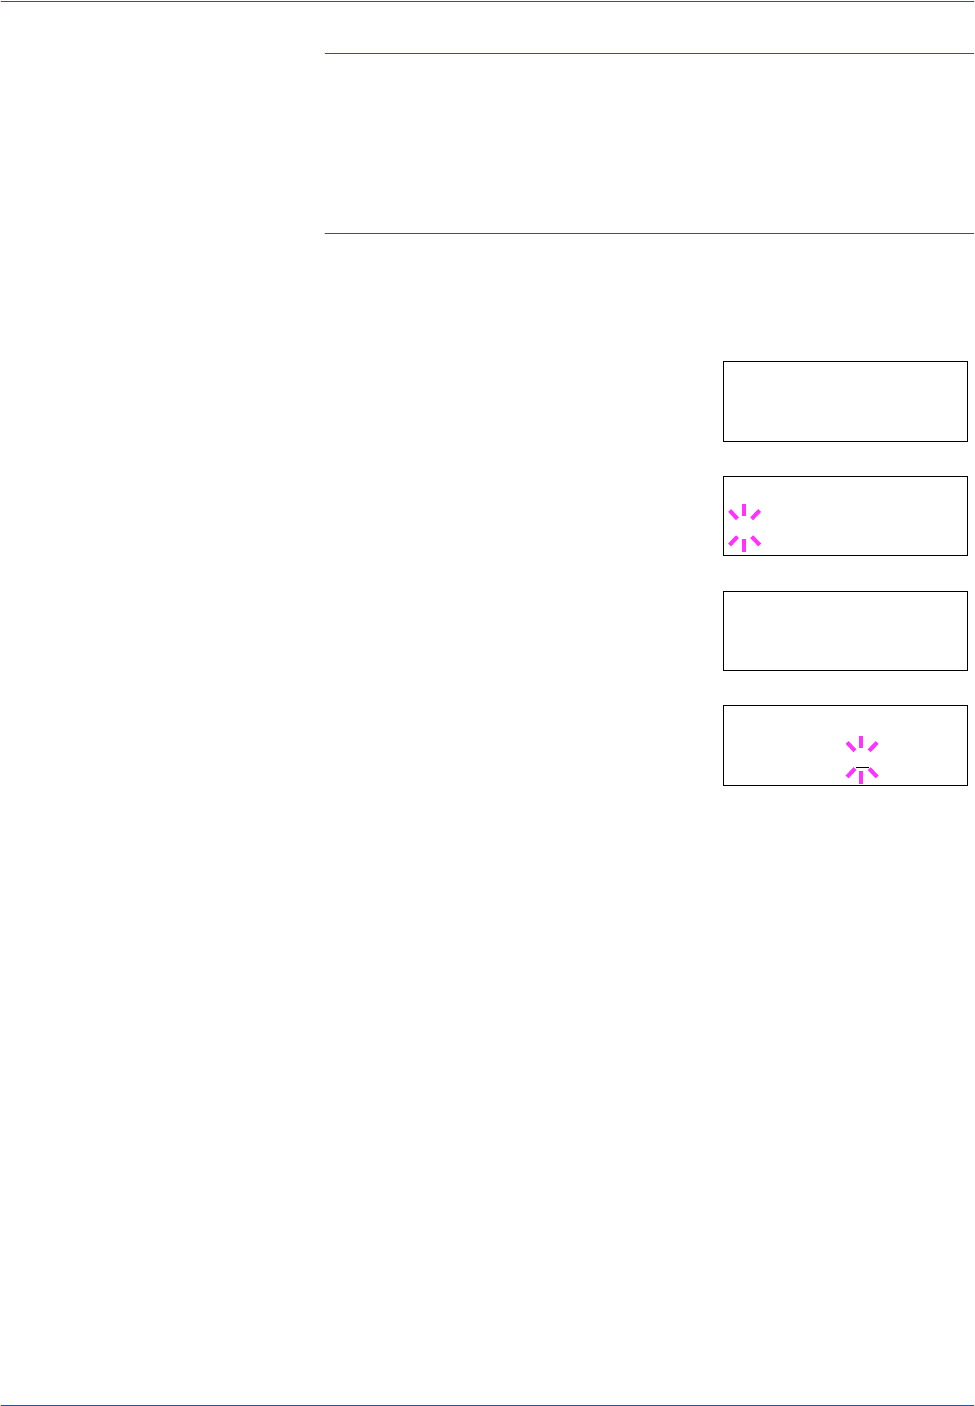
RAM Disk Mode
Off
RAM Disk Mode
? On
>RAM Disk Size
0119 MByte
>RAM Disk Size
0119
MByte


