


31
VIRTUALIZER PRO DSP2024P
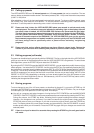
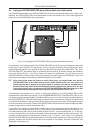
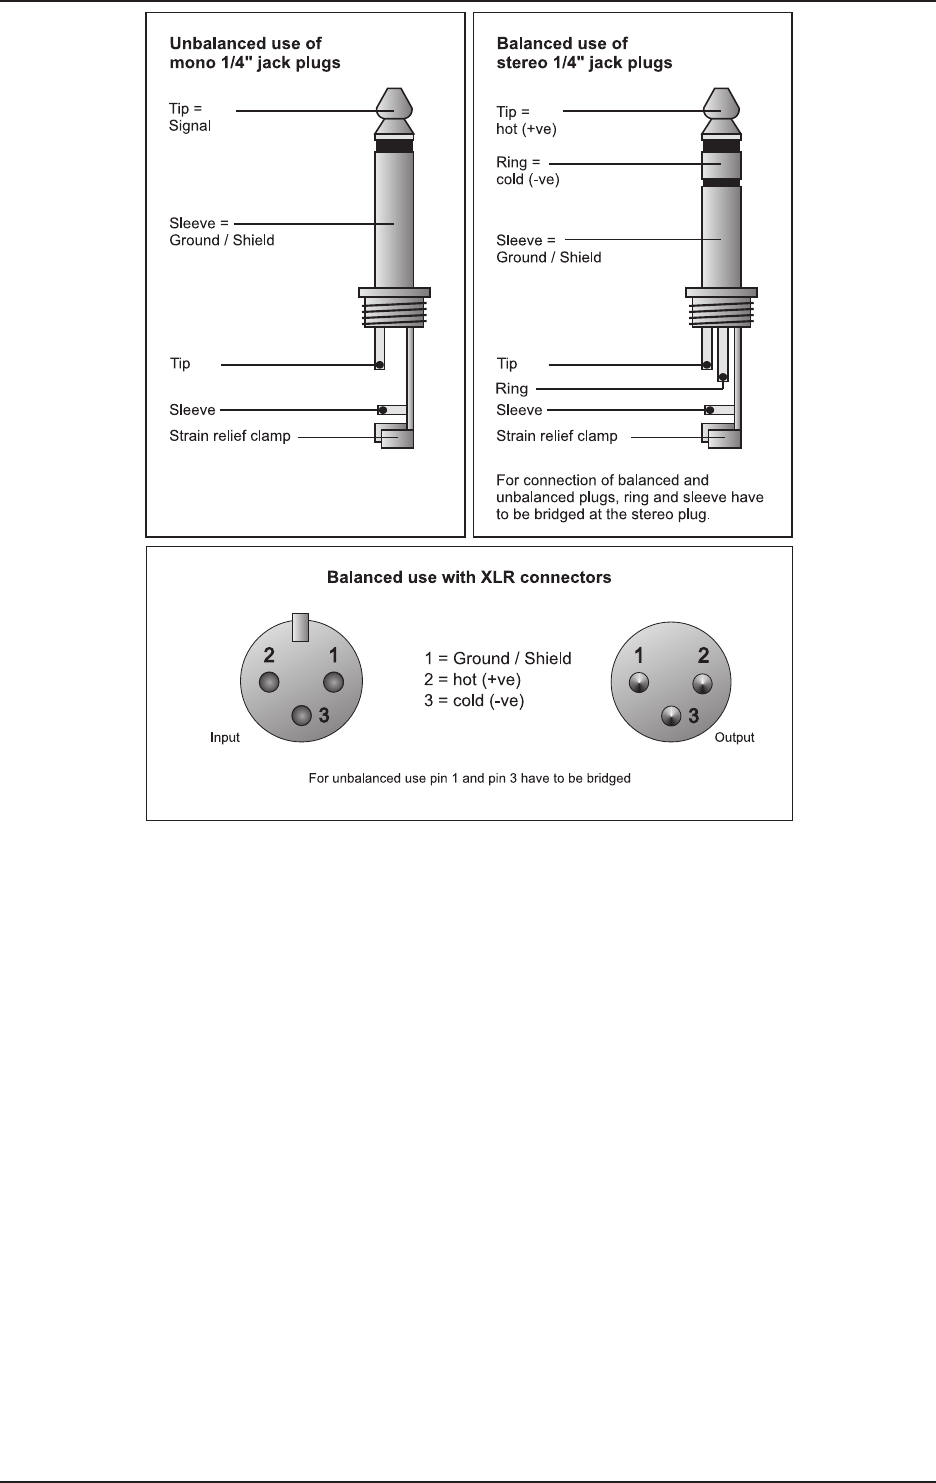
Fig. 6.1: Different plug types
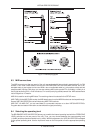
6.3 MIDI connections
The MIDI connectors at the rear panel of the unit are equipped with internationally standardized 5 pin DIN
sockets. You’ll need a MIDI cable to connect the VIRTUALIZER PRO with other MIDI devices. As a rule,
standard ready-to-use cables can be used. With a two core shielded cable (e.g. microphone cable) and two
possible stable 180 deg. DIN plugs, you can also solder a MIDI cable yourself: Pin 2 (middle) = shield, pin 4
and 5 (right and left of pin 2) = Inner conductor, Pin 1 and 3 (both lying outside) remain free. MIDI cables should
not be longer than 15 meters.
MIDI IN: is used for receiving MIDI data. The receiving channel is selected in the SETUP menu.
MIDI THRU: At the MIDI THRU socket, the MIDI data that arrive at the MIDI IN socket can be looped through.
Several VIRTUALIZER PROs can be linked using MIDI THRU sockets.
MIDI OUT: Via MIDI OUT, you can send data to a connected computer or to other VIRTUALIZER PROs.
Program data and status information are transmitted for signal processing.
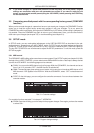
6.4 Selecting the operating level
The BEHRINGER VIRTUALIZER PRO allows you to switch the internal operating level with the OPERATING
LEVEL switches on the rear panel of the unit. Thus, you can choose between the homerecording level
(-10 dBV) and the professional studio level (+4 dBu). With this adjustment, the VIRTUALIZER PRO is adapted
to the optimal operating level. Use the input level meter on the front panel to find the appropriate operating
level.
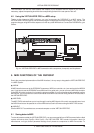
6. INSTALLATION