


!
The IMPORT, EXPORT and RESTORE menus above do
NOT transfer the band track files (media) associated
with the presets. However, you CAN move appropriately
licensed media files to and from the G-DEC 3 using the
Fender FUSE software included on the G-DEC 3 DVD, or
through the USB Drive menu (below).
♫
The Fender FUSE software included with your G-DEC3
has backup and restore functions that DO transfer the
media files (band tracks) along with the preset files.
Format SD Card—Use the Format SD menu to format your
SD card as “FAT32” if the pre-existing format is not recognized
by the G-DEC 3. Warning: All files on your SD card will be
erased by the formatting process.
USB Drive—Use the USB Drive menu to connect the G-DEC3
to your computer to enable direct access to all media files on
the G-DEC3 hard drive (HD). You will find three folders on the
G-DEC3 HD:
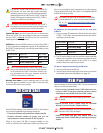
FOLDER NAME USED FOR FILE TYPES
Audio Band Tracks .wav / .mp3
Midi Band Tracks (MIDI) .mid
Phrase Phrase Sampler files .wav
♫
There is no menu function on the G-DEC3 that allows
you to copy media files (band tracks) directly between
an SD card and the G-DEC 3 hard drive. However, you
can accomplish this from your computer when the
G-DEC3 is connected as a USB drive.
Memory Free Space—Use the Memory menu to see how
much free space is available on the G-DEC3 hard drive (HD)
and on the SD card, if one is present.
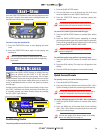
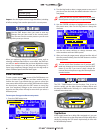
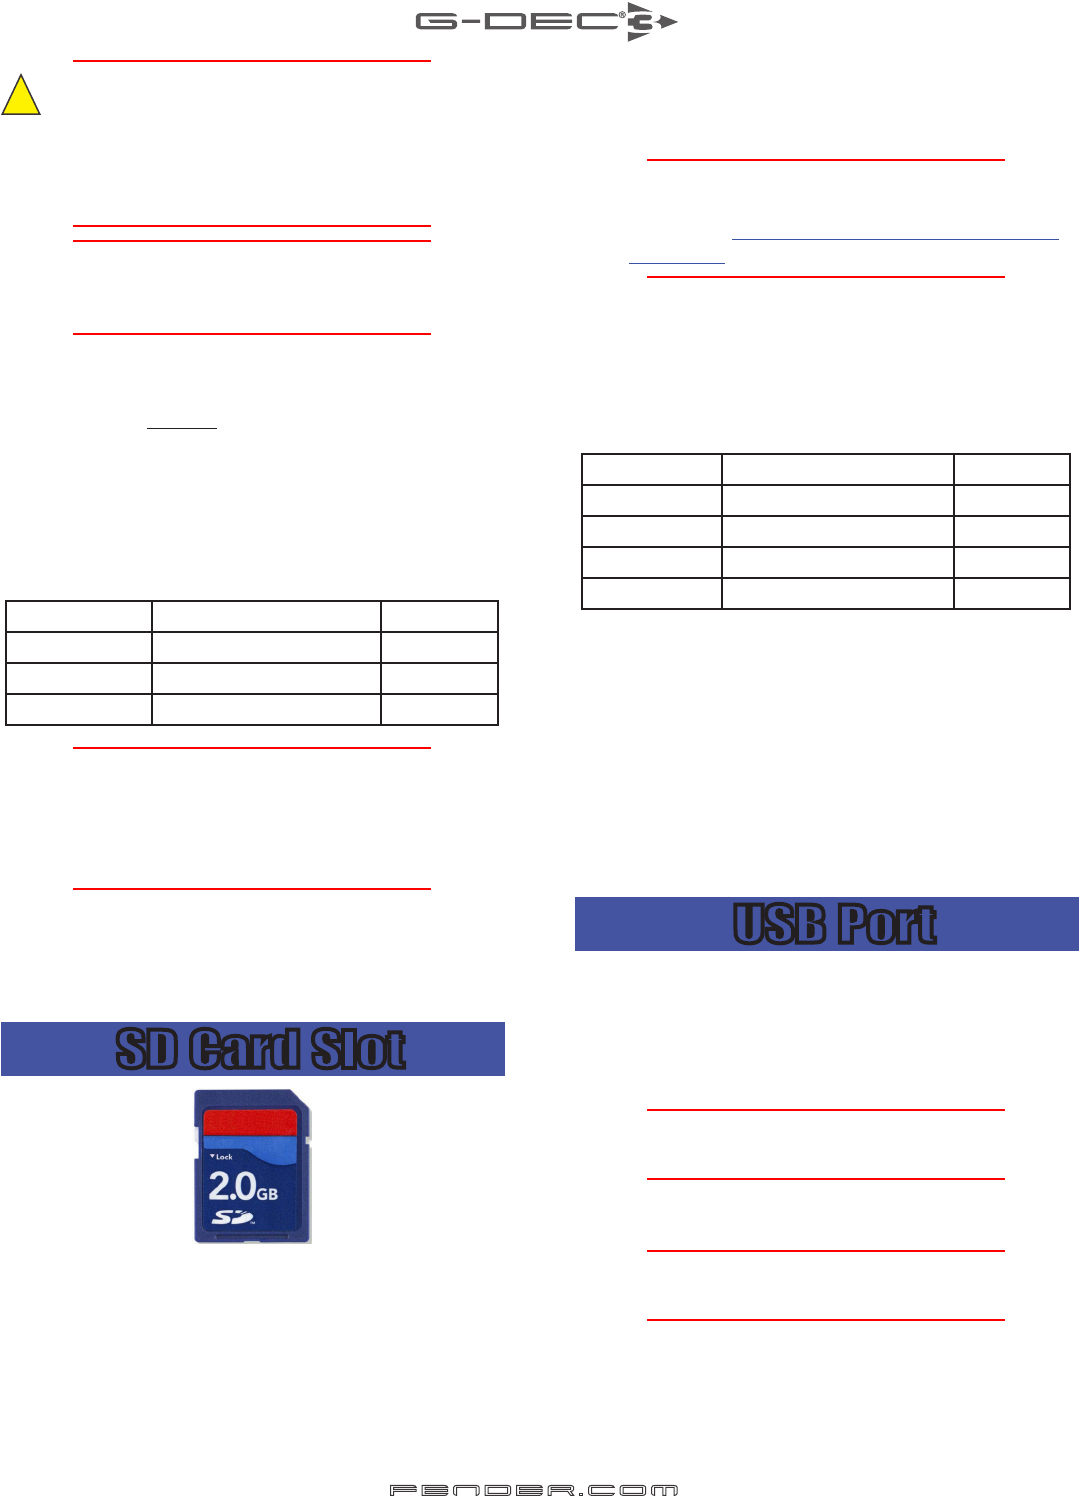
SD Card Slot
Using SD flash memory cards with the G-DEC3 will enhance
your musical capabilities by providing storage for:
• Thousands of Band tracks and Phrase samples (media).
• Virtually unlimited number of presets that you can
import/export or share with other G-DEC3 players.
There is only about 250 MB of storage available on the
G-DEC3 hard drive for media (band tracks and phrase sam-
ples) so you may find it more convenient to carry the majority
of your media on SD cards. The G-DEC3 is compatible with SD
and SDHC cards up to 8 GB.
♫
Poor quality SD cards may be unreliable or cause chop-
py audio playback. For a list of recommended SD cards,
log on to: www.fender.com/support/gdec3/faq/
sdcard.php
To prepare a pre-formatted SD card for use with your
G-DEC 3:
1. Insert an empty SD card into the SD slot on the front of the
G-DEC 3. The G-DEC will automatically create the follow-
ing folders on the SD card:
FOLDER NAME USED FOR FILE TYPES
Audio Band Tracks .wav / .mp3
Midi Band Tracks (MIDI) .mid
Phrase Phrase Sampler files .wav
Presets Preset files .fuse
2. The SD card is ready to use! You can fill the Audio and Midi
folders with songs from your computer and then use them
as backing tracks for presets on the G-DEC 3, or simply
audition them from Quick Access mode.
To import / export presets using an SD card:
1. Insert your SD card in the SD slot.
2. Use the Import Preset and Export Preset menus to perform
the desired action (see Utility Menus on page 10).
USB Port
Use the USB port to connect the G-DEC3 to your computer to
take your music to the next level:
• Connect to the (included) Fender FUSE software to con-
trol your G-DEC 3 from your computer and access bonus
amp features not available from the G-DEC 3 alone.
♫
Please see the Fender FUSE manual on the G-DEC 3 DVD
for details.
• Record and edit G-DEC 3 audio using the (included)
Ableton® Live Lite 8 Fender® Edition software.
♫
Please see the Ableton® Live Lite 8 Fender edition manu-
al on the G-DEC 3 DVD for details.
• Stream live audio and play with people around the
world using Fender® BAND JAM, powered by eJamming®
AUDiiO.
11
fen der.co m