


26 TASCAM X-9 Owner’s Manual
8 – Samplers
The two samplers can be used to record and play
back samples of up to 8 seconds (each) in length.
The sample data is lost when the power to the X-9 is
turned off.
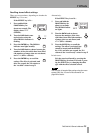
Recording a sample
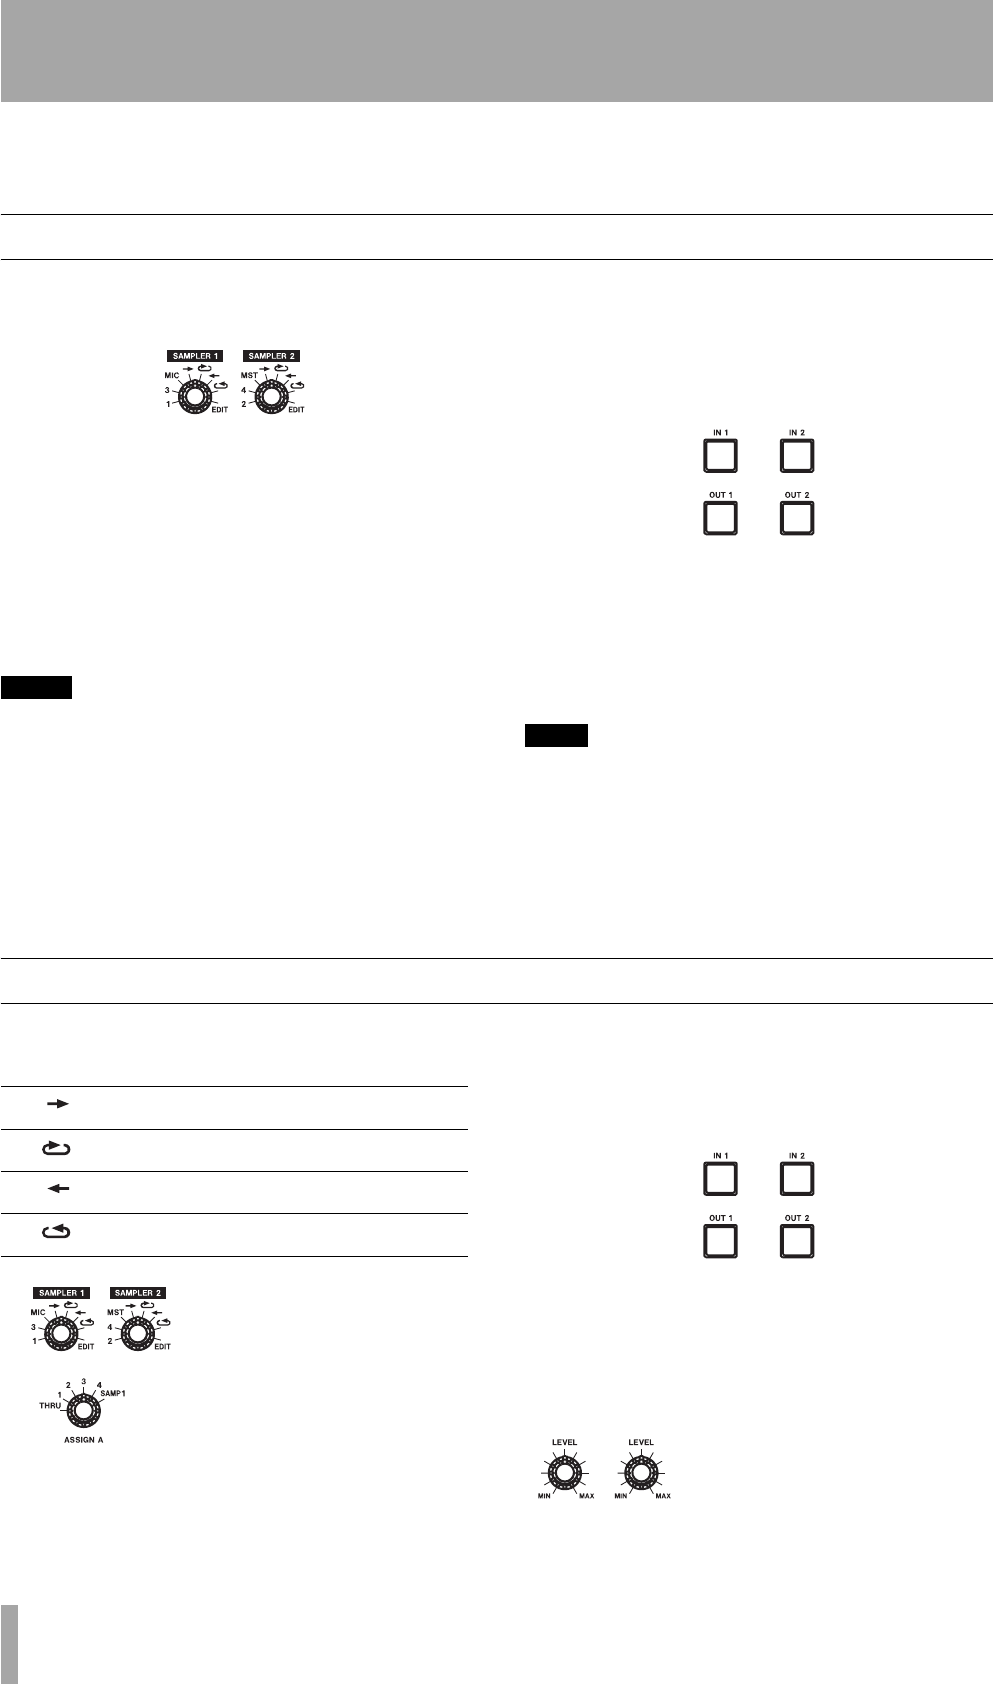
1 Select the source from which you will record
the sampler.
Sampler 1 can take samples from program 1
and program 3 as well as from the micro-
phone. Set the
SAMPLER 1 selection control
to
1, 3 or MIC.
Sampler 2 can take samples from program 2
and program 4 as well as from the master
mix. Set the
SAMPLER 2 selection control to
2, 4 or MST (master).
NOTE
When recording samples, if the sample is recorded from
a program or the master, the level is pre-fader (the
fader has no effect on the level sent to the sampler) and
if it is the microphone, the level is post-
LEVEL
(the
microphone
LEVEL
control controls the level sent to
the sampler).
2 Start playing the source.
3 Press the appropriate
IN key to start the sam-
ple recording, and the
OUT key to stop the
sample recording (if you wait for eight sec-
onds after pressing the
IN key, recording of
the sample stops automatically).
The
IN and OUT keys light and flash to show when a
point has been recorded.
A flashing key means that the key can now be
pressed to set the point.
A lit key means that the point has been set.
TIP
When you have recorded a sample, you must change
the sampler selection control to one of the playback
modes listed below in “Playing back samples” on
page 26 before you can hear it.
Also note that you can use the footswitches in place of
the
IN
and
OUT
keys, using the menu option
08Ft
.
See “Footswitch assignment” on page 18.
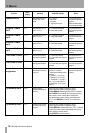
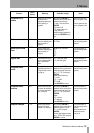
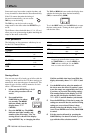
Playing back samples
The SAMPLER 1 and SAMPLER 2 selection controls
have four settings each controlling playback:
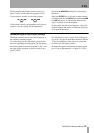
Turn the selection control to
the playback type you want to
use for the sampler.
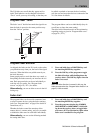
You can select sampler 1 as
the A output or sampler 2 as
the B output. If the sampler is
not assigned to one of the
cross-fader input signals, the
sampler output is sent straight to the master.
Play back the sample by pressing the appropriate
IN
key, and stop playback (in the case of looped sam-
ples) by pressing the
OUT key.
You can also stop sample playback before the end of
the sample by pressing the
OUT key.
If you press the
IN key before the sample has finished
playing, playback starts again from the start of the
sample.
Adjust the final output level with
the sampler’s
LEVEL control.
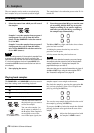
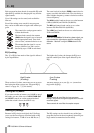
Forward playback (“single shot”)
Looped forward playback
Reverse playback (“single shot”)
Reverse looped playback
Note that this is SAMP1
for the ASSIGN A control