


H3123 Electric Guitar Kit -11-
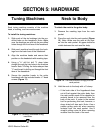
Tuning Machines
SECTION 5: HARDWARE
Each tuning machine consists of the machine
head, a bushing, and two wood screws.
To install the tuning machines:
1. Slide each of the six bushings into the pre-
drilled holes on the headstock. Note—Make
sure the bushings are slid into the pre-drilled
holes through the front face of the headstock.
2. Slide each machine head through the bush-
ings from the back face of the headstock.
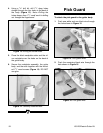
3. Align the machine heads and secure their
position on the headstock with masking tape.
4. Using a
3
⁄32" drill bit, drill
3
⁄8" deep holes
straight through the two holes in the machine
heads. Note—Drilling the holes deeper than
3
⁄8" could result in drilling out through the front
face of the headstock.
5. Secure the machine heads to the guitar
headstock with the included twelve
1
⁄2" wood
screws (Figure 11).
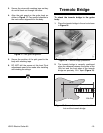
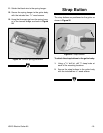
Neck to Body
To attach the neck to the guitar body:
1. Remove the masking tape from the neck
pocket.
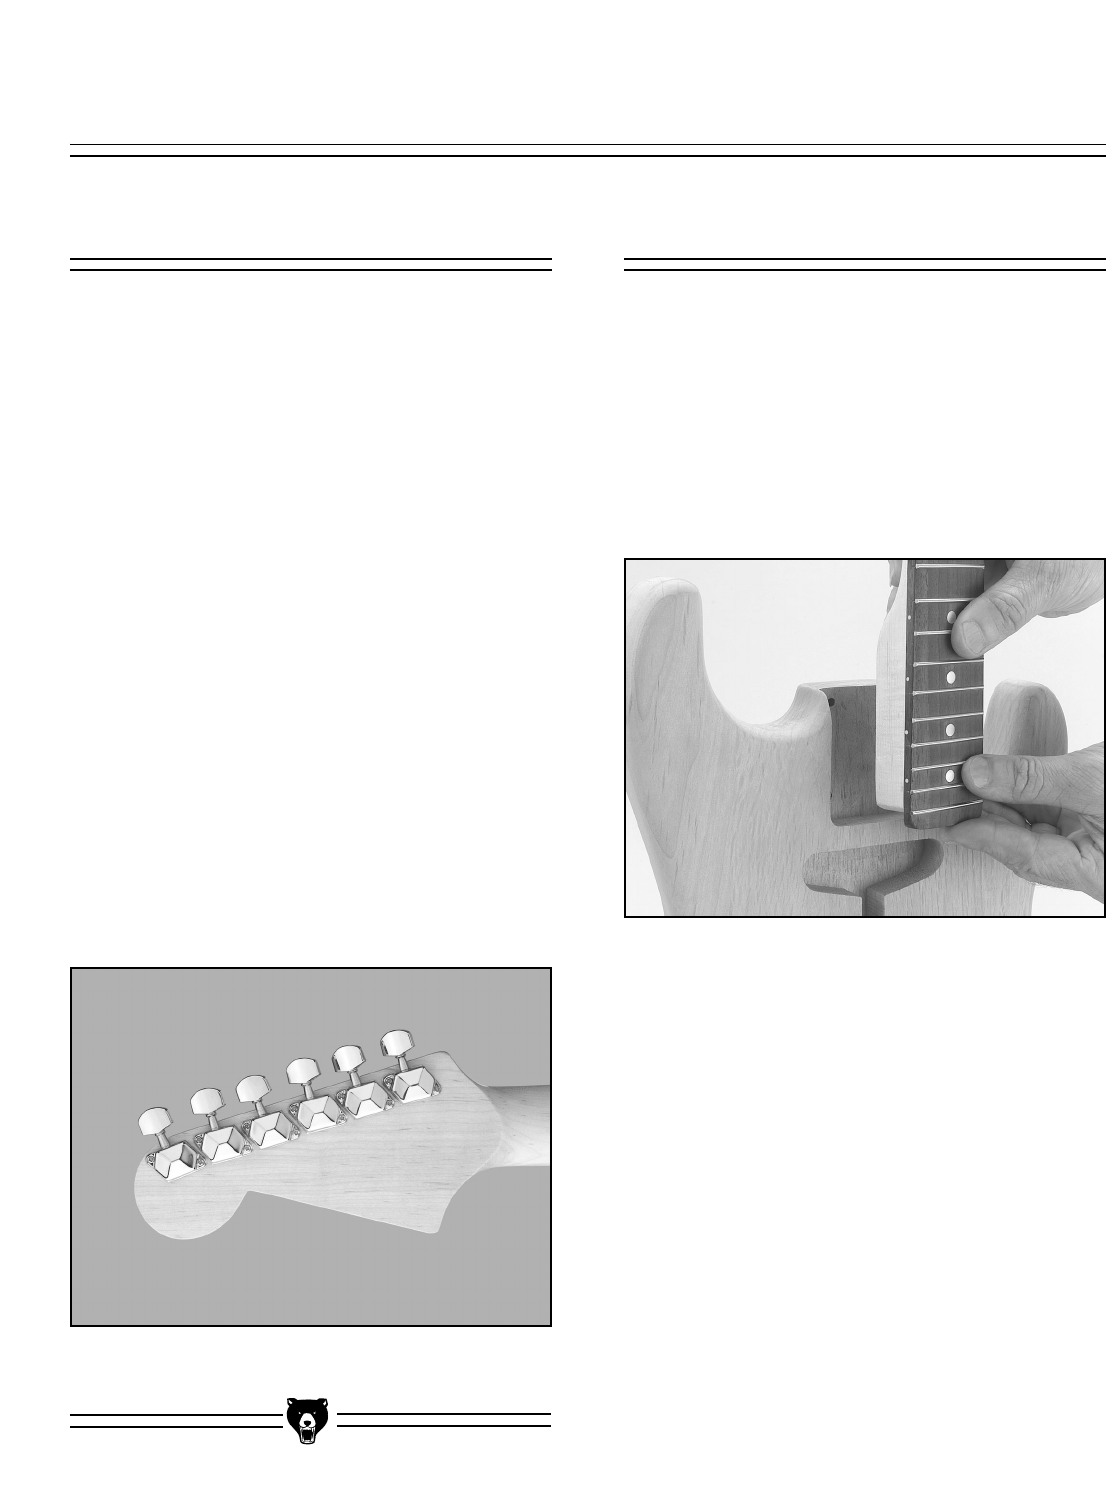
2. Place the neck into the neck pocket (Figure
12). Note—Make sure the neck is fully seat-
ed into the neck pocket. No gaps should be
visible between the neck and the body.
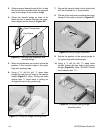
3. Hold the neck to the body with a C-clamp.
— If the back side of the fingerboard does
not sit flush against the guitar body, then
the neck pocket needs to be deepend or
material needs to be removed from the
back of the neck. A router is the easiest
tool for performing this task; however, a
sharp chisel will also work. Note—Use a
pattern cutting router bit when removing
material from the neck pocket. Use a
straight cutting router bit when removing
material from the back of the neck.
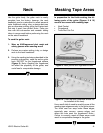
Figure 12. The neck should fit snugly into the
neck pocket.
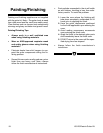
Figure 11. Correctly positioned tuning
machines.