-16-
H3123 Electric Guitar Kit
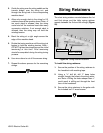
Winding Strings
The correct position of the guitar strings is shown
in Figure 27. The thin High E string is called the
"1st" string and the thick Low E string is called the
"6th" string.
To install the guitar strings:
1. Slide the 1st guitar string through the corre-
sponding hole in the back plate (Figure 28).
Figure 28. 1st string installation hole.
D
E
E
A
D
G
B
6
1
5
4
3
2
Figure 27. Correct string locations.
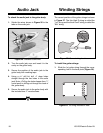
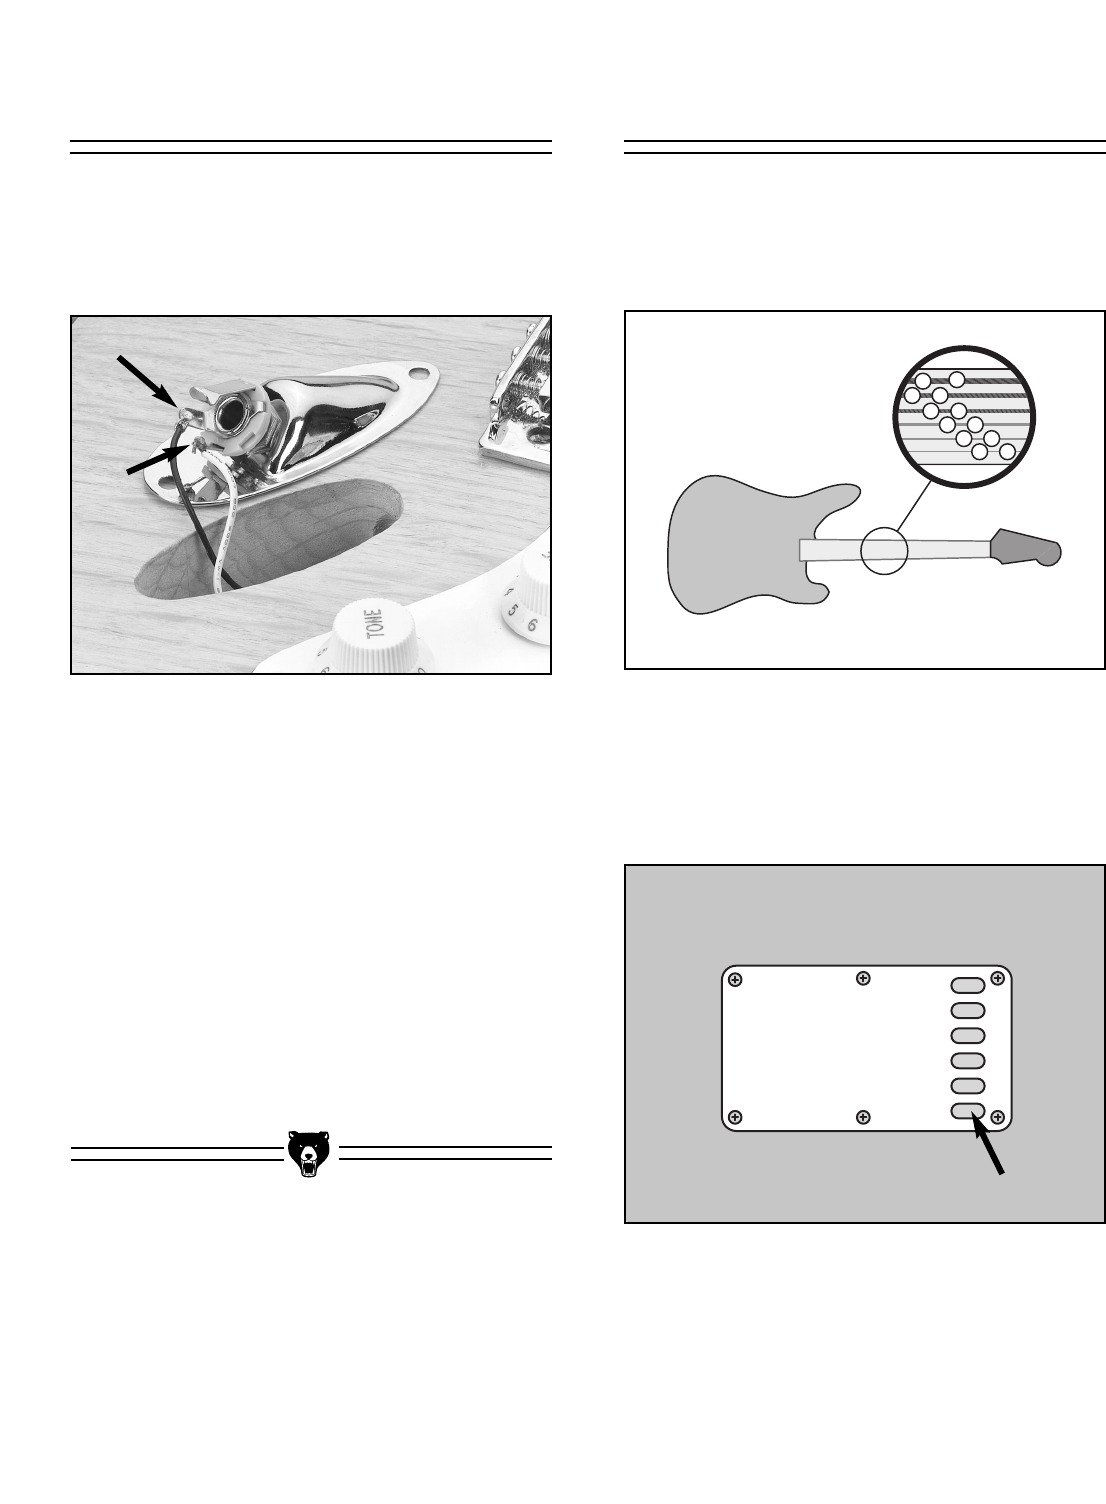
Audio Jack
To attach the audio jack to the guitar body:
1. Solder the wires shown in Figure 26 to the
tabs on the audio jack.
2. Turn the audio jack over and insert it in the
cavity on the guitar body.
3. Secure the position of the audio jack to the
guitar body with masking tape.
4. Using a
3
⁄
32" drill bit, drill
1
⁄
2" deep holes
straight through the two holes in the audio
jack. Note—Drilling the holes deeper than
1
⁄2"
could result in drilling out through the back of
the guitar body.
5. Secure the audio jack to the guitar body with
the included two
1
⁄
2" wood screws.
Figure 26. Soldered audio wire.


