


34 Onyx 820i
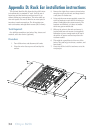
The optional Rack Ear Kit allows the Onyx 820i mixer
to be mounted in a standard 19” rack. It will be out of
harm’s way and the band may continue tearin’ it up
without fearing any consequences. The mixer takes up
nine rack spaces. Be sure to allow for an extra space or
two above to make connections. The kit contains two
rack ear brackets and eight black screws (M3.5 x 8mm).
Tools Required:
One phillips screwdriver, two bales of hay, cheese and
crackers, and a box of wine (optional).
Procedure:
1. Turn off the mixer and disconnect all cords.
2. Place the mixer face up on a soft and dry fl at
surface.
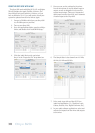
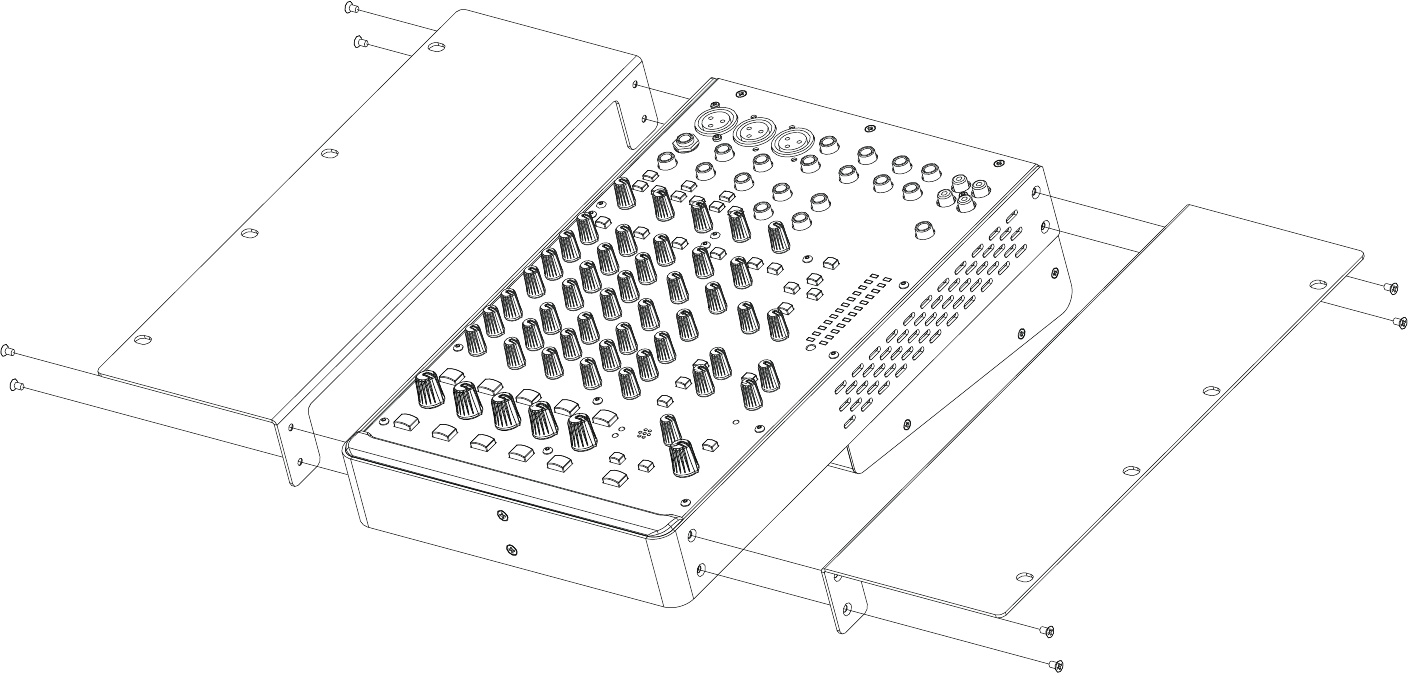
Appendix D: Rack Ear installation instructions
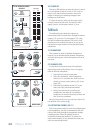
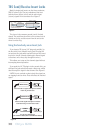
3. Remove the eight silver screws as shown below,
wrap them up in an old sock, and keep them in
a safe place for further use.
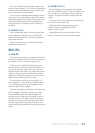
4. Using only the new screws supplied, secure the
rack ear brackets to each side of the mixer as
shown. Hand-tighten the screws securely. The
brackets are identical, so it does not matter
which one goes on which side.
5. Offer up the mixer to the rack and secure it
in place with four rack screws (not supplied).
Remember to leave enough room at the top to
attach the AC power cord and any other con-
nections needed.
6. This might be a good time to sit on one of the
bales of hay and enjoy the cheese, crackers, and
boxed wine!
7. Cross this off the ‘to do’ list and move on to the
next project.