19
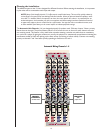
Setting Automatic mix inputs 1–4
Initial Adjustment of the automix inputs 1–4. Each of these
inputs will be adjusted one at a time using the same
procedure. Start with all automix channels muted.
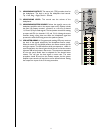
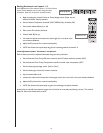
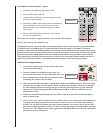
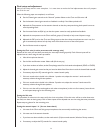
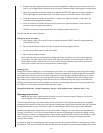
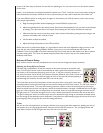
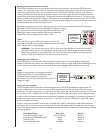
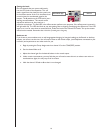
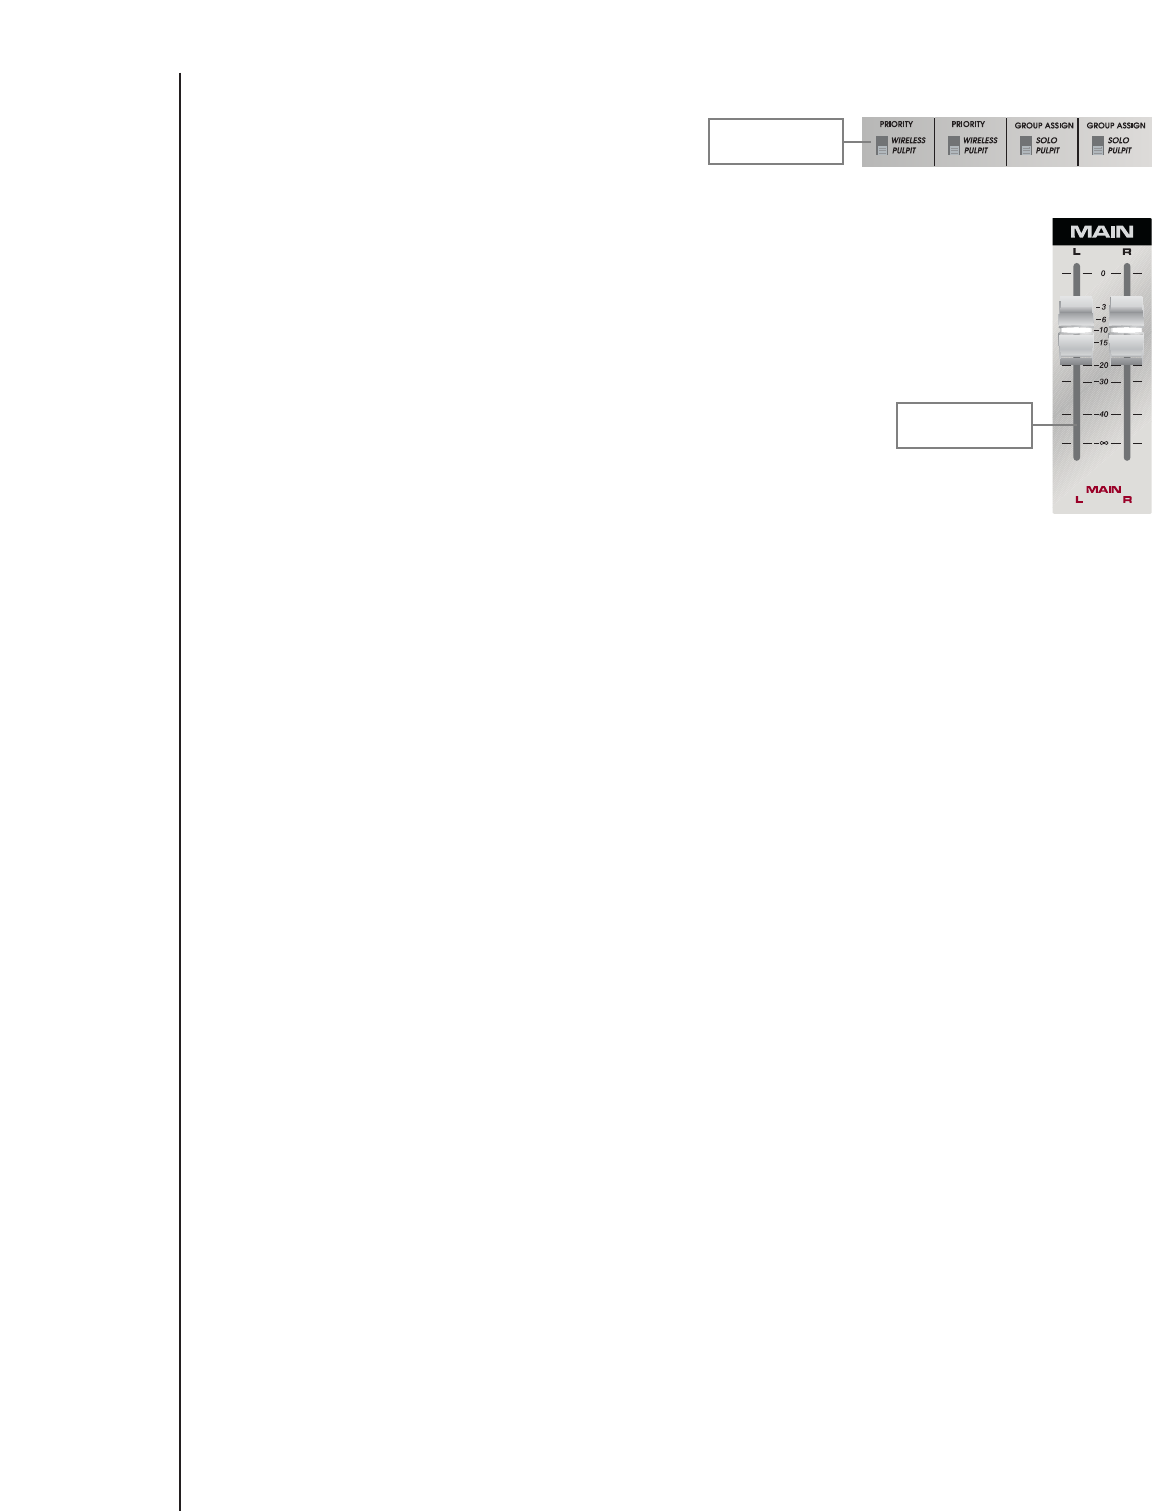
Priority/Group
Main Master
Faders set to -10
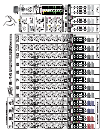
a. Begin by setting the channel Priority or Group Assign switch. (Pulpit: normal
automix; Wireless: Priority automix).
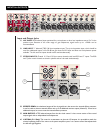
b. Set the channel Compressor threshold (CMP THRESH) fully clockwise (Off).
c. Set the Main Master faders(s) to -10.
d. Gain control Full counter-clockwise.
e. Channel fader 0 (Full up).
f. Un-mute the channel and increase the channel gain for a nice level in the
room without feedback.
g. Adjust the EQ controls for a natural sound quality.
h. MUTE the channel and repeat steps a–g for the remaining automix channels 2–4.
Initial Adjustment of other “Permanent” microphones.
Each of these inputs will be adjusted individually using the same procedure.
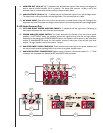
a. Set the Solo and Choir Group Off Level control to the full Counter-clockwise position (OFF).
b. Set the Solo and Choir Group Compression control to the full clock-wise position (OFF).
c. Set the channel group assign switch. (Solo or Choir).
d. Set the channel gain control full counter-clockwise.
e. Set the channel fader to 0.
f. Unmute the channel and increase the channel gain control for a nice level in the room without feedback.
g. Adjust the EQ controls for a natural sound quality.
h. MUTE the channel and repeat steps c–g for the remaining microphone channels.
At this point you should have created a rough mix of all of the mics normally used during a service. The channel
faders for these mics should all be set at 0.


