


14
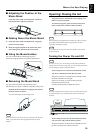
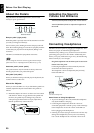
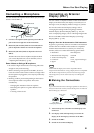
Panel Descriptions
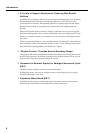
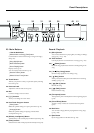
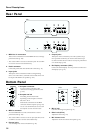
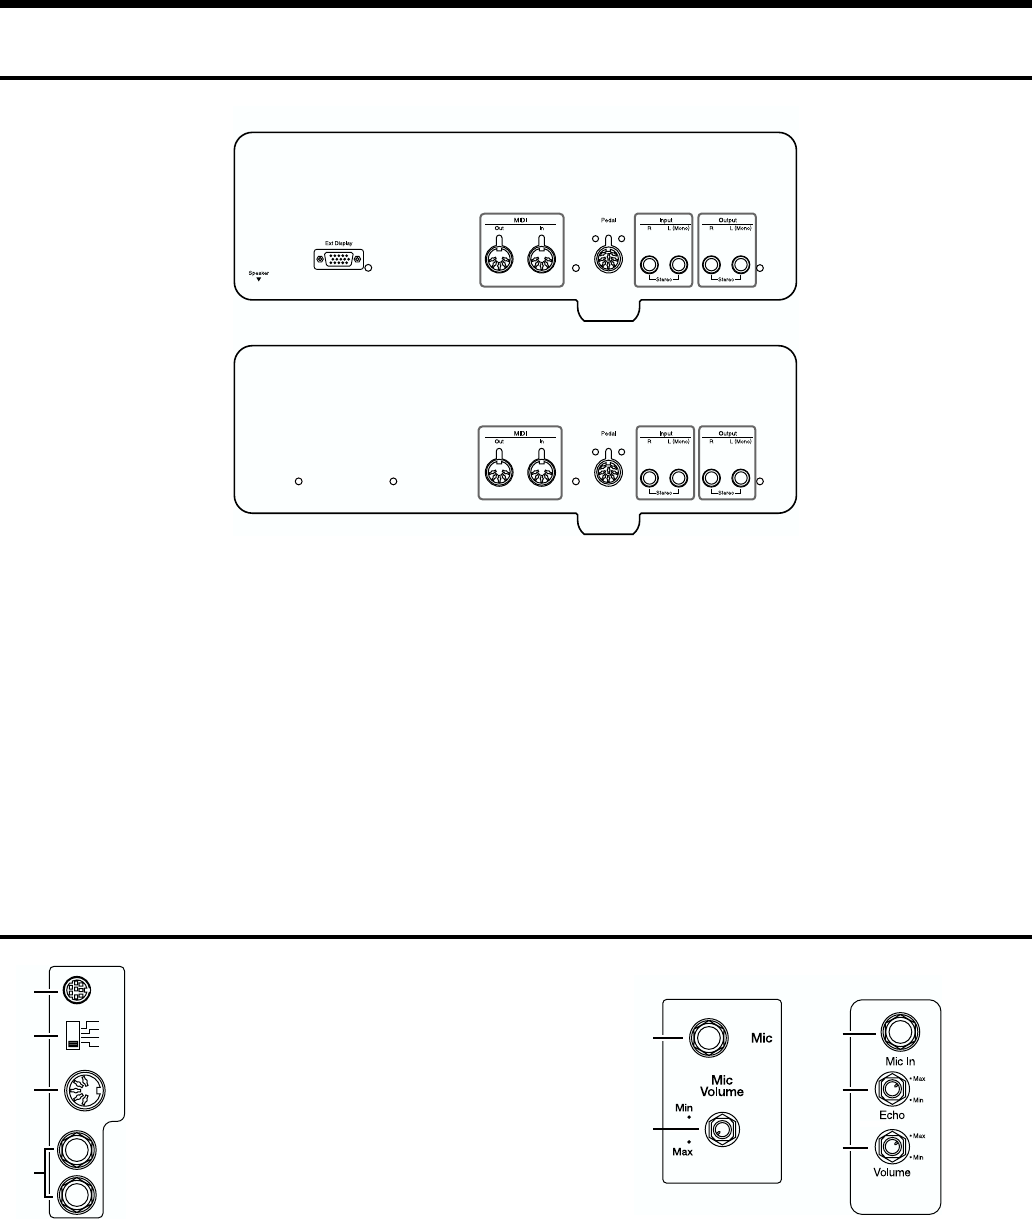
Rear Panel
1. MIDI Out/In connectors
These can be connected to an external MIDI device to exchange
performance data (p. 158).
* There is also a MIDI In connector on the bottom panel. The two MIDI
In connectors cannot be used simultaneously.
2. Pedal connector
Connect the pedal cable of the stand to this connector (p. 18).
3. Input jacks
These jacks can be connected to another sound generating
device or an audio device, so that the sound of that device will
be output from the KR-7/5’s speakers (p. 162).
4. Output jacks
These jacks can be connected to your audio system to enjoy
more powerful sound. They can also be connected to a tape
recorder or similar device in order to record your performance
on a cassette tape (p. 162).
5. Ext Display connector (KR-7)
Connect an external display. You can put scores on the screen
and display lyrics (p. 21).
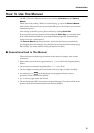
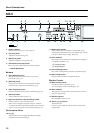
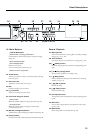
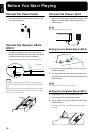
Bottom Panel
1.Computer connector
You can connect a computer to this
connector to exchange performance data
(p. 163).
2.Computer switch
The setting for this switch made
depending on the computer connected –
Mac/PC-1/PC-2.
Switches the connections for the MIDI
connectors and the computer port (p. 163).
* You can’t use the MIDI Out/In connector and
the Computer connector at the same time.
3. MIDI In connector
An external MIDI device can be connected here to receive
performance data (p. 158).
* There is also a MIDI In connector on the rear panel of the KR-7/5. The
two MIDI In connectors cannot be used simultaneously.
4. Phones jacks
A set of headphones can be connected here (p. 20).
5. Mic In jack
Used for connecting microphones (p. 21).
6. Echo knob (KR-5)
Adjusts the echo level (p. 21).
7. Mic Volume knob
Adjusts the volume level for the microphone (p. 21).
1234
5
1234
KR-7
KR-5
MIDI In
Phones
Computer
MIDI
PC
-
1
Mac
PC
-
2
1
2
3
4
KR-5KR-7
5
7
5
6
7