XML POWERED MIXERS
20
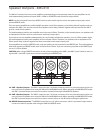
Basic Operation
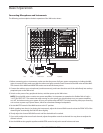
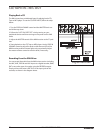
Connecting Microphones and Instruments
The following section explains the basic operation of the XML series mixers.
1. Before connecting mics or instruments, make sure that the power of all your system components, including the XML
mixer, is turned o. Also, make sure that the volume and gain controls of each channel of the XML mixer and the MAS-
TER controls of the MAIN and MONITOR section are turned all the way down.
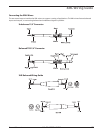
2. Connect the cables to your microphone(s) and instrument(s), and insert the other end of the cable rmly into each ap-
propriate input on the XML mixer.
3. Switch on the power of any peripheral devices, and then power up the XML mixer.
NOTE: Since the XML mixers contains two power ampliers, it is important to remember the Golden Rule of audio …
“ LAST ON, FIRST OFF.” This means that when turning on your system, you should always turn your power ampliers
on LAST, and when turning your system o, turn your power amps o FIRST. This helps avoid any loud pops caused by
rush current at power up or power down, which can sometimes damage loudspeakers.
4. Set the MASTER control of the MAIN section to the “5” position.
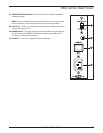
5. While speaking into the mic (or playing the instrument), adjust the channel GAIN control so that the “PEAK” LED of the
channel lights occasionally, then back it down slightly.
6. Slowly adjust the channel VOLUME control until the desired level is reached.
7. If you wish to adjust the tone of each channel, adjust the equalizer controls as desired. You may have to readjust the
channel volume.
8. Use the MAIN section graphic equalizer and MASTER control to adjust the overall volume and tone.
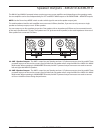
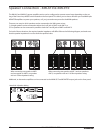
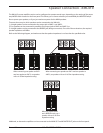
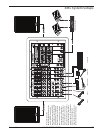
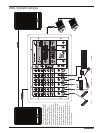
Vocal Vocal Electric Guitar Bass Guitar Keyboards
Signal Processor
Direct Box


