


13
English Chapter 4: Turning On/Off Your Disklavier
Setting the Internal
Calendar
The Disklavier has an internal calendar that can
be set from 1/1/1985 00:00:00 to 12/31/2084
23:59:59. Set the calendar accurately so that the
Disklavier displays the correct current time during
Stop mode.
Setting the correct time is also important for
engaging timer-controlled programs (see Chapter
3 “Timer Play” in the Advanced Operation
Manual for details).
Time is displayed in 24-hour format.
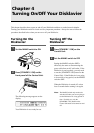
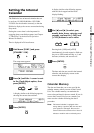
1
Hold down [FUNC.] and press
[STANDBY / ON].
The setup menu appears.
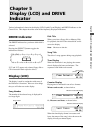
2
Press [>] until the c cursor is next
to the Clock Adjust option, then
press [ENTER].
A display similar to the following appears,
showing the current date and time.
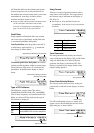
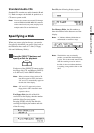
3
Press [ENTER].
A display similar to the following appears,
with the clock stopped and the hours
display flashing.
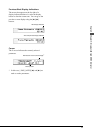
4
Use [<] and [>] to select year,
month, date, hours, minutes, and
seconds, and use the [–/NO] and
[+/YES] buttons to set a value.
Pressing both [–/NO] and [+/YES]
simultaneously in each respective field sets
the year to 1990, month and day to 1, and
the hours, minutes, and seconds to 0.
5
Press [ENTER].
The date and time are stored in the internal
calendar, and the display returns to the
current time display.
Calendar Memory
The date and time that you set are saved in the
calendar memory when you turn off the Control
Unit. The calendar memory can maintain the
correct date and time for about a month. If you do
not use the Control Unit for over a month, you
must reset the calendar following the above
procedure.
Note: The internal calendar is equipped with a
storage battery (capacitor) that does not need
to be replaced or recharged. However, the
Control Unit must be turned on for at least 10
minutes a month in order to maintain power.
STANDBY
ON
ENTER
ENTER
ENTER
–/NO +/YES
FUNC.
Flashes
+