


57
English Chapter 13: Using the PianoSmart Feature
☛ Unformatted disks must be formatted before
use with the Disklavier. See “Formatting
Disks” on page 17 in the Advanced
Operation Manual.
2b
Use the [SELECT] buttons to select
the number of the memory disk
that will serve as the recording
destination.
3
Press [REC] to engage the Record
Standby mode.
The REC indicator lights and the
PLAY/PAUSE indicator flashes.
A new song number is created for the new
recording. For example, if the last song to
be recorded was No.6, then the new song
will be No.7.
4
Use the [SONG SELECT] buttons to
select the song on the CD to be
played back so that it will be re-
recorded.
☛ See “Recording the Left and Right Parts
Separately” on page 29 in the Advanced Operation
Manual.
5
Use the [PART] buttons to select
the part that you want to re-
record.
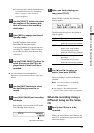
6
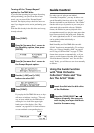
Press [PLAY/PAUSE] and recording
will begin.
Start playing your song with the CD sound.
The following display appears.
“PS” indicates PianoSmart.
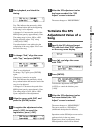
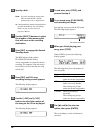
7
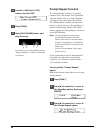
When you finish playing your
song, press [STOP].
When [STOP] is pressed, the following
display appears.
The following table gives a description of
each of options.
Option Description
SAVE The new recording is saved
under the current song number.
NEW The new recording is saved
under a new song number.
The existing song is kept
under the current song number.
CANCEL The new recording is
discarded.
The existing song is kept
under the current song number.
8
Use [<] and [>] to select an
option, then press [ENTER].
The re-recording is saved as indicated or
canceled.
Note: It is also possible to re-record the
Ensemble parts.
☛ See Chapter 7 “Recording Ensemble
Tracks” in the Advanced Operation Manual.
When Re-recording Using a
Different Song on the Same
CD
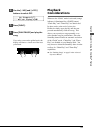
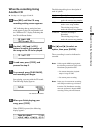
1
Specify the CD that is to be
recorded.
When you insert CD into the CD drive, the
letter “Cd” automatically appear on the left
side of the display.