


58
2a
Specify a disk.
Note: If you are recording to a floppy disk,
make sure that the disk’s erasure
protection tab is set to “unprotected”.
☛ Unformatted disks must be formatted before
use with the Disklavier. See “Formatting
Disks” on page 17 in the Advanced
Operation Manual.
2b
Use the [SELECT] buttons to select
the number of the memory disk
that will serve as the recording
destination.
3
Press [REC] to engage the Record
Standby mode.
The REC indicator lights and the
PLAY/PAUSE indicator flashes.
A new song number is created for the new
recording. For example, if the last song to
be recorded was No.6, then the new song
will be No.7.
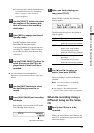
4a
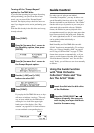
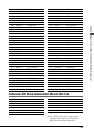
Press [REC] until CD song
recording setting screen appears.
The following display appears.
4b
Use the [–/NO] and [+/YES]
buttons to select the number of
the song on the CD to be played.
The following display appears.
4c
To end now, press [STOP], and
proceed to step 6.
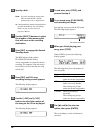
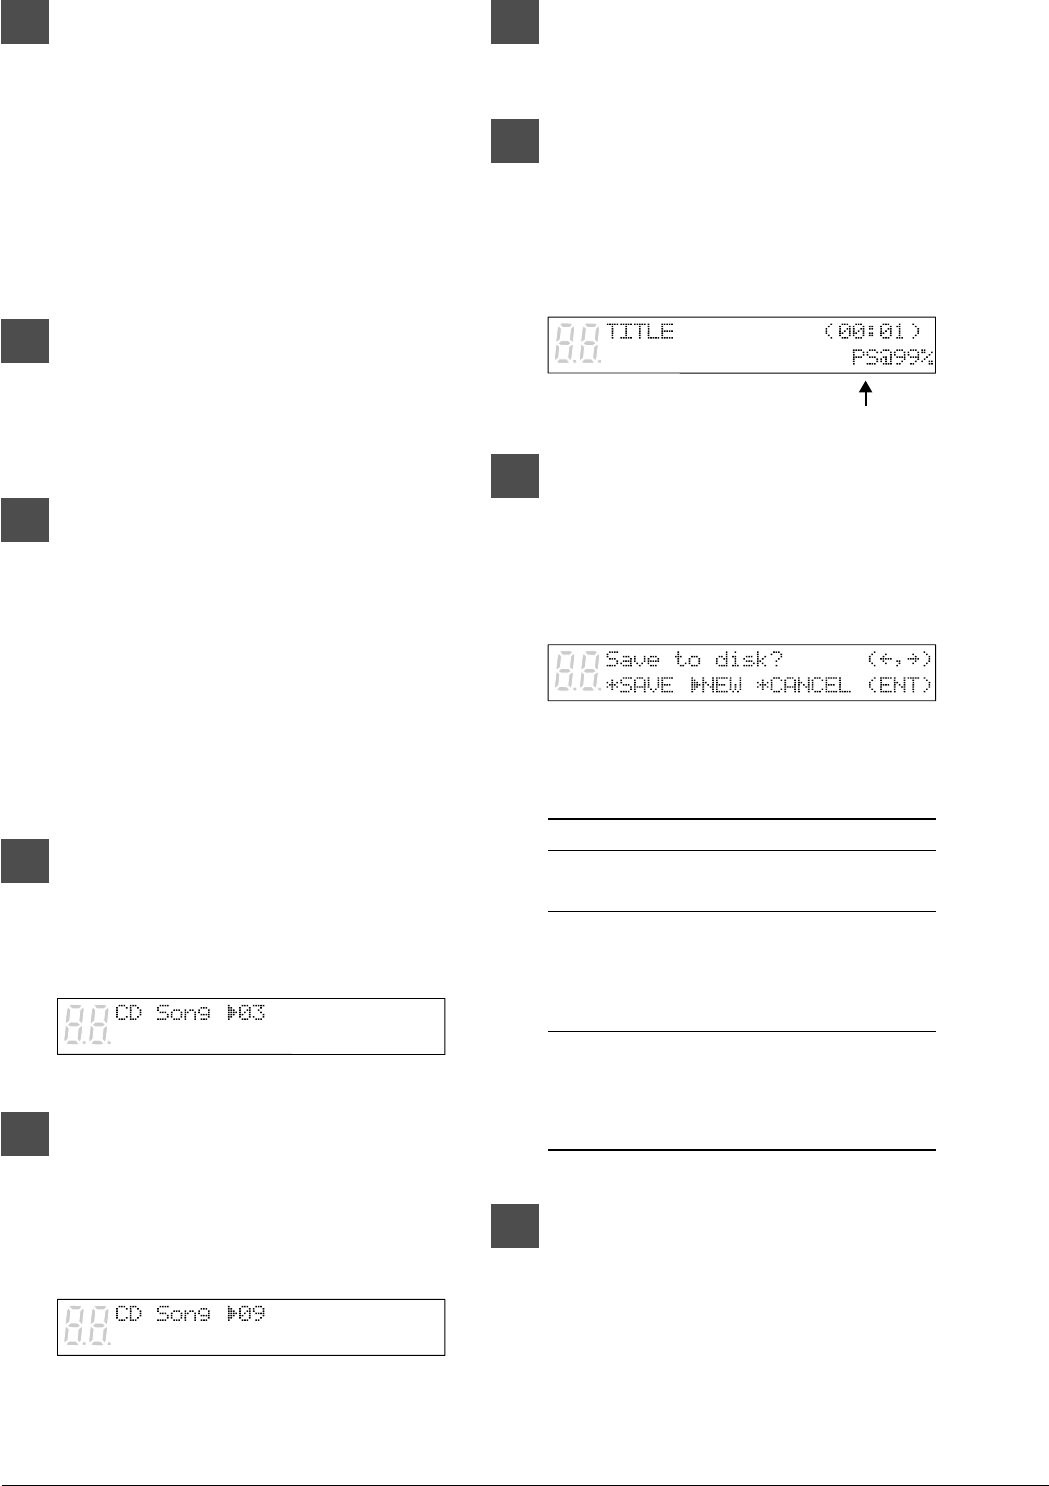
5
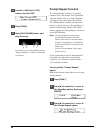
To re-record, press [PLAY/PAUSE],
and recording will begin.
Start playing your song with the CD sound.
The following display appears.
“PS” indicates PianoSmart.
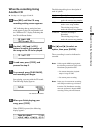
6
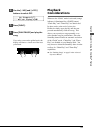
When you finish playing your
song, press [STOP].
When [STOP] is pressed, the following
display appears.
The following table gives a description of
each of options.
Option Description
SAVE The new recording is saved
under the current song number.
NEW The new recording is saved
under a new song number.
The existing song is kept
under the current song number.
CANCEL The new recording is
discarded.
The existing song is kept
under the current song number.
7
Use [<] and [>] to select an
option, then press [ENTER].
The re-recording is saved as indicated or
canceled.