15
Drum Kit Voice Edit Mode
This mode lets you set which voice and how it will be
triggered for each pad (trigger input source) in the cur-
rently selected drum kit.
■ What you can do with the Drum Kit Voice
Edit Mode
This mode contains various settings related to the currently se-
lected drum kit (data in the edit buffer for the drum kit).
You can edit both preset (No. 1-48) and user drum kits (No. 49-
80).
The edited drum kit can be stored in a User Drum Kit (No. 49-80)
using the Store Operation.
* Selecting another drum kit before storing your changes will re-
sult in the data reverting to its default settings.
* Data cannot be stored to preset drum kits (No. 1- 48).
■ Entering the Drum Kit Voice Edit Mode
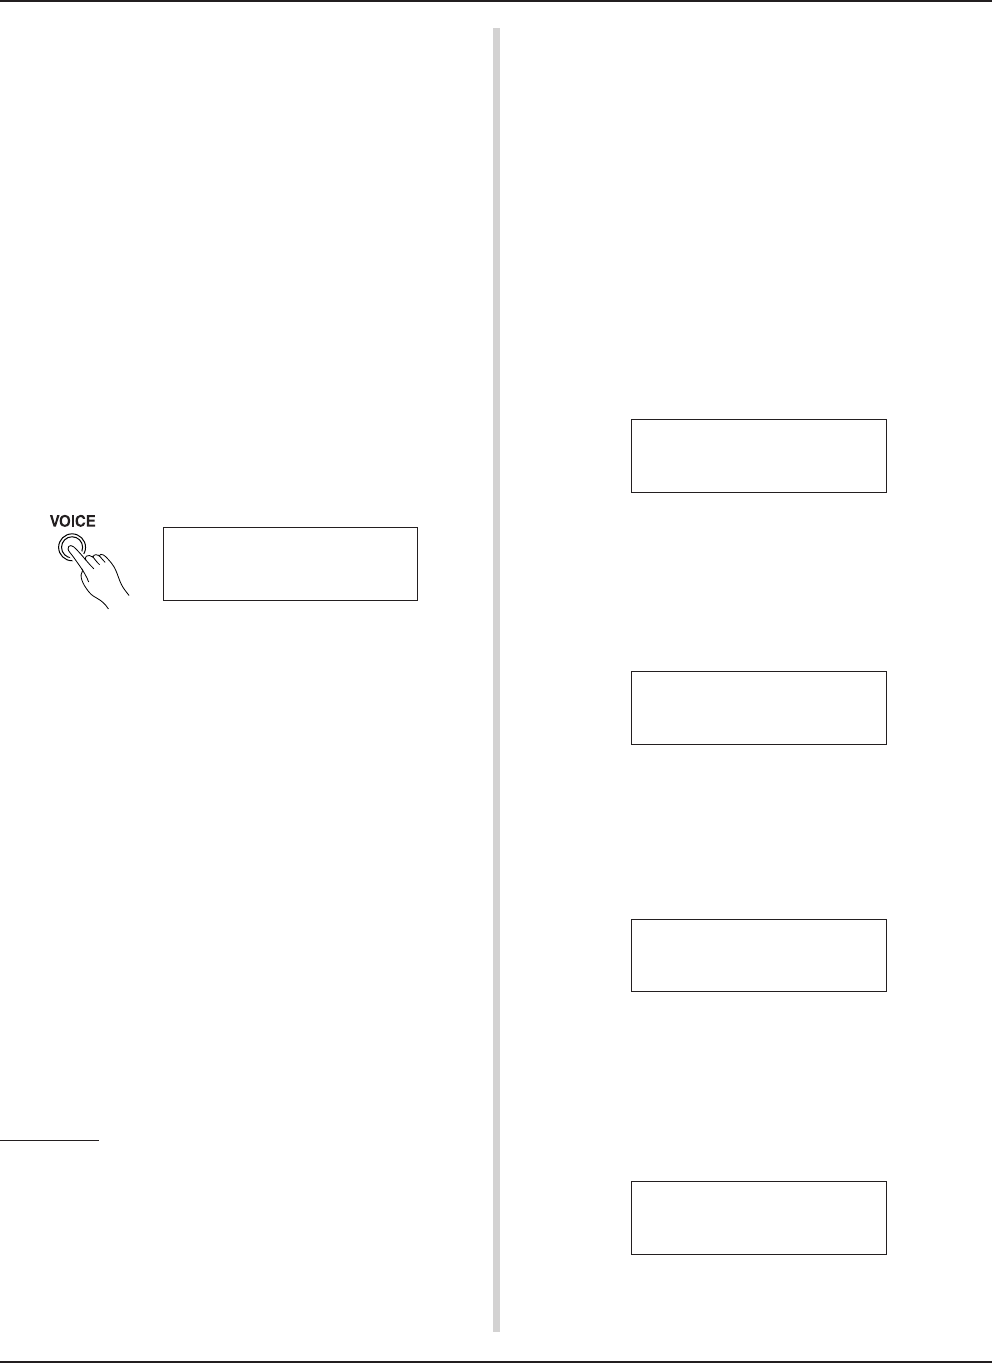
Press the [VOICE] button on the front panel.
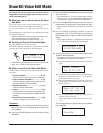
Once the Drum Kit Voice Edit Mode is entered, the Voice Param-
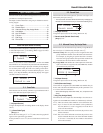
eter main page (Voice) shown below will be displayed.
3.
Use the [PAGEs], [PAGEt] buttons to display the page
you want to edit.
* If the Utility Mode’s [1- 4. Jump to Recent Page] (P. 28) pa-
rameter is set to “on”, the DTXPRESS will display the page
last edited when entering the Drum Kit Voice Edit Mode.
4.
Use the [SEL<]/[SEL>] buttons to move the cursor to
the parameter you want to edit. The parameter will flash.
* If there is only one parameter, it is not necessary to move the
cursor.
5.
Use the [VALUE–]/[VALUE+] buttons to set the
parameter’s value or ON/OFF setting. Pressing the
[VOICE] button lets you listen to the Drum Kit Voice while
editing.
* Once a setting is changed, “*” will appear on the display next
to “KIT”. After data is stored, the mark will disappear.
* Double-click the [VOICE] button to enter the Drum Kit Voice Edit
Mode. The [1-2. Volume, Pan] display will appear.
■ What’s in the Drum Kit Voice Edit Mode
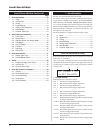
The Drum Kit Voice edit Mode is divided into the following five
sub-groups.
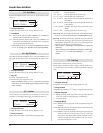
1.Voice Parameters.............................. (m P. 16)
Sets the voice for each input source of the pad.
2. Input Common Parameters............. (m P. 19)
Common settings related to the 2 layers for each
pad input source’s voice parameter.
3. Reverb Parameters .......................... (m P. 21)
Sets the internal reverb effect.
4. Setup................................................. (m P. 22)
When the drum kit is selected, this function cop-
ies the drum kit voice settings and MIDI transmit
settings.
5. Drum Kit Common Parameters ...... (m P. 23)
Common settings for the entire drum kit.
Procedure
1.
Before editing, it is necessary to select the drum kit you
want to edit in the Drum Kit Play Mode of the [Drum Kit &
Song] display.
2.
Press the [VOICE] button to enter the Drum Kit Voice
Edit Mode.
KIT IN=pad 1 V=1
=K/017 BDaftty1
6.
To store your changes in a User Drum Kit, use the Store
Operation described below.
* The changes you made will be lost if another drum kit is se-
lected before your changes have been stored.
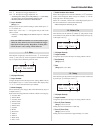
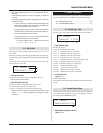
6-1. Press the [SAVE/ENT] button. The following display will
appear.
6-2. Use the [VALUE-]/[VALUE+] buttons to assign the Drum
Kit number (49-80) (located next to “To=”). The num-
ber and drum kit name will appear.
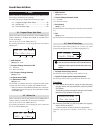
6-3. Press the [SAVE/ENT] button, the following display will
appear asking for confirmation before the store opera-
tion is carried out.
6-4. Press the [SAVE/ENT] or [VALUE+] button, the store
operation will be carried out.
*Press the [VALUE-] button to cancel the store opera-
tion.
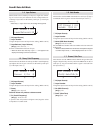
The following display will appear after the store opera-
tion is complete.
KIT*IN=pad 1 V=1
=K/019 MapleA20
Store Drumkit
To= 49 Init Kit
Store KIT to= 49
Are you sure ?
Complete !


