


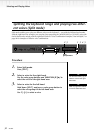

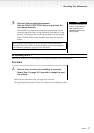
36 PF-500
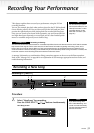
Recording Your Performance
Set the tempo in Step 3.
See page 42 for more infor-
mation on recording in Dual/
Split mode.
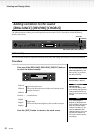
2. Select a voice.
Select a voice (or voices) for recording (see page 26).
Set the other parameters, such as reverb and chorus.
Adjust the [MASTER VOLUME] dial to set the volume level to suit
your preference. You can also use the dial to adjust the level during
playback.
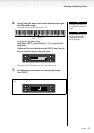
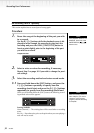
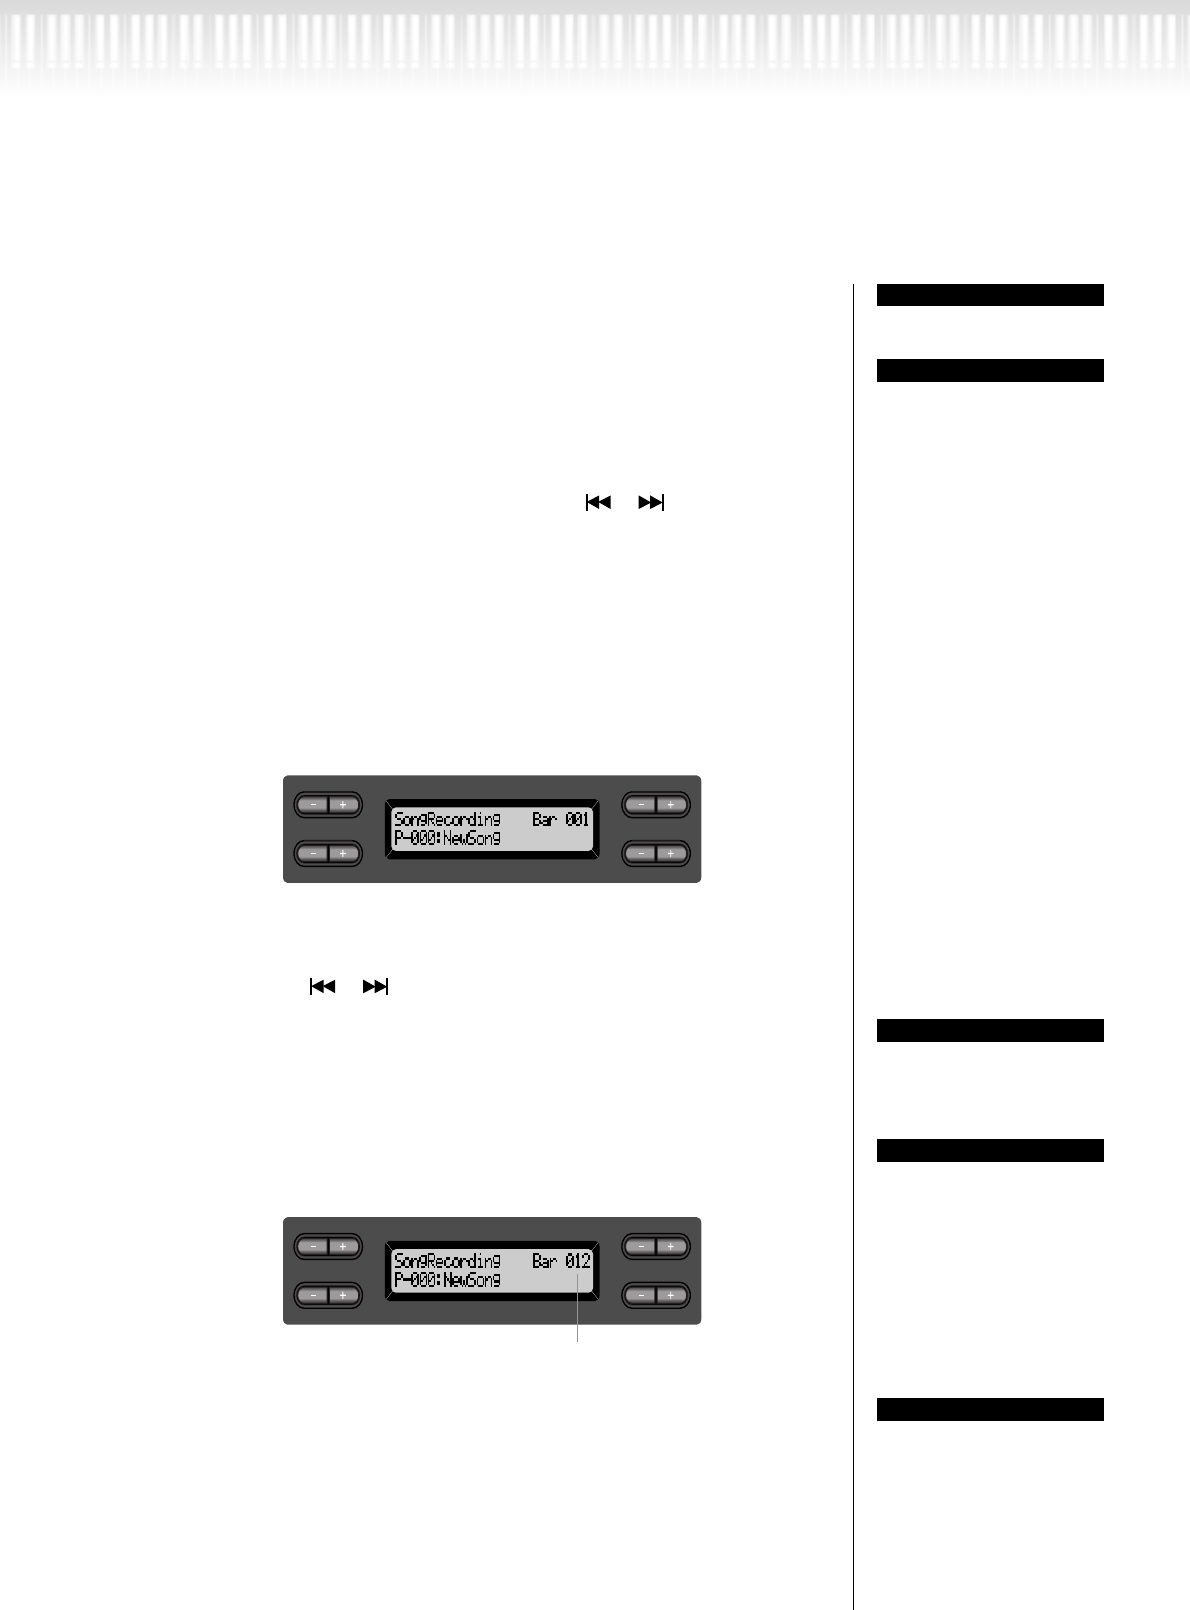
After you set the tempo or if the record standby screen does not
appear, press one of the SONG SELECT [ ] [ ] buttons once to
return to the New Song screen.
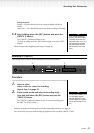
3. Enter record mode and select a recording track.
Press and hold down the [REC] button and press the
[TRACK 1] button.
The [TRACK 1] indicator flashes in red. (To cancel recording, press
the [REC] or [TOP] button.)
Set the tempo, if necessary.
If this record standby screen does not appear, press one of the SONG
SELECT [ ] [ ] buttons once.
You can record data while
using the metronome. The
metronome is not recorded.
When you press the SONG
[START/STOP] button dur-
ing recording, recording is
paused. To resume record-
ing, press the SONG
[START/STOP] button again
or play a note on the key-
board.
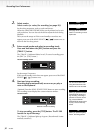
4. Start and stop recording.
Recording begins automatically as soon as you play a
note on the keyboard.
(Optional) Press the SONG [START/STOP] button to start recording.
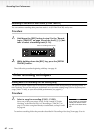
The recording screen displays the current measure number.
When you press the [REC]
button, recording pauses.
To stop recording, press the [TOP] button. The PF-500
locates the top of the song.
The [TRACK 1] indicator lights up in green. (Record mode is auto-
matically cancelled.)
NOTE
NOTE
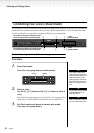
Record standby screen
C
A
D
B
NO YES
TIP
TIP
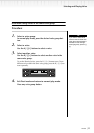
Record screen
C
A
D
B
NO YES
Measure number in recording
TIP