26
3. When you have selected the parameter you want to edit, release the TRANS BUTTON.
4. You will see the value for that parameter in the PROGRAM / DATA DISPLAY. Press the HOLD
BUTTON (which increases the value) or OCTAVE BUTTON (which decreases the value).
5. Press and hold the TRANS BUTTON to return to the menu in Step #2. From here, you may repeat the
process and edit other parameters.
6. To exit this menu, press the SETUP BUTTON.
PITCH BEND PLATE FUNCTIONS
When you press either of the PITCH BEND PLATES, the EWI4000s will bend the pitch of the note you are
playing, allowing you to be more expressive with your performance. Alternately, you can set the PITCH
BEND PLATES to transmit data for individual MIDI Continuous Controllers.
Assigning Functions to the Pitch Bend Plates
1. Press and hold the SETUP BUTTON.
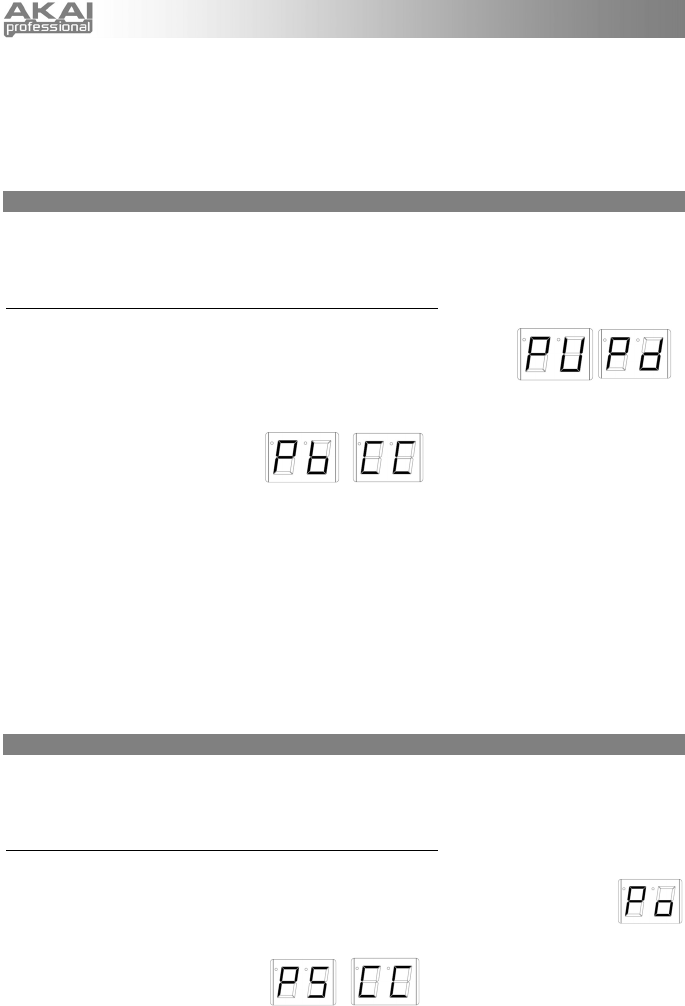
2. Press the HOLD BUTTON or OCTAVE BUTTON to scroll through the
options until “PU” (Pitch Bend Up) or “Pd” (Pitch Bend Down) is shown in
the PROGRAM DATA / DISPLAY.
3. Release the SETUP BUTTON. The PROGRAM / DATA DISPLAY will display the current mode. Use
the HOLD BUTTON or OCTAVE BUTTON to select any of the following options:
a. “Pb” (Pitch Bend): Press the TRANS BUTTON to engage the Pitch Bend function, which will let
you bend the pitch of the note you are playing while pressing the PITCH BEND PLATE. A dot
LED will light up on the PROGRAM / DATADISPLAY to indicate Pitch Bend is enabled. Press the
TRANS BUTTON again to disable it.
b. “CC” (Continuous Controller): Press the TRANS BUTTON to enable the transmission of MIDI CC
data whenever you press the PITCH BEND PLATE. A dot LED will light up on the PROGRAM /
DATA DISPLAY to indicate this function is enabled. Press the TRANS BUTTON again to disable
it. You can adjust the CC number by holding down the TRANS BUTTON and pressing the HOLD
BUTTON or OCTAVE BUTTON to decrease or increase the number, respectively.
4. Press the SETUP BUTTON. The EWI4000s will return to Play Mode.
See ADJUSTING THE PITCH BEND SENSORS for more information.
GLIDE PLATE FUNCTIONS
The EWI4000s’s GLIDE PLATE lets you use portamento or a glide effect to move between notes for greater
expressiveness in your performance. Alternately, you can set the GLIDE PLATE to transmit data for
individual MIDI Continuous Controllers.
Assigning Functions to the Glide Plate
1. Press and hold the SETUP BUTTON.
2. Press the HOLD BUTTON or OCTAVE BUTTON to scroll through the options until “Po”
(Portamento) is shown in the PROGRAM DATA / DISPLAY.
3. Release the SETUP BUTTON. The PROGRAM / DATA DISPLAY will display the current
mode. Use the HOLD BUTTON or OCTAVE BUTTON to select any of the following options:
a. “PS” (Pedal Switch): Press the TRANS BUTTON to engage the Pedal Switch function, which
enables the sending of MIDI CC #65 (Portamento On/Off). Some modules may need this
message to enable or disable portamento, though the EWI4000s and most modules do not need
this. A dot LED will light up on the PROGRAM / DATA DISPLAY to indicate Pedal Switch is
enabled. Press the TRANS BUTTON again to disable it.
