


Sampling Sounds and Playing Them on the Digital Keyboard
E-22
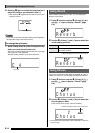
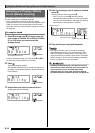
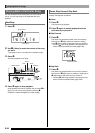
■To change the pitch of a sampled sound
While holding down the keyboard key of the sampled sound
whose pitch you want to change, use the
br
(10-key) [–] and
[+] keys to change the pitch.
• You can change the pitch within a range of –64 to 63
semitones.
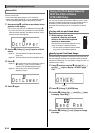
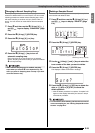
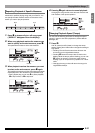
■To delete a keyboard key’s sampled sound
While holding down the keyboard key whose sound you want
to delete, press
bp
. In response to the “DelSure?” message
that appears, press the
br
(10-key) [+] button to delete, or [–]
to cancel the delete operation.
• Deleting a sampled sound will return the key to its initial
default built-in sound.
Example: To delete the sound assigned to key D4
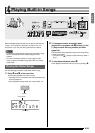
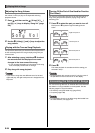
Use the following procedure to change the rhythm part of an
Auto Accompaniment pattern to a drum set sound that you
sampled.
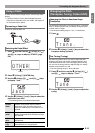
1.
Press
bp
and then use
br
(10-key) to enter the
rhythm number of the Auto Accompaniment
pattern you want.
You cannot use a Drum Sampling Tone in a user rhythm,
so do not select a user rhythm in the above step.
2.
Press
bo
and then use
br
(10-key) to enter the
tone number of the sampling drum set that
contains the sound you want to use.
3.
Press
bo
.
This changes the rhythm part of the Auto Accompaniment
pattern you selected in step 1 to the sampled sound you
selected in step 2.
• To change the Auto Accompaniment rhythm part back
to its original sound, press
bo
again.
• Some rhythm part drum sounds cannot be replaced by
sampled sounds.
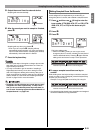
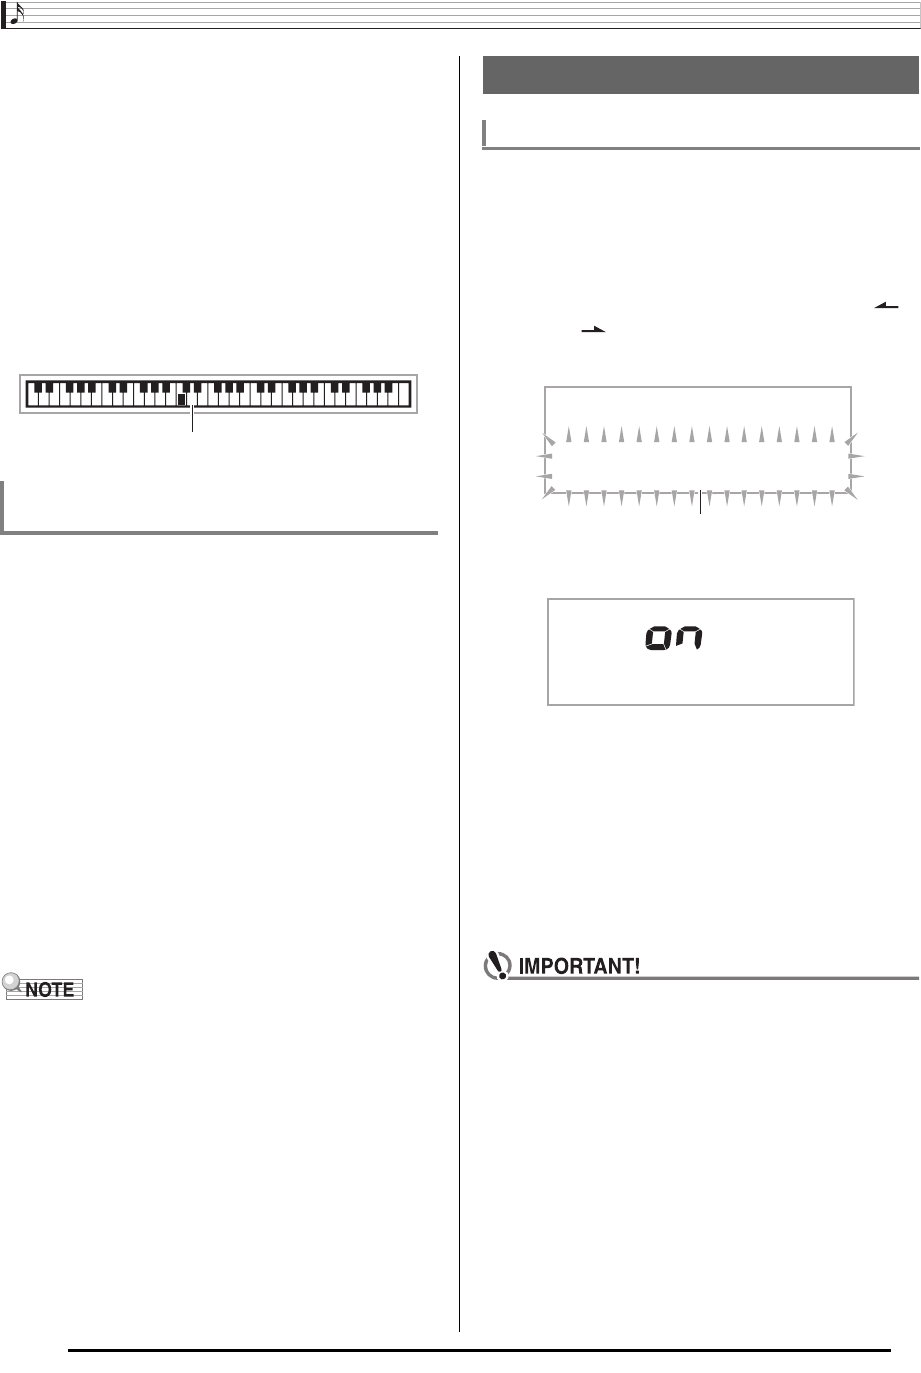
Normally when the Digital Keyboard is in sampling standby, it
will start sampling automatically whenever it detects sound
input. You can use the following procedure to enable manual
sampling start, which will cause sampling to wait until you
press a button to start it. You can use this to insert silence
before the sampled sound.
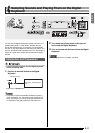
1.
Press
cs
and then use the
br
(10-key) [4] ( )
and [6] ( ) keys to display “SAMPLING” (page
E-6).
2.
Press the
br
(10-key) [7] (ENTER) key.
3.
Press the
br
(10-key) [–] key to turn off
automatic sampling start.
This enables manual sampling start, which operates as
described below.
• Melody sampling (page E-18):
Sampling starts when you release
cr
, which you press
in step 2 of the sampling procedure.
• Drum sampling (page E-20):
Sampling starts when you release the Digital Keyboard
key you press in step 4 of the sampling procedure.
• When manual sampling start is enabled, sampling
starts when you release
cr
or the keyboard key, not
when you press it. Sampling does not start if you hold
down the button or key.
Using a Drum Sampling Tone in Auto
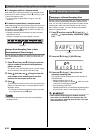
Accompaniment (Drum Assign)
Disappears
Other Sampling Functions
Changing to a Manual Sampling Start
SA
M
PL ING
Flashes
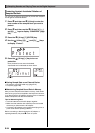
A u t o S t r t
B