Using a Memory Card
E-138
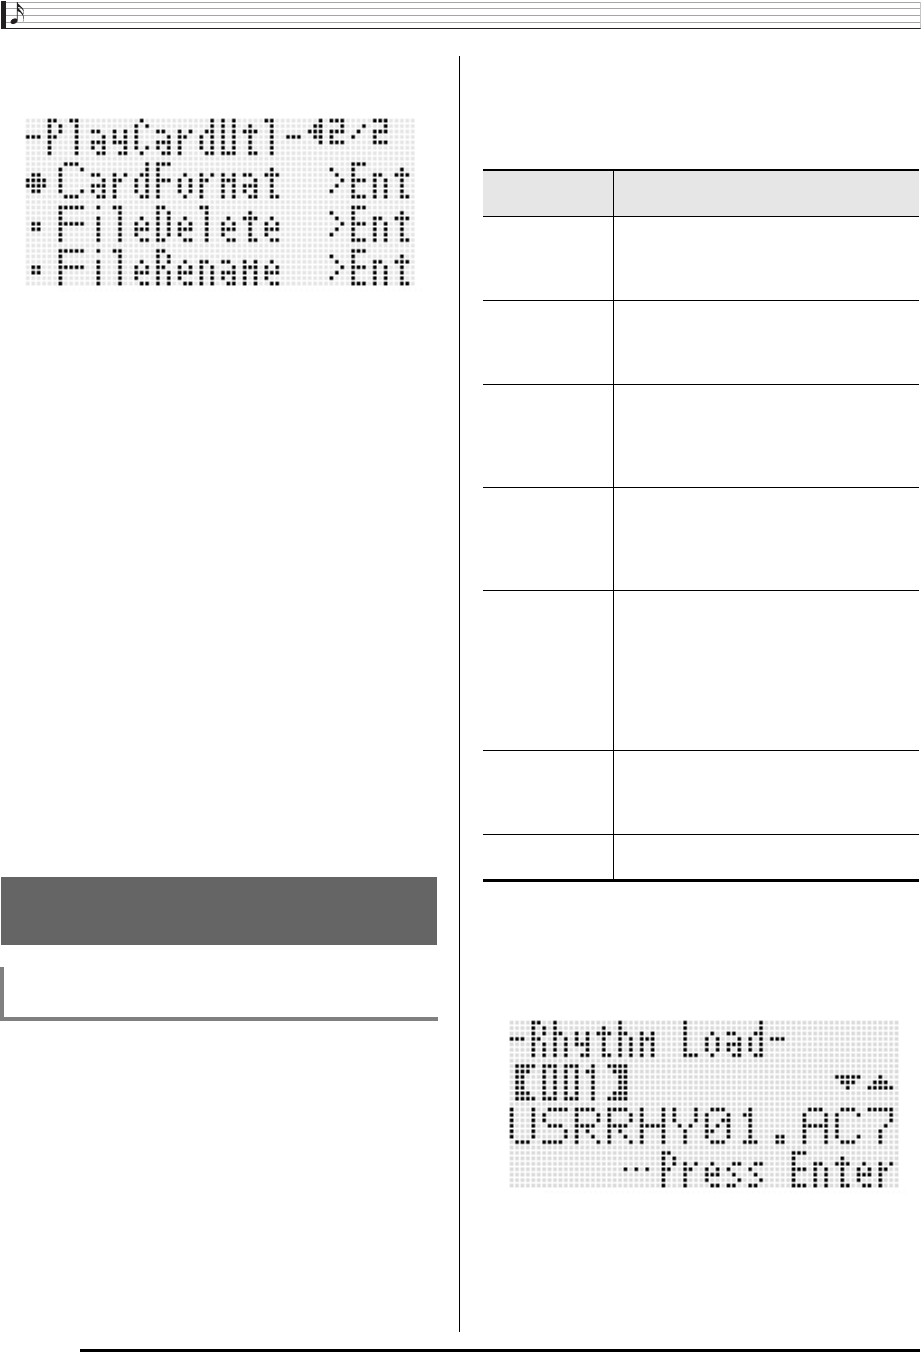
4.
Use the R-17 (t, y) buttons to move the 0 to
“CardFormat”.
5.
Press the R-16 (ENTER) button.
• This will display a value indicating the maximum
number of audio recordings that can be recorded.
6.
Use the dial or R-14 (–, +) buttons to specify the
number of audio recordings you want to format
the card for.
• You can format a 2GB card for up to 14 songs. A 4GB
to 32GB card can be formatted for up to 20 songs.
• An audio recording area of approximately 128MB is
reserved on the memory card for each song.
• The minimum number of audio recordings you can
specify is 0 (which specifies the card will not be used
for storage of audio recordings).
• The higher the number of audio recordings you specify
here, the longer it will take to format the card.
7.
Press the R-14 (YES) button to format the
memory card or the R-14 (NO) button to cancel.
• The message “Please Wait” will remain on the display
while the format operation is being performed. Do not
perform any Digital Keyboard operation while this
message is on the display. “Complete” appears on the
display after formatting is complete.
• Formatting may take as long as a few minutes to
complete.
1.
Insert the memory card into the card slot.
2.
If the Digital Keyboard is in the card mode,
press the C-9 (CARD) button to exit the card
mode.
3.
Depending on the type of data you want to save
to the memory card, perform one of the steps
shown below.
• All setup registration banks are saved as a batch. Other
data is saved in area (data item) units.
4.
While holding down the R-13 (FUNCTION)
button, press the C-9 (LOAD/SAVE) button.
• This causes an “Xxxx Load”
*1
screen like the one
shown below to appear. The sample screen below
shows the screen that appears from the rhythm screen.
Saving Digital Keyboard Data to a
Memory Card
To save Digital Keyboard data to a memory
card
To save this
type of data:
Do this:
One user rhythm 1. Press the L-8 ([F] USER RHYTHMS)
button.
2. Use the dial or R-14 (–, +) buttons to
specify the user rhythm number.
One user tone 1. Press the R-11 ([K] USER TONES)
button.
2. Use the dial or R-14 (–, +) buttons to
specify the user tone number.
One user
drawbar organ
tone
1. Press the R-12 ([L] DRAWBAR ORGAN)
button.
2. Use the dial or R-14 (–, +) buttons to
specify the user drawbar organ tone
number (L:051 through L:100).
One user DSP 1. Perform steps 1 through 4 under “To use
a DSP” (page E-32).
2. Use the dial or R-14 (–, +) buttons to
specify the user DSP number (101
through 200).
One user preset 1. While holding down the L-6 ([D] WORLD/
VARIOUS) button, press the L-7 ([E]
PIANO RHYTHMS) button to display the
music preset screen.
2. Press the L-8 ([F] USER RHYTHMS)
button.
3. Use the dial or R-14 (–, +) buttons to
specify the user preset number.
One song
sequencer song
1. Press the C-4 (SONG SEQUENCER)
button to enter the song sequencer mode.
2. Use the dial or R-14 (–, +) buttons to
specify the song number.
All registration
banks
Press the C-10 (BANK) button to display the
registration bank selection screen.


