Using the Song Sequencer
E-82
1.
Perform the procedure under “To start a song
editor operation” on page E-81 to display the
song editor menu, with the 0 located at
“Clear”.
2.
Press the R-16 (ENTER) button.
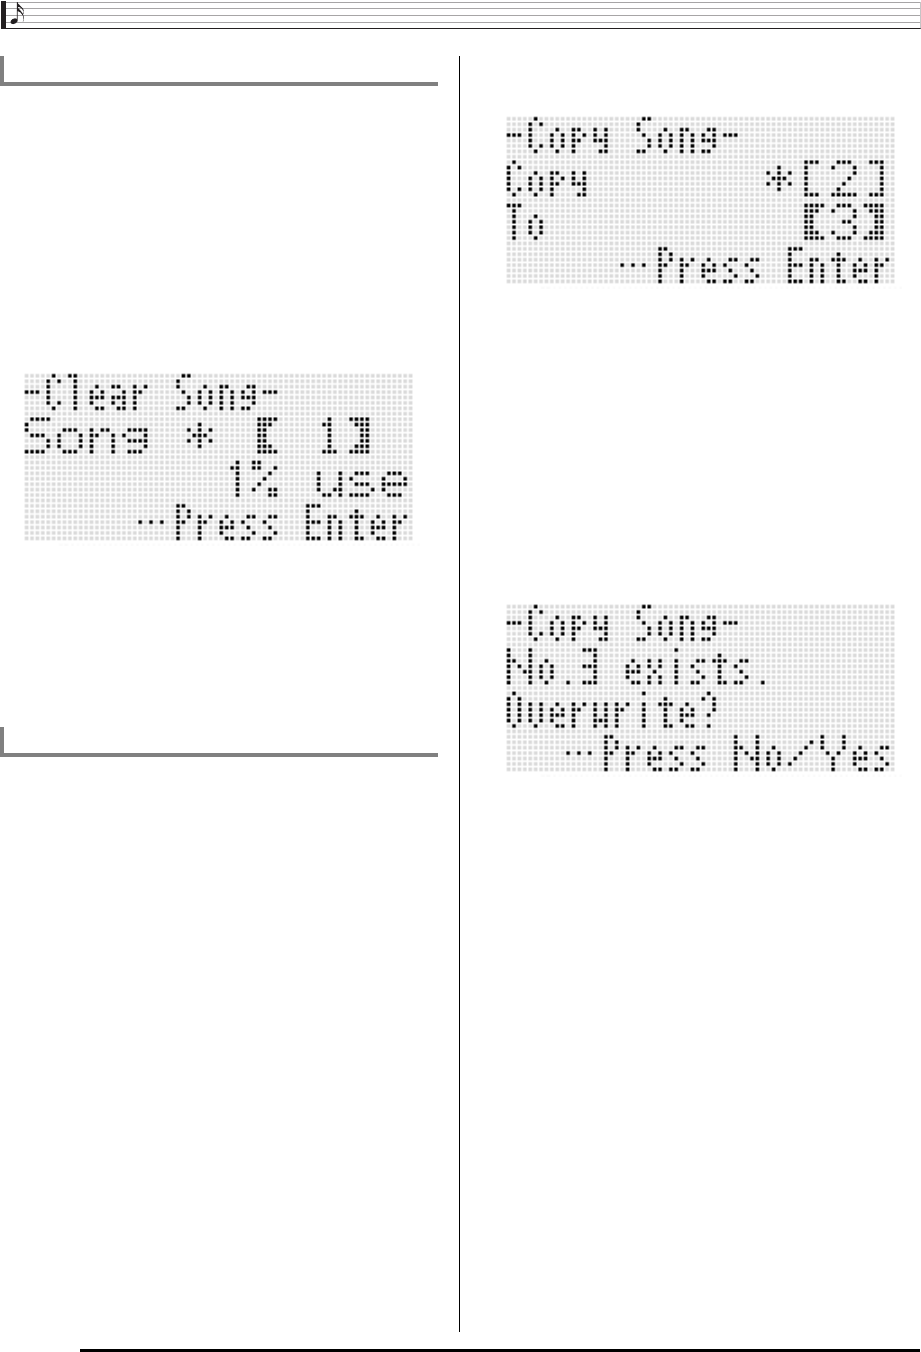
• This displays the “Clear Song” screen.
3.
Use the dial or R-14 (–, +) buttons to specify the
song area number you want to clear.
• An asterisk (*) next to a song area number indicates
that there is already data recorded in that area.
• You can select “All” here to clear all songs.
4.
Press the R-16 (ENTER) button.
5.
In response to the “Sure?” message that
appears, press the R-14 (YES) button to clear or
the R-14 (NO) button to cancel.
1.
Perform the procedure under “To start a song
editor operation” on page E-81 to display the
song editor menu.
2.
Use the R-17 (t, y) buttons to move the 0 to
“Copy” and then press the R-16 (ENTER)
button.
• This displays the “Copy Song” screen. At this time the
thick brackets (%) will be located at the “Copy”
setting.
3.
Use the dial or R-14 (–, +) buttons to specify the
song area number you want to copy from.
4.
Press the R-17 (y) button to move the thick
brackets (%) to “To”.
• An asterisk (*) next to a song area number indicates
that there is already data recorded in that area.
5.
Use the dial or R-14 (–, +) buttons to specify the
song area number you want to copy to.
6.
Press the R-16 (ENTER) button.
• If the copy destination song area does not contain
recorded data, the copy operation is performed
immediately.
• If the copy destination song area already contains
recorded data, the confirmation message shown below
appears asking if you want to overwrite the existing
data.
Press the R-14 (YES) button to perform the copy
operation and overwrite the existing song or the R-14
(NO) button to cancel.
To clear a song
To copy a song from one area to another
