


E-11
English
Selecting and Playing a Tone
1.
After ensuring that the
(POWER) button is
in the off position, connect the AC adaptor to
the Digital Piano.
• For information about connecting the AC adaptor,
see “Power Outlet” (page E-8).
2.
Rotate the
(VOLUME) knob towards MIN
to set the volume to a low level.
3.
Connect headphones or other devices to the
Digital Piano as necessary (see
“Connections” on page E-9).
4.
Press the
(POWER) button to turn on the
Digital Piano.
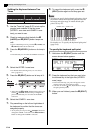
• The Digital Piano display screen will appear as
shown below, which indicates that it is ready to play
(using initial power on default settings).
• To turn off the Digital Piano, press the
(POWER)
button again.
IMPORTANT!
• Normally, turning power off and then back on again
will return the Digital Piano to its initial power on
default settings. If you perform the backup operation
(page E-40), turning power back on again will restore
the backed up settings. Perform a backup (page
E-40) or registration operation (page E-34) to save
the keyboard setup if you need to restore it later.
1.
While holding down the
(PART) button,
press the
(PLAY/STOP) button.
• This starts demo tune play.
• The Digital Piano has a total of four demo tunes. You
can use the
buttons to jump the beginning of the
previous (q) or next (w) demo tune. You can use
the Tone Group buttons (
to
) to select a specific
demo tune.
• You can play along on the keyboard with demo tune
play. Note, however, that you cannot change the tone
assigned to the keyboard. Only the key operations
described above are supported.
2.
To stop demo tune playback, press the
(PLAY/STOP) button again.
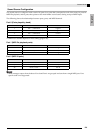
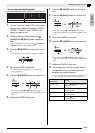
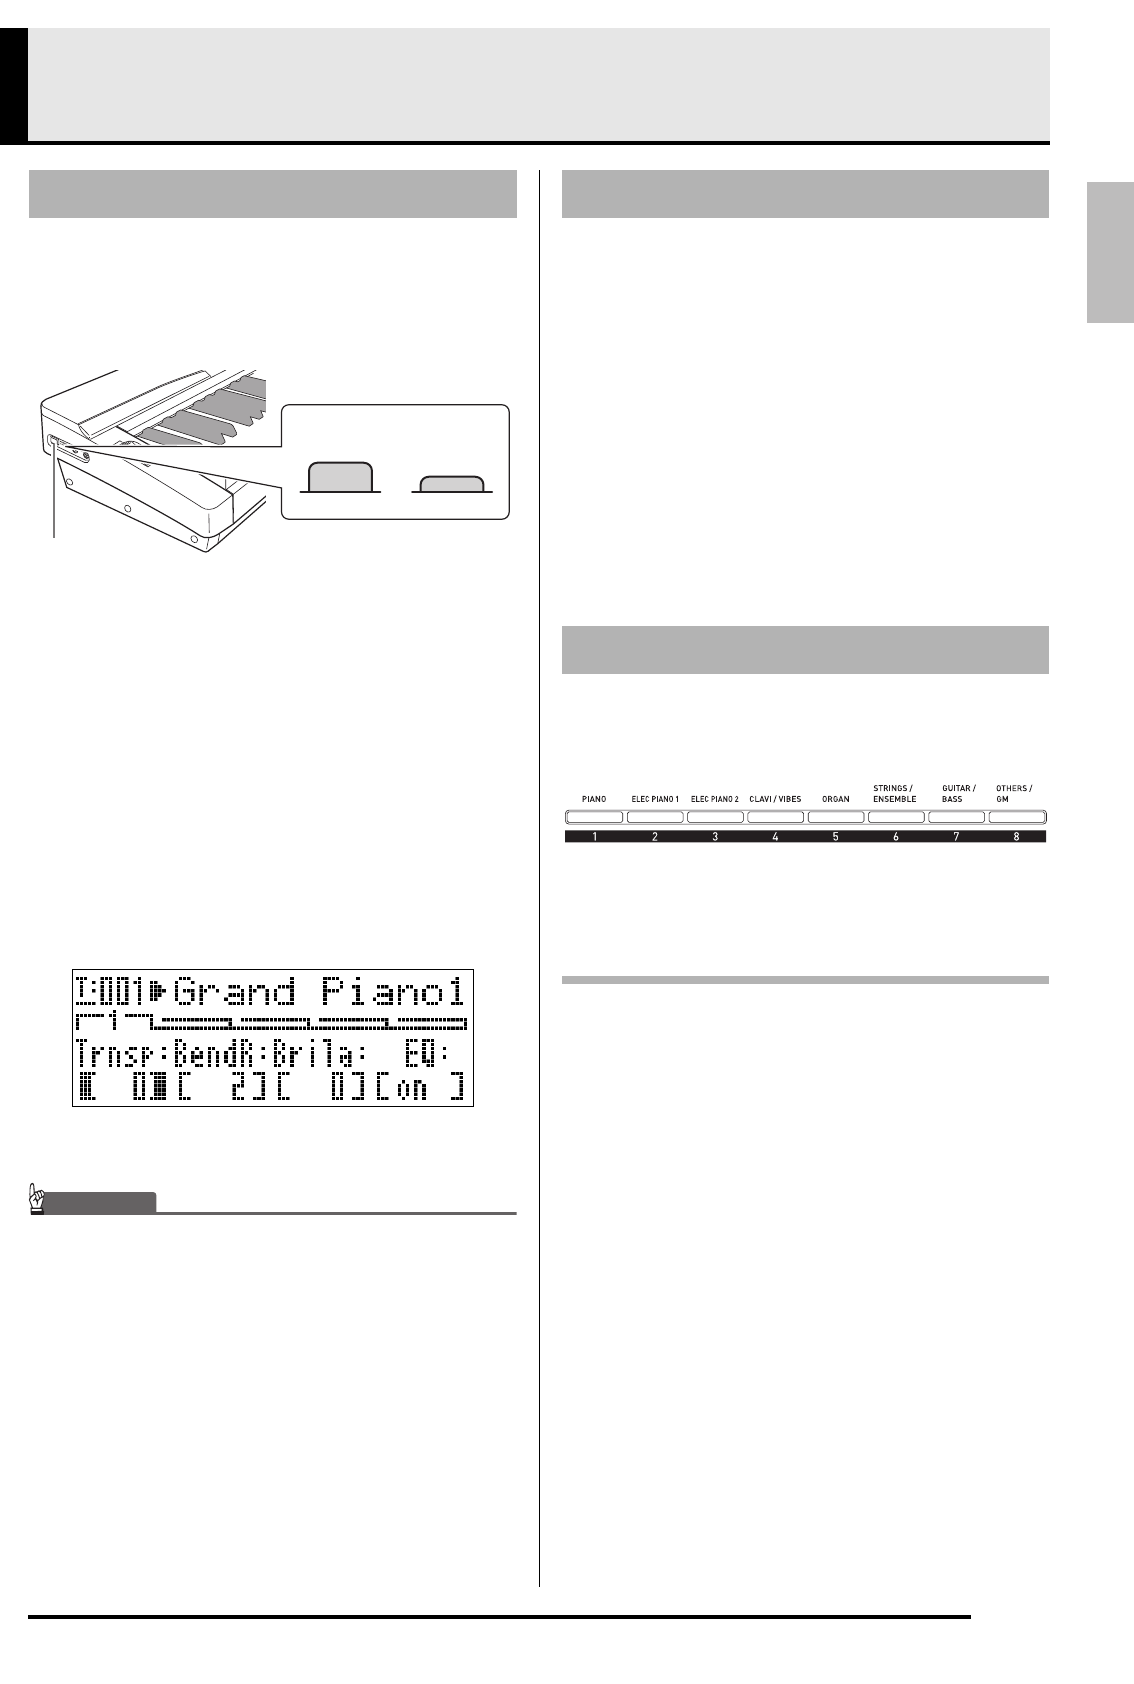
Your Digital Piano comes with 250 tones (which
include 10 drum sets) built in. Tones are divided into
the eight tone groups shown below.
Use the following procedure to select a single tone that
is applied across the entire keyboard.
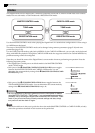
To select a tone
1.
Use the “Tone List” (page E-57) to look up the
group and the number of the tone you want to
select.
2.
Check to make sure that the lamp above the
(MASTER CONTROL) button is lit.
• If it is unlit, press the
(MASTER CONTROL)
button to light it.
3.
Check to make sure that the both the
(LAYER) and
(SPLIT) button lamps are
unlit.
• If they are lit, press the
(LAYER) and/or
(SPLIT) buttons to turn off both lamps.
4.
If the
(UPPER 1) button lamp is unlit,
press the
(UPPER 1) button so its lamp is
lit.
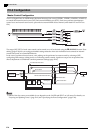
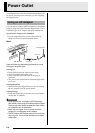
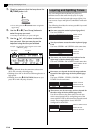
To turn on Digital Piano Power
button
Off position On position
Left Side
Listening to Demo Tunes
Selecting a Tone
MASTER CONTROL