Confirming Common Parameter Settings
E-19
To change common parameter settings
1.
Check to make sure that the lamp above the
(MASTER CONTROL) button is lit.
• If it is unlit, press the
(MASTER CONTROL)
button to light it.
2.
Check to make sure that the lamp above the
(ZONE EDIT) button is unlit.
• If the lamp is lit, hold down the
(ZONE EDIT)
button until it goes out.
3.
Use the
(PAGE) button to display the
common menu page that contains the
parameter whose setting you want to change.
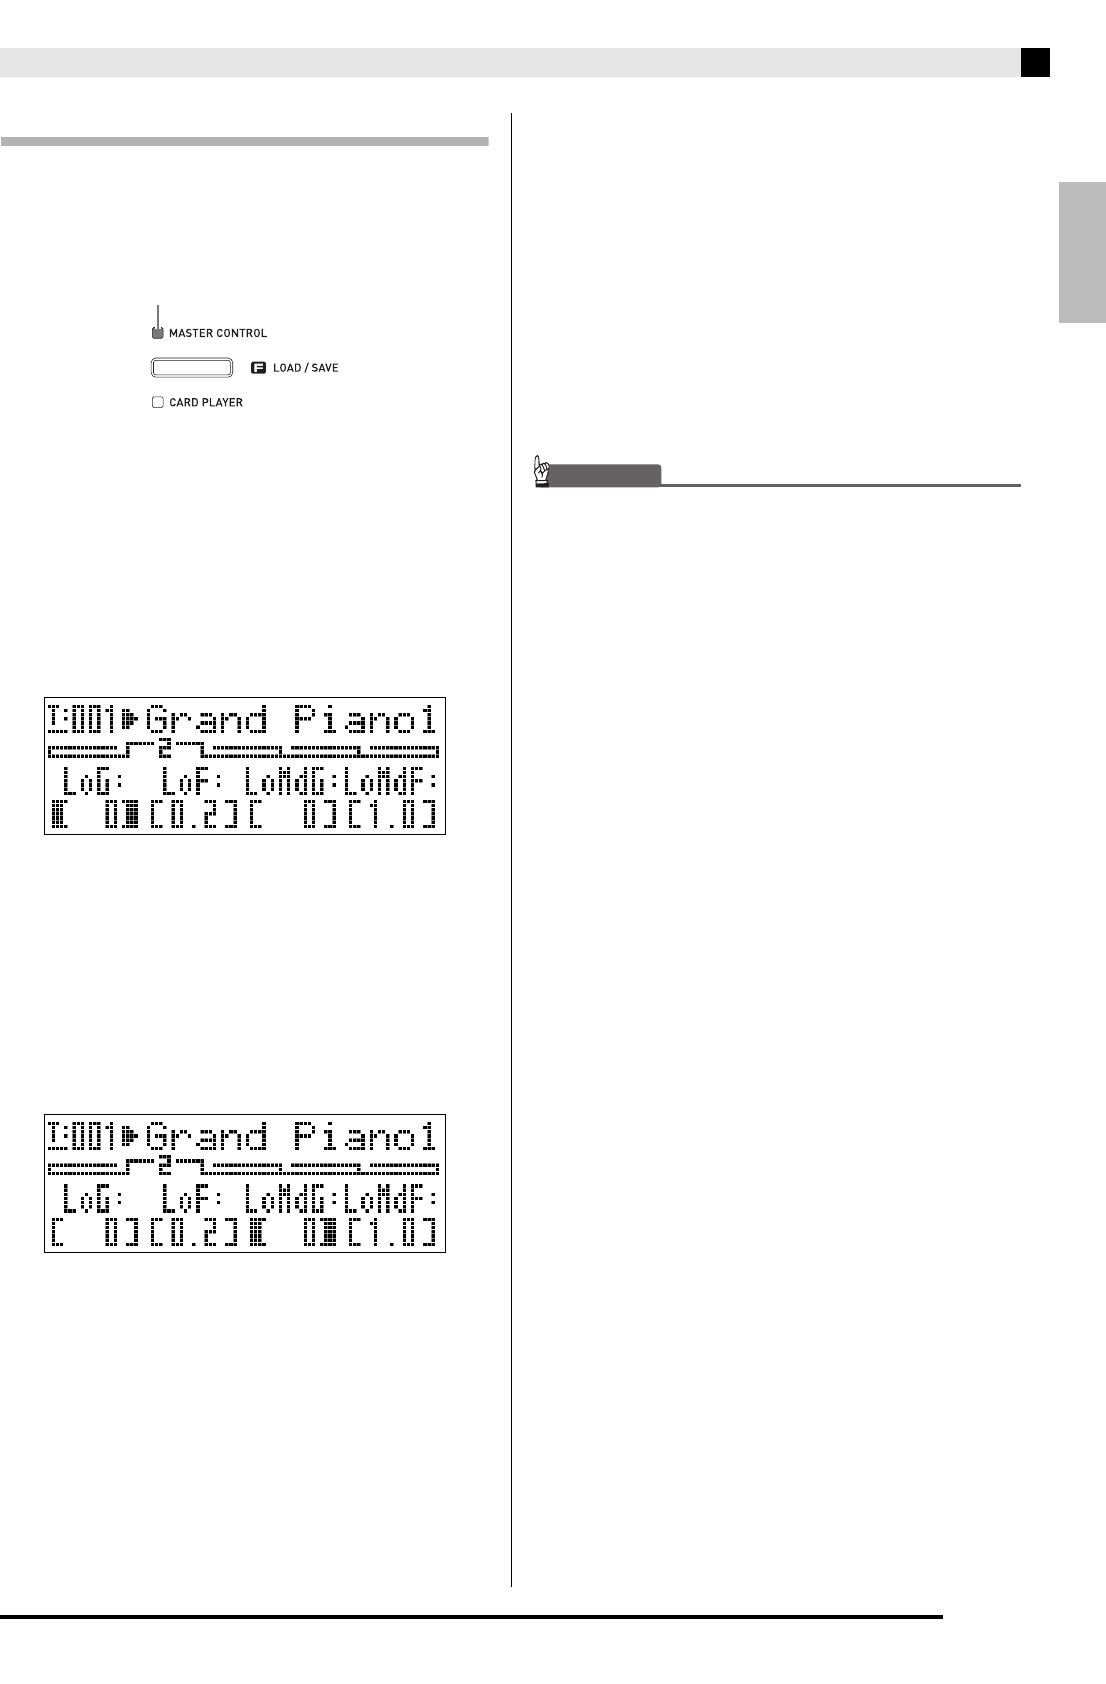
Example: Common menu page 2
• Each press of the
(PAGE) button advances to the
next page.
4.
Press the PARAMETER SELECTOR button
(
(A) through
(D)) to select the
parameter whose setting you want to change.
• The brackets around the setting of parameter you
select will change from [ ] to %. This indicates
that editing of the setting is enabled.
Example: After the
(C) button is pressed
• Holding down one of the PARAMETER SELECTOR
buttons will display its full name. For example,
“LoMdG” will change to “LowMid Gain”.
5.
Use the
(EDIT w, q) buttons to change
the setting.
• Pressing w and q at the same time returns the
setting to its initial default.
• Holding down w or q will scroll through the
settings at high speed.
• For details about the meaning and range of each
parameter setting, see “Common Parameter Settings”
(page E-20).
6.
If you want to change the settings of other
parameters, repeat steps 3 through 5 of this
procedure.
Turning off the Digital Piano causes all common
parameters to return to their initial default settings. If
you need to save a common parameter setup, perform
one of the operations described below.
• If you want to restore the current setup the next time
you turn on the Digital Piano, perform the backup
operation. For details, see “Backup” (page E-40).
• If you don’t need to restore the current setup the next
time you turn on the Digital Piano but want to have it
on hand for recall when you need it, save the setup
to registration memory. For details, see “Using
Registration Memory” (page E-34).


