E-41
733A-E-043A
7.
After you are finished playing, press START/STOP
again to stop recording.
• The REC indicator clears from the display when recording is
stopped.
• Pressing START/STOP again at this point plays back the song
that you just finished recording. See “Playing Back from Song
Sequencer Memory” on page E-45 for details on song play-
back.
❚
NOTES
❚
• Real-time recording to a track that already contains data replaces the
previous recording with the new one.
• If you make a mistake while recording, you can either record over again
from step 1, or you can use punch-in recording (page E-42) to correct
them.
• If you change the rhythm pattern part way through real-time recording,
the meter value indicated on the display remains unchanged, even if
the new rhythm has a different meter.
Track 1 Real-time Recording Variations
The following describes a number of different variations you can use
when recording to Track 1 using real-time recording. All of these vari-
ations are based upon the procedure described under “To use real-
time recording in Track 1” on this page.
●
To record without rhythm
Skip step 5. Real-time recording without a rhythm starts when you
press a keyboard key.
●
To start recording with synchro start
In place of step 5, press the SYNCHRO/ENDING button. Auto-accom-
paniment and recording will both start when you play a chord on the
accompaniment keyboard.
●
To record using an intro, ending, or fill-in
During recording, the INTRO, SYNCHRO/ENDING, NORMAL/
FILL-IN, and VARIATION/FILL-IN buttons (page E-24 to 25) can all
be used to perform their normal operation.
●
To synchro start Auto Accompaniment with an intro
pattern
In place of step 5, press the SYNCHRO/ENDING button and then
the INTRO button. Auto Accompaniment will start with the intro
pattern when you play a chord on the accompaniment keyboard.
●
To start Auto Accompaniment part way into a record-
ing
In place of step 5, press the SYNCHRO/ENDING button and then
start playing on the melody keyboard to start recording without ac-
companiment. When you reach the point where you want accompa-
niment to start, play a chord on the accompaniment keyboard to start
Auto Accompaniment.
❚
NOTES
❚
• You can change the tone and rhythm while recording is in progress. Any
changes you make become part of the recorded data.
• The tempo you use for recording does not affect the tempo of the play-
back. This means you can record at a very slow tempo for easy play,
and then speed up the tempo for playback.
• If you are using a rhythm pattern, notes are recorded using the meter
(time) of the rhythm pattern. If you are not using a rhythm pattern, you
must set the meter yourself using the procedure under “Meter (3)” on
page E-46.
• The following procedure shows the most basic operations for real-time
recording to Track 1. For other variations, see “Track 1 Real-time Re-
cording Variations” on this page.
To use real-time recording in Track 1
1.
Press the SONG button once.
• This causes the indicator lamp above the SONG button to
light.
2.
Select the user song area to which you want to record.
• Use [+] and [–] to select User Song Area 0 (SG0) or User Song
Area 1 (SG1).
• Change Mixer settings (CH1) if you want. The Mixer settings
you make for CH1 are copied to Track 1 during recording.
3.
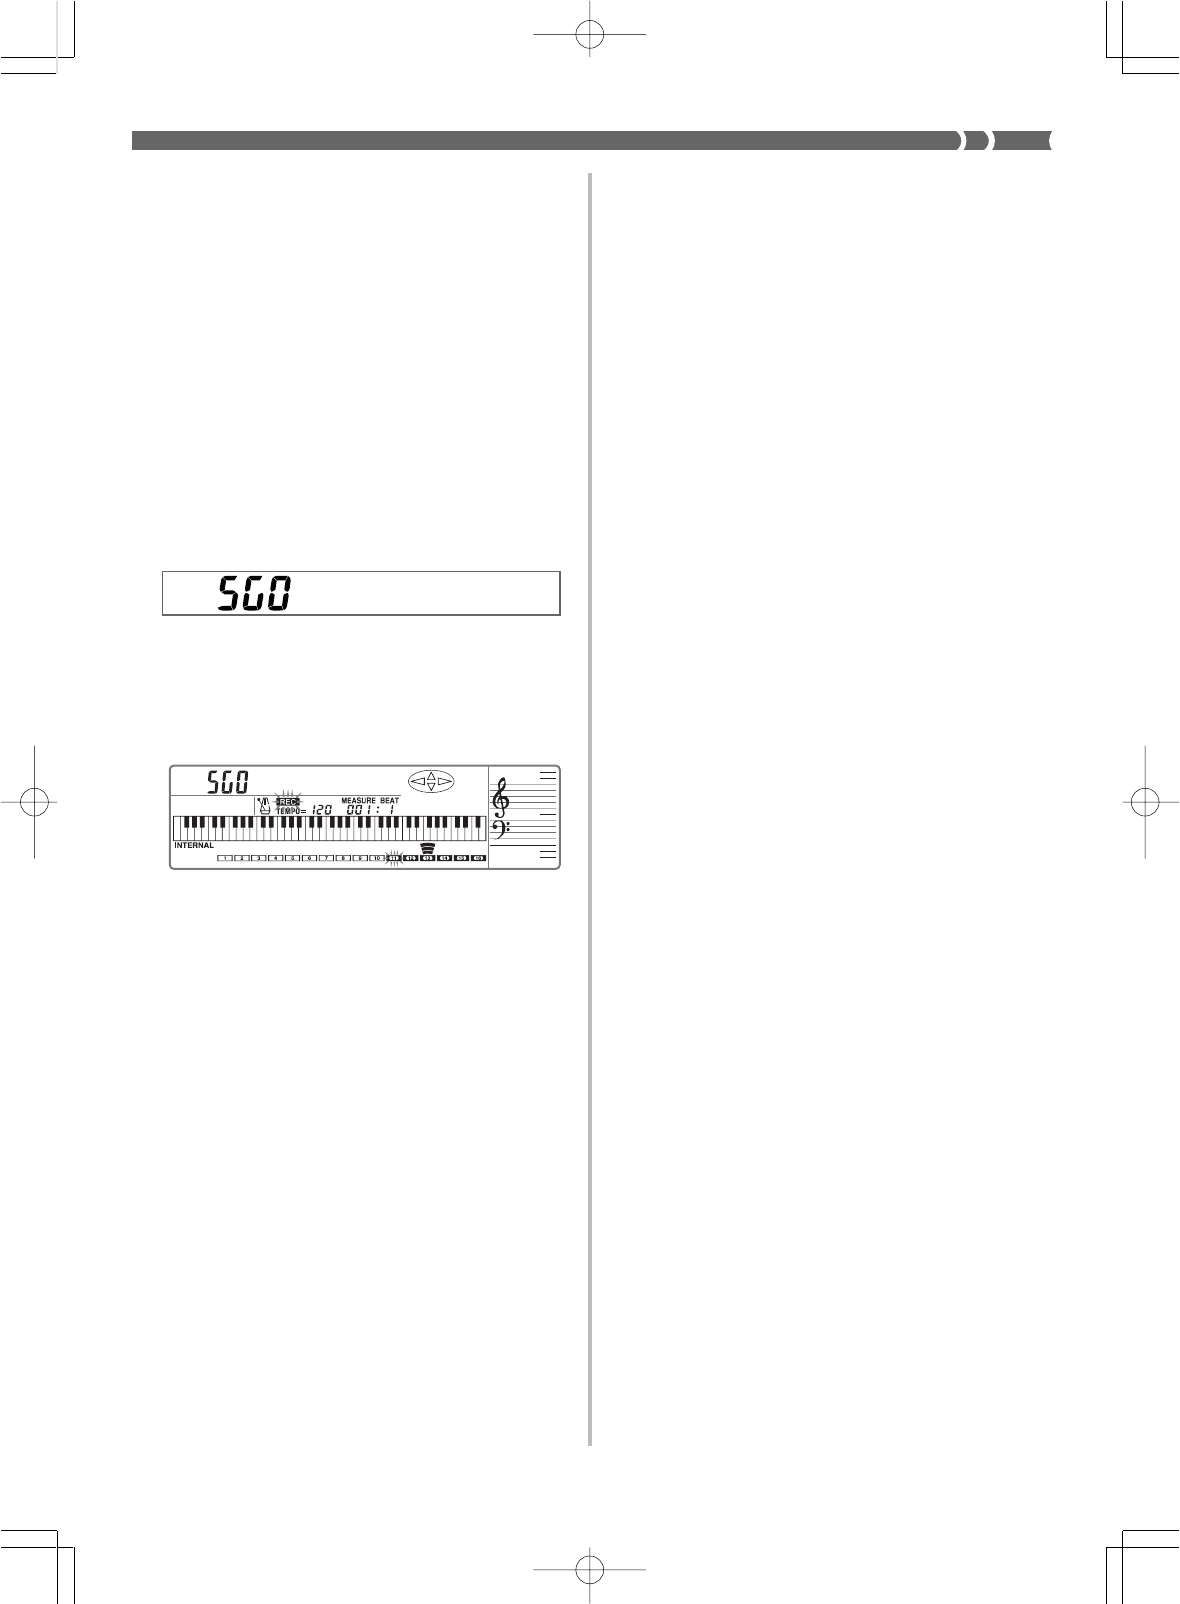
Press the RECORD button to enter record standby.
• The REC indicator and the frame around the CH11 (Track 1)
flashes on the display.
• Track 1 (CH11) is automatically selected as the record track
whenever you enter record standby.
• Channels CH 11 through CH 16 of the level meter show which
tracks already contain recorded data. See “Level Meter Dur-
ing Record Operations” on page E-44 for details on how to
read the level meter.
4.
Make any tone, rhythm, or accompaniment mode set-
ting you want.
5.
Press the START/STOP button to start recording.
• At this time the REC indicator stops flashing.
• The metronome normally sounds during recording. If you
want to turn off the metronome, use the procedure under
“Metronome Setting (1)” on page E-46.
6.
Play the notes you want to record on the keyboard.
• Chords played on the accompaniment keyboard in accor-
dance with the accompaniment method selected with the
MODE button are also recorded in Track 1.
• PITCH BEND Wheel and pedal operations are also record-
ed. See “Real-time Recording–All Tracks” on page E-39 for
details.
WK-1800/1600(E)-39~47 03.7.31, 5:21 PMPage 41 Adobe PageMaker 6.5J/PPC
