11
Owner’s Manual
Owner’s Manual
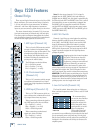
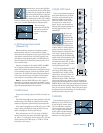
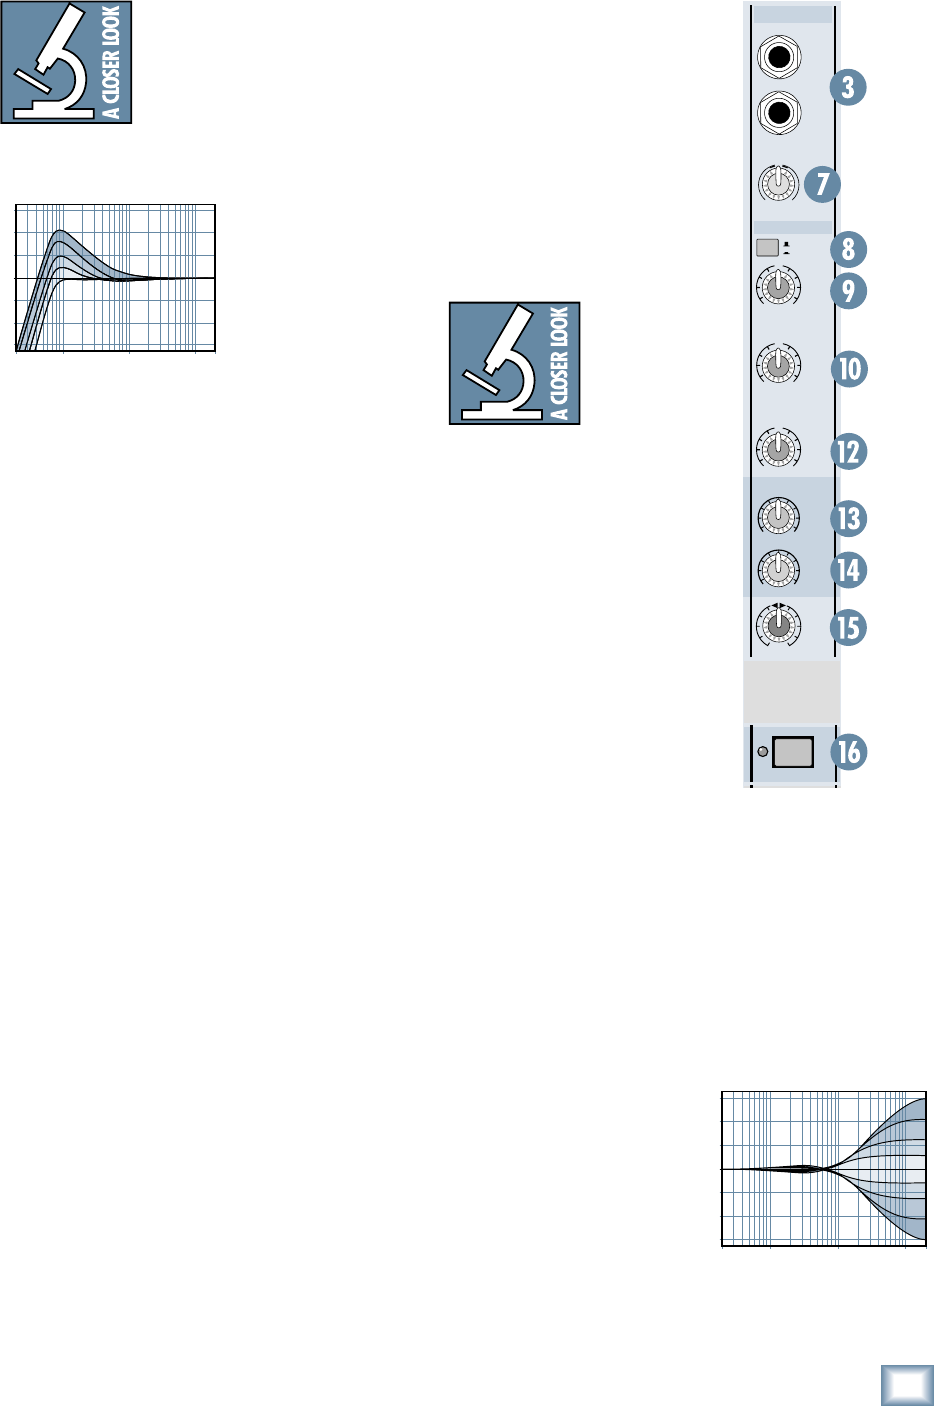
Another way to use the Low Cut fi lter
is in combination with the LOW EQ on
vocals during live performances.
Many
times, bass shelving EQ can really ben-
efi t voices. Trouble is, adding LOW EQ
also boosts stage rumble, mic handling
clunks, and breath pops. Low Cut removes all those prob-
lems so you can add LOW EQ without losing a woofer.
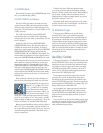
Here’s what the
combination of LOW EQ
and Low Cut looks like
in terms of frequency
curves.
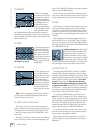
6. 48V Phantom Power Switch
(Channels 1-4)
Most professional condenser microphones require
phantom power, which is a low-current DC voltage
delivered to the microphone on pins 2 and 3 of the XLR
microphone connector. Push in the 48V button if your
microphone needs phantom power. An LED lights just
above the button to indicate that phantom power is ac-
tive on that channel.
Dynamic microphones, like Shure’s SM57 and SM58,
do not require phantom power. However, phantom
power will not harm most dynamic microphones should
you accidentally plug one in while the phantom power
is turned on. Be careful with older ribbon microphones.
Check the manual for your microphone to fi nd out for
sure whether or not phantom power can damage it.
Note: Be sure the MAIN MIX fader (36) is turned
down when connecting microphones to the MIC Inputs,
especially when phantom power is turned on, to prevent
pops from getting through to the speakers.
7. GAIN Control
If you haven’t already, please read “Set the Levels” on
page 5.
The GAIN control adjusts the input sensitivity of the mic
and line inputs. This allows the signal from the outside
world to be adjusted to optimal internal operating levels.
If the signal is plugged into the XLR jack, there is 0 dB
of gain (unity gain) with the knob turned all the way
down, ramping up to 60 dB of gain fully up.
When connected to the 1/4" jack, there is 20 dB of
attenuation all the way down, and 40 dB of gain fully
up, with a “U” (unity gain) mark at about 10:00. (On the
stereo channels, the GAIN range is –20 dB to +20 dB
with unity in the center.)
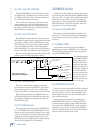
8. EQ IN/OUT Switch
This is a true hardware bypass of
the Perkins EQ circuitry to insure
that there is no coloration of the
signal if the EQ is not needed.
When this button is out, the EQ
controls have no effect on the
signal. You can use this switch to
make an A/B comparison between
the EQ’d signal and the signal
without EQ.
We have com-
pletely rede-
signed the EQ
circuits in the
Onyx Series of
mixers, based
on the designs of Cal Perkins, an
industry-leader in audio engineer-
ing for over three decades and
long-time Mackie collaborator. This
“neo-classic” design provides the
sweet musicality of the British EQ
sound, while still maintaining 15 dB
of boost and cut with optimum Q
and minimum phase shift (in other
words, it gives you plenty of control
and is pleasing to the ear!).
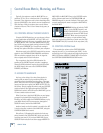
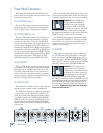
The 3-band equalization has LOW
shelving at 80 Hz, MID peaking
(sweepable from 100 Hz to 8 kHz
on the mono channels, fi xed at 2.5
kHz on the stereo channels), and
HIGH shelving at 12 kHz. “Shelving”
means that the circuitry boosts or cuts all frequencies
past the specifi ed frequency. For example, rotating the
LOW EQ knob 15 dB to the right boosts bass frequencies
starting at 80 Hz and continuing on down to the lowest
note you ever heard. “Peaking” means that the frequen-
cies around the center frequency are less affected by
the EQ the further away they are.
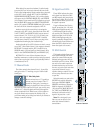
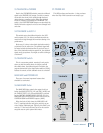
9. HIGH EQ
This control gives you up to 15
dB boost or cut at 12 kHz, and it
is also fl at at the center detent.
Use it to add sizzle to cymbals,
and an overall sense of transpar-
ency or edge to the keyboards,
vocals, guitar, and bacon frying.
Turn it down a little to reduce
sibilance, or to hide tape hiss.
20Hz 100Hz 1kHz 10kHz 20kH
z
–15
–10
–5
0
+5
+10
+15
Low Cut with Low EQ Boosted
20
Hz
100
Hz
1k
Hz
10k
Hz
20k
H
z
–15
–10
–5
0
+5
+10
+15
High EQ
ALT 3/4
AUX
2
1
OO
MAX
OO
MAX
EQ
OUT
IN
LR
PAN
L
(MONO)
R
BAL/
UNBAL
LINE IN 5
-
6
GAIN
+20dB-20dB
MID
2.5kHz
U
+15-15
U
+15-15
LOW
80Hz
U
+15-15
HIGH
12 kHz
U
MUTE
Stereo Channel


