


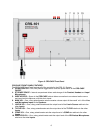

14
Wall Mount
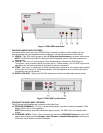
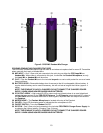
The CRS-CASE has two screw keyholes on the Bottom Panel that allow it to be secured to a wall or
cabinet. (Figure 2) Whenever possible, the screws for the keyholes should be secured to a wood panel
instead of drywall to avoid having the screws work loose over time after repeated use of the CRS. If use
of a wood panel is not possible or desirable, use screw anchors to secure the mounting screws to the
drywall. There is an additional, smaller screw hole in the CRS-CASE Storage Space that can also be
used for added stability. Leave enough space above the unit (3” minimum) for Speaker and IR Sensor
connections and the Power Cord. DO NOT BLOCK THE AMPLIFIER VENTS.
1. Using two 1x6 Drywall Screws, or similar, space the screws 12 1/8” apart, on a level line.
2. Tighten the screws until they protrude just over 1/16” (the thickness of the metal cabinet) from the
wall surface.
3. Position the CRS-CASE so the wide opening of the keyholes aligns with the screw heads.
4. Push the CRS-CASE toward the wall surface and then carefully pull it down until the screws ‘lock’ into
the narrow gap of the keyholes. Be careful to not pull the screws out of the wall.
5. Secure the CRS-CASE with a third screw through the hole in the Storage Space.
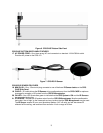
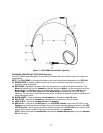
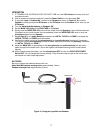
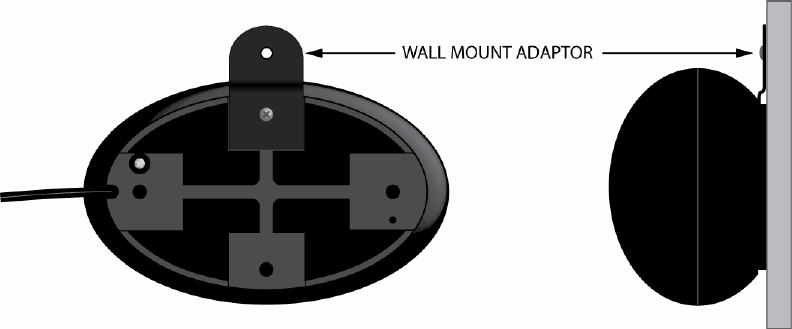
Figure 13. IR Sensor Wall Mount Adaptor
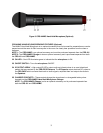
CRS-IRS IR SENSORS
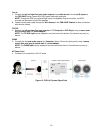
The CRS Microphones output IR Pulses that are invisible light pulses. Ideally, the IR Sensors should be
‘line-of-sight’ to the microphones. The microphones output very strong IR pulses that will reflect off wall,
ceiling and hard floor surfaces and are then ‘seen’ by the sensors which enhances system performance
when a microphone is moving around a classroom. The IR Sensors should be installed on wall surfaces
as high up the wall as possible (in a normal ceiling room) and one should be installed on each side of the
room for best coverage.
1. Attach the Wall-Mount Adaptor to the CRS-IRS as shown in Figure 13.
2. Mount the CRS-IRS as high on the wall as possible, but at least seven feet, so people walking past or
standing in front of the sensor will not block the line-of-sight to the microphones.
3. Pull CRS-IRS Wire to CRS-CASE location.