6
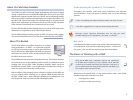
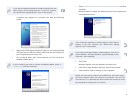
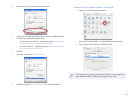
If you see the Software Installation window instead of the one
shown above, click Continue Anyway. If you can’t continue,
see “About Driver Signing Options” later in this booklet.
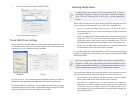
A progress bar appears for a moment, and then the following
screen:
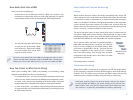
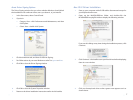
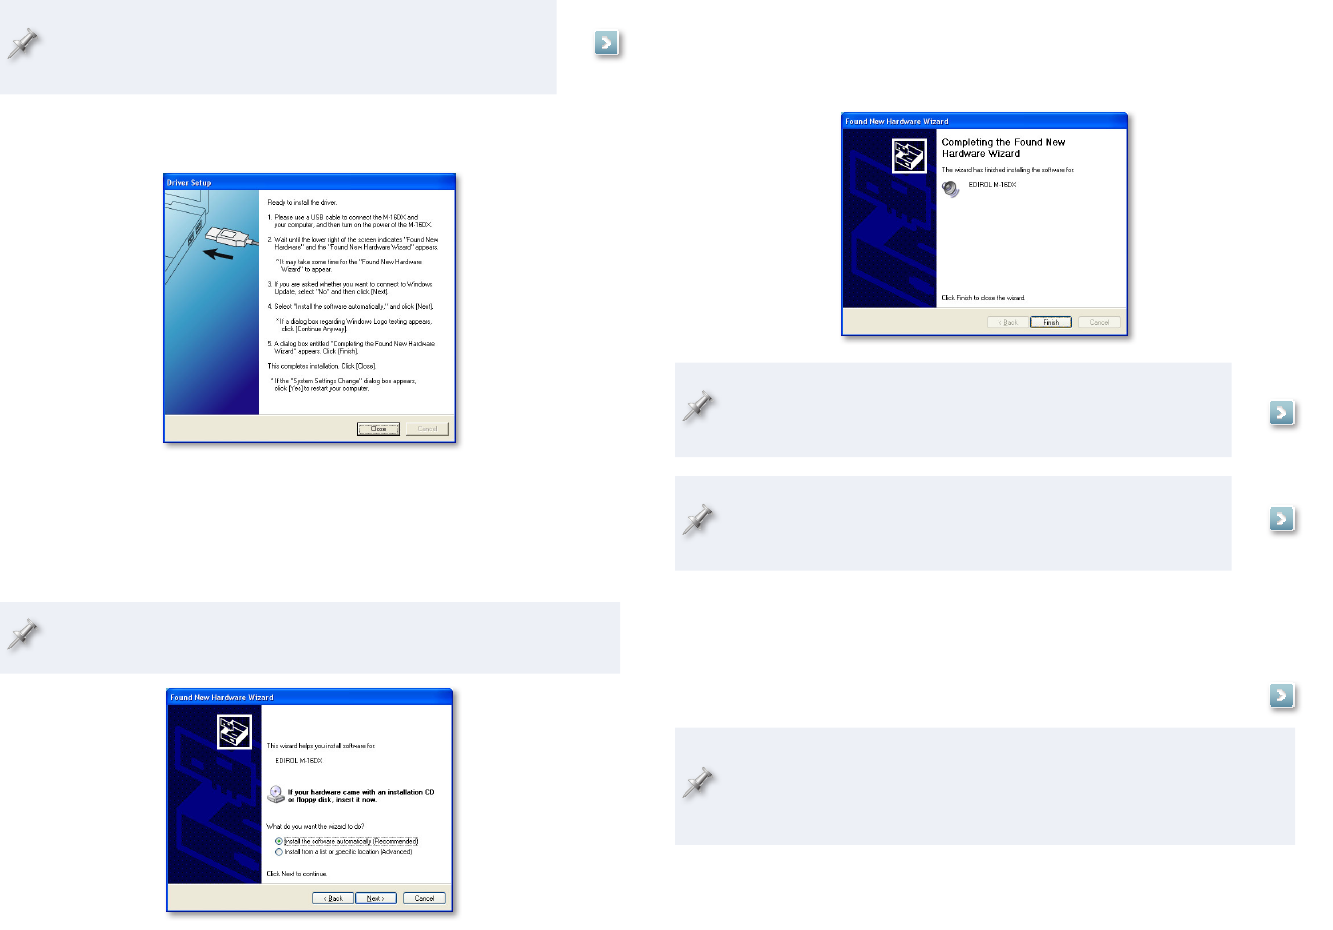
With the M-16DX’s power turned off, plug one end of the included 5
USB cable into its USB jack, and the other end into the USB jack on
your computer that you want to use.
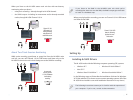
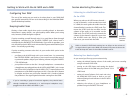
Turn on the M-16DX—after a few moments, the PC’s Found New
6
Hardware Wizard opens.
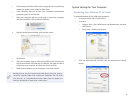
If you’re asked if you want to connect to Windows Update, select No,
not this time, and then click Next.
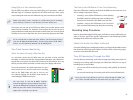
Select 7 Install the software automatically (Recommended), and then
click Next.
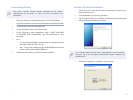
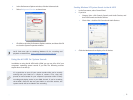
When the driver’s installed, the wizard announces the completion of
the installation process.
If the “Software installation” window appears, click Continue
Anyway. If you can’t continue, see “About Driver Signing
Options” later in this booklet.
If the “System Settings Change” window appears, click Yes to
restart Windows, and jump ahead to “System Settings on Your
Computer” after restarting.
8 Click Finish.
Windows displays “Your new hardware is ready to use.”
9 If the Driver Setup window’s still open, click its Close button.
Jump ahead to “System Settings on Your Computer.”
10
Should you ever need to remove the M-16DX driver from your system,
the driver installer folder also contains an uninstaller. You can hold
onto this file, or re-download the driver folder later should you need
the uninstaller at some point in the future.


