


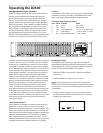
12
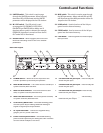
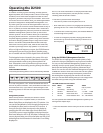
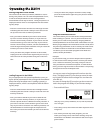
Using the Process Switches
Using the Process Switches
In addition to being a great sounding, clinically precise,
digital equalizer, the D2500 provides a host of useful digi-
tal effects, which have been designed to make an audio
engineer’s job easier and project sound better. Don't look
for reverbs and chorus effects here, just solid digital effects
processors designed for loudspeaker management. The
EQ switch gives you access of the digital filters in the LCD
screen so you can view an accurate measurement of any of
the 31 EQ bands, as well as the Master Fader. The D2500's
FEEDBACK Management processor provides an automatic
feedback management system to clean up live PA and
monitor systems. The GATE effect allows you to eliminate
annoying buzzes and hums. The DELAY effect is perfect
for phase aligning speakers systems using multi-transduc-
ers and for delaying speaker arrays in large venue instal-
lations. The D2500’s unique ENHANCER effect will help
reduce the over all system noise, while at the same time,
sweeten-up the high end of any speaker. To set the over-
all low or high-end frequency contour, the D2500 features
multi-pole Hi-pass and Low-pass filters. Speaker protec-
tion is handled with the D2500’s digital brick wall LIMITER.
The Navigation buttons located in the center of the unit
under the faders, along with the Data Wheel, control the
various parameters used to set-up these powerful ef-
fects. Remember, some of the effects may have several
pages, which are accessed by pressing through the effects
switches
.
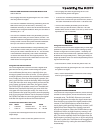
You should know this!
The D2500 processing effects can be individually selected
on or off, using the IN / OUT switch located at the end of
the row of process switches. Also, remember to make sure
the LINK switch is lit, if you want to make changes to the
processing effects on the left and right channel simultane-
ously.
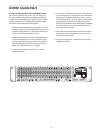
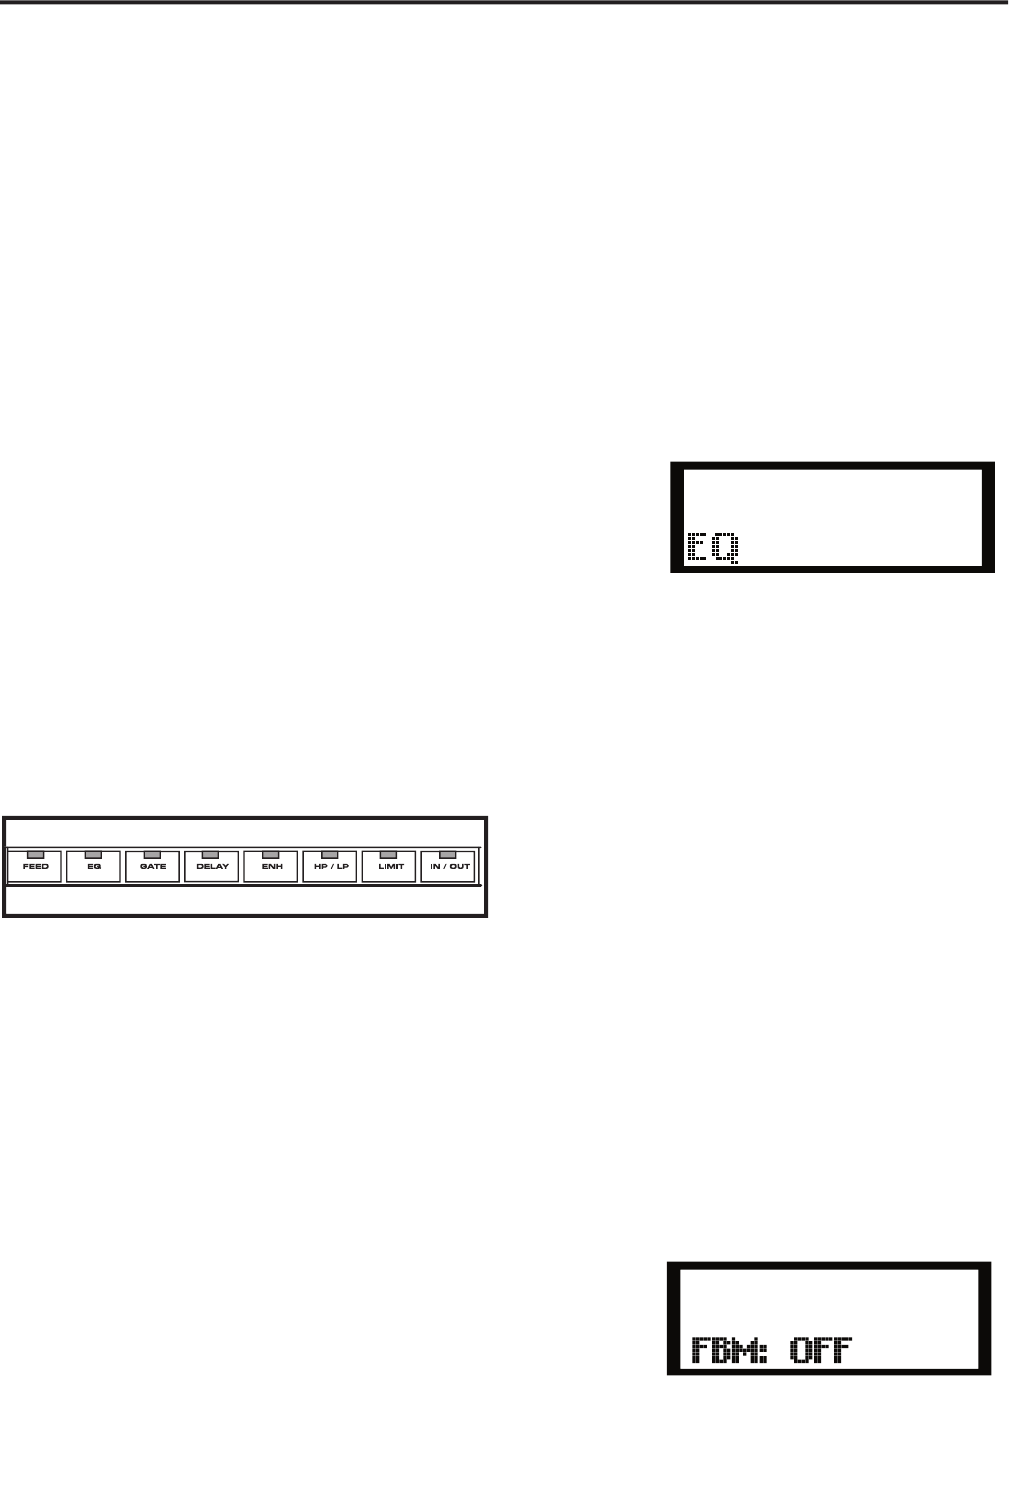
Using the EQ section
When the EQ switch is selected, the D2500's various
parameters for the 31 equalizer filters, as well as the
Master Fader filters are displayed in the LCD window . You
can use the Data Wheel to scroll through the frequencies
and display the filter levels in the main LCD window. It
is easy to see which fader is assigned to the display by
watching the LED in the fader caps of each filter band.
The D2500 uses an inverse highlight to display the active
filter band. When the LED is off, the fader is selected. If you
move a physical fader you will see the fader cap LED go off
indicating that the information for that fader is now being
displayed in
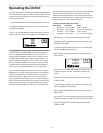
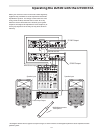
Operating the D2500
the LCD. For more information on the physical faders and
how they work with presets, see the previous section,
"Working with the D2500's Faders" .
To use the EQ section follow these steps:
• Press the EQ switch until the yellow LED is lit.
• Now while the EQ switch is lit, engage the equalizer by
pressing the IN / OUT switch until the yellow LED lights.
• To monitor the current EQ points, use the Data Wheel to
scroll through the EQ filters.
• In order to change any EQ filter, simply grab the fader
and move it up to boost the frequency or down to cut
the frequency.
Using the FEEDBACK Management Function
The D2500 has an intelligent automated system to help
reduce the chance of feedback in any live sound situation.
You can use the Feedback Management System to auto-
matically scan the sound system, identify the frequency
bands that are feeding back, and then, attenuate those
bands. You can also use the Feedback Management System
in MANUAL mode in which the D2500 will scan the system
for feedback, and then display the frequency bands that
are feeding back by lighting the red LED over the fader.
Once you see the fader feeding back you can simply lower
the fader band yourself using the hardware fader.
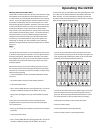
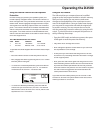
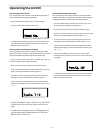
The FBM Switch Has Five Clicks!
Click Menu Function Value
1
FBM Mode Off,
On,
Auto
2 Sensitivity
Sensitivity
0 - 10
3 FB Max Maximum Cut - 0.5 dB - -12dB
4 FB Hold Filter Hold Time 5 - 300 milisec.
5 FB Rel Filter Release Time 20 - 300 milisec.
You can operate the Feedback Management System by fol-
lowing these simple steps.
• Press the FEEDBACK switch until you see the screen FBM:
OFF.
��