17
Operating the D2500
MIDI and D Net
For expanded system control, the D2500 uses standard
MIDI, as well as Samson’s D Net communication protocols,
to transmit and receive digital control information to and
from additional D class units, other MIDI devices, or per-
sonal computers. You can use standard MIDI cables for
IN, OUT and THRU to configure a system using traditional
MIDI protocol. For critical applications where higher speed
comunication is needed, you can install the optional
DN1, D-Net interface cards and use standard XLR cables
to configure a high-speed, bi-directional data hook-up
using Samson D-Net protocol. The MIDI and D-Net control
parameters are configured by accessing the various menus
with the MIDI switch, located on the D2500’s front panel.
You can use MIDI for controlling one D2500 with a Samson
D1500 RTA, but in larger systems, the D2500 and other D
class units should be configured with an optional DN1 D-
Net interface card for high-speed and bi-directional com-
munications. For ease of use, D-Net follows a similar user
interface as MIDI, but in reality they are very different. The
beauty of the D net interface is, not only is it 30 times fast-
er than MIDI, but both Send and Receive are covered using
a single standard XLR cable making it possible to daisy
chain several D class units together without the needs for
hubs or external mergers.. Also, the super fast D-Net bus
is fast enough to easily communicate with an external PC
for Real Time Analysis and display on an external moni-
tor. Plus as an added bonus, the error rate on the D-Net is
virtually zero, guaranteeing reliable performance during
critical applications.
When you press the MIDI switch several times you will
be paging though the various MIDI setup menu items
including MIDI enable, Channel, Omni, System Exclusive
and Program. The following section details each of these
modes and their associated parameters.
Setting the D2500 to Transmit and Receive MIDI
To enable the D2500 to send and receive MIDI data follow
these steps:
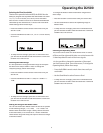
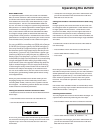
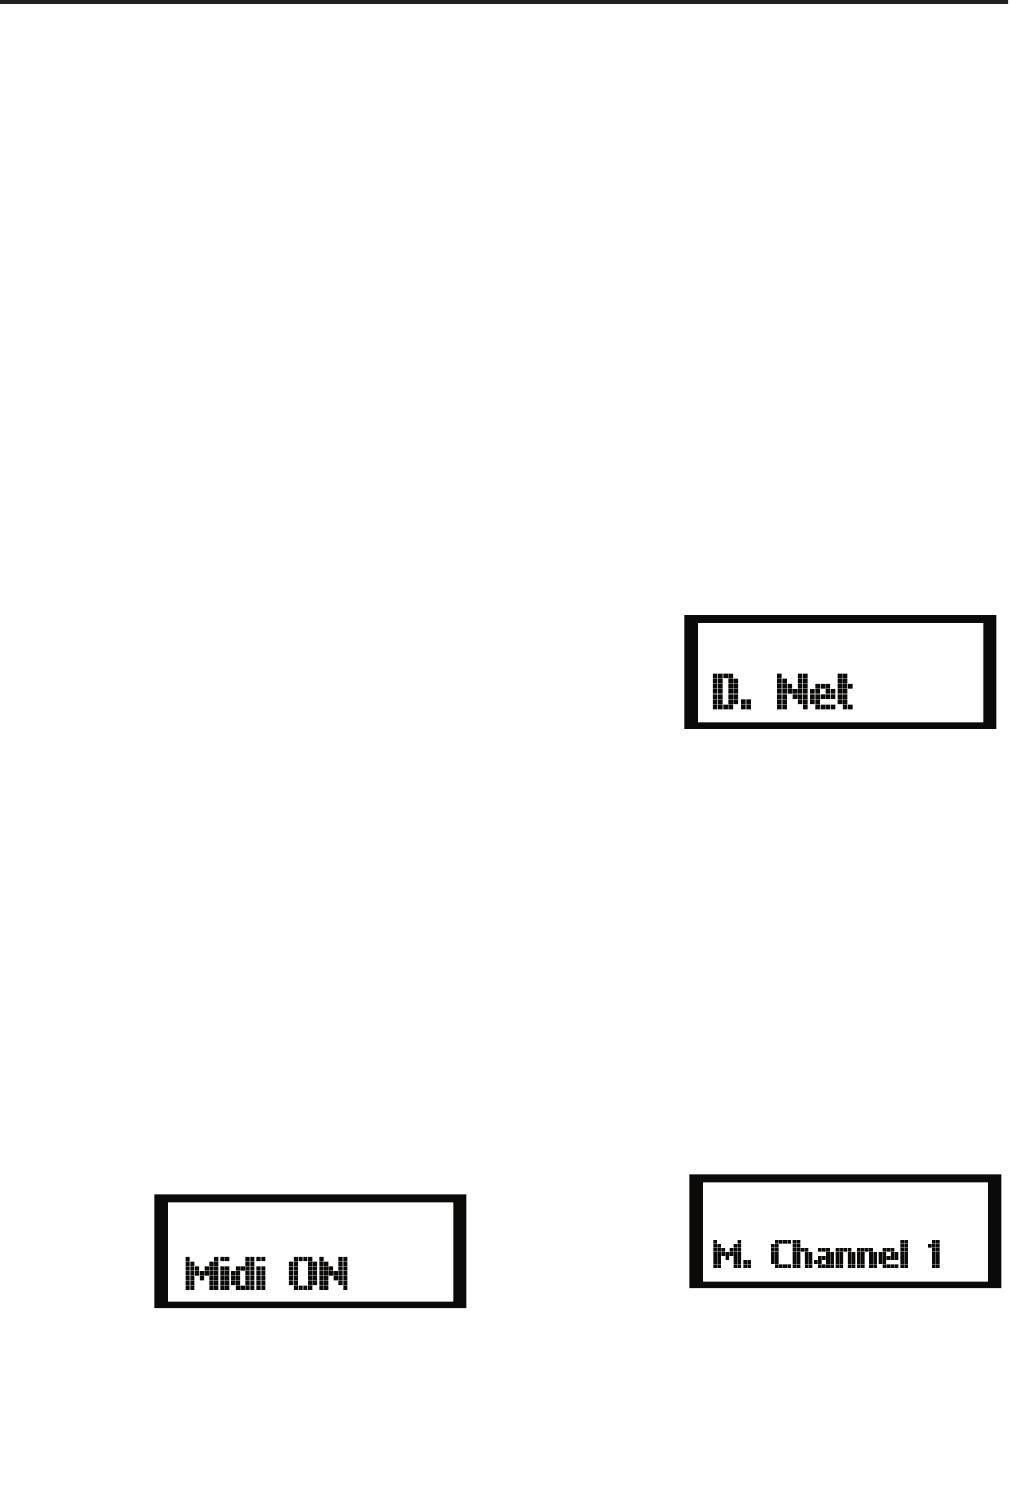
• Press the MIDI switch until that LCD reads Midi: Off.
• Use the Data Wheel to select Midi ON.
NOTE:
Once you make a edit to the MIDI set-up, the red MIDI
LED will flash indicating that a change has been made to the
original set-up. You will also see that the red STORE LED is
illuminated
.
• To keep the new changes, press the STORE button and
you will exit the MIDI mode and both the STORE and
MIDI the LED’s will turn off.
Setting the D2500 to Transmit and Receive Data Using
D-Net
In larger systems, the D2500 and other D class units can
be configured with an optional DN1 D Net interface card
for high-speed communications. D Net follows a simi-
lar protocol as MIDI, only at a much higher data rate. As
mentioned in the previous section, the beauty of the D
net interface is, not only is it 30 times faster than MIDI, but
both send and receive are covered using a single standard
XLR cable.
To enable the D2500 to send and receive D-Net data fol-
low these steps:
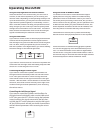
• Press the MIDI switch until that LCD reads: Midi ON.
• Use the Data Wheel to select D. Net.
•
Press Store.
Now that you have enabled the D2500 for D-Net, as
described in the previous section, you can select addition-
al MIDI parameters that may be necessary for your exact
application or system set-up. The D2500’s MIDI has three
basic modes of operation Channel, Omni and System
Exclusive. The D2500 can operate in any of these three
MIDI modes.
One of the most used MIDI modes is Channel MIDI, which
allows you to assign up to sixteen different devices to indi-
vidual MIDI channels 1 through 16.
Selecting a MIDI Channel
You can program the D2500 to receive MIDI messages on
a specific MIDI channel by following the next steps.
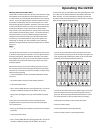
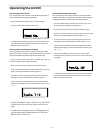
• Press the MIDI switch until the LCD reads: M. Channel 1.
• Use the Data Wheel to select:
M. Channel 1
- 16.
• To keep the new changes, press the STORE button and
you will exit the MIDI mode and both the STORE and
MIDI the LED’s will turn off.


