


132 Chapter 2. SONG MODE
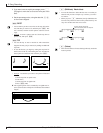
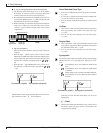
3. Press e to register the change.
▼ The line stops flashing, and the new timing is indicated.
• If you move the cursor while the line is still flashing, the
change is canceled.
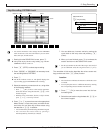
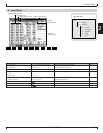
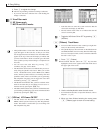
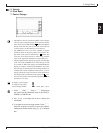
5. View Filter mark
6. XG Viewer mark
7. MUTE and SOLO marks
• The QY700 includes a “View Filter” that can limit the event
types that appear on the event list, so that you can “filter
out” the types that are not of interest. The “View Filter mark”
appears at the top of the event-list display to indicate that
you have set the filter to block out certain types. The mark
warns you that you may not be looking at a complete list of
all events.
• You can access the View Filter by pressing 4
(ViwFiltr). See page 133 for details.
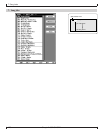
• The XG Viewer mark comes on to indicate that you are cur-
rently using the QY700’s XG viewer. When you use this
viewer, XG-defined events (such as RPN events, NRPN
events, and XG system exclusives) are listed by their XG
parameter names. This is useful when you are generating
XG-compatible song data. You can toggle the viewer ON
and OFF by pressing 2(XGView).
• The MUTE mark indicates that you have switched on the
mute for the track that you are editing. You can set or re-
lease the mute by pressing the m key.
• The SOLO mark indicates that you have switched the track
you are editing to SOLO play. You can set and release SOLO
operation by pressing the s key.
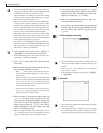
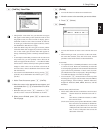
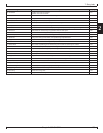
2 (XGView)
XG Viewer ON/OFF
• The XG Viewer lists XG-defined events (such as RPN,
NRPN, and XG system exclusives) by their XG parameter
names. This feature is useful when you are working with
XG-compatible song data.
• Note that there are some XG system exclusives that the
viewer does not display by XG name.
• The XG Viewer mark comes on to indicate that the XG
viewer is currently ON.
• Toggle the XG Viewer ON or OFF by pressing 2
(XGView).
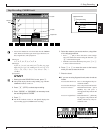
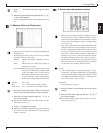
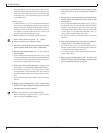
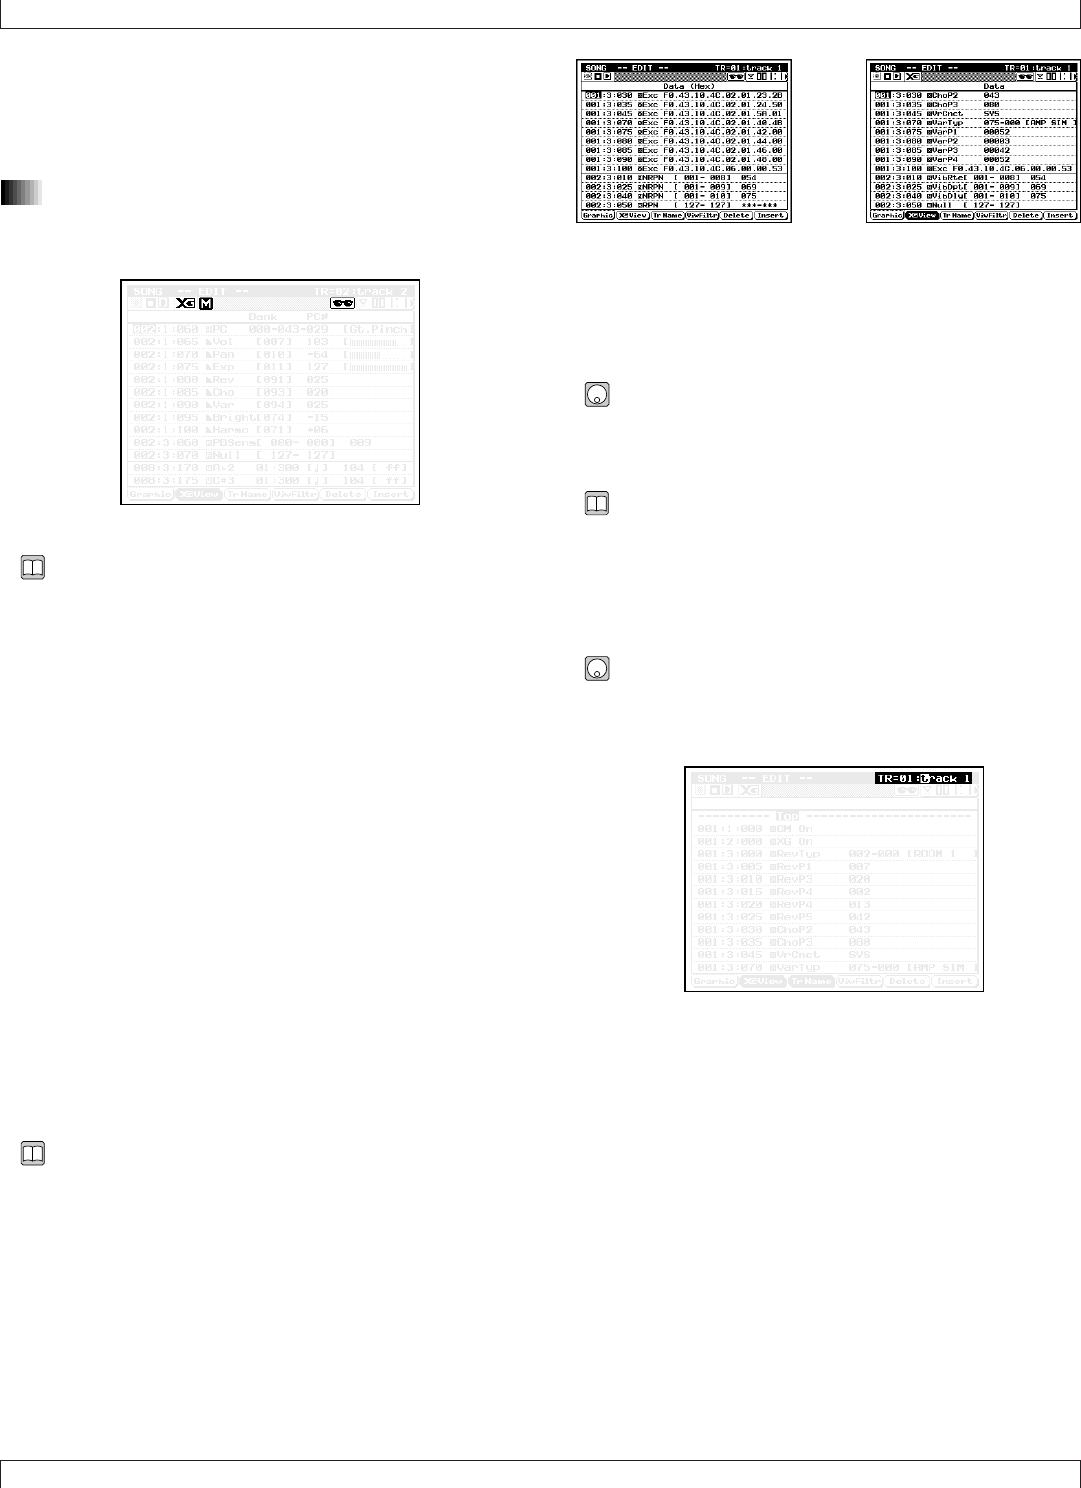
3 (TrName)
Track Name
• You can use this function to enter a name (up to eight char-
acters) for the currently selected track.
• The QY700 displays the track name on the SONG PLAY
and TRACK VIEW screens. You may therefore find it help-
ful to use a descriptive name, such as a name that identifies
the track’s voice or part.
1. Press 3 (TrName).
▼ The TrName indicator (above the 3 key) becomes
highlighted, and a cursor appears in the track-name area at
the upper right of the screen.
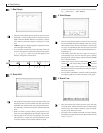
2. Use the microkeyboard to enter the track name.
• For information about how to input the characters, refer to
Chapter 1. (→ p.53)
3. When you have finished entering the name, press
3 (TrName) again to return to normal editing.
6. Song Editing