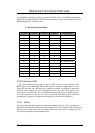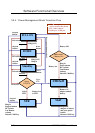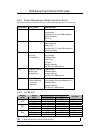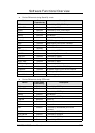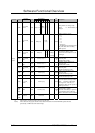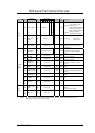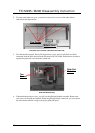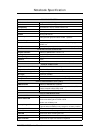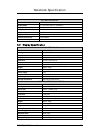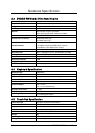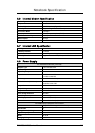
Installation and Upgrade
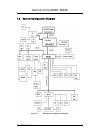
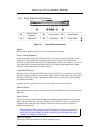
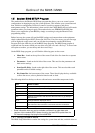
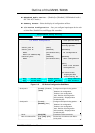
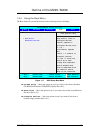
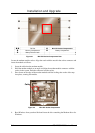
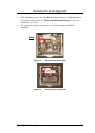
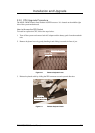
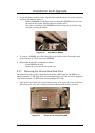
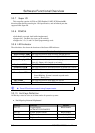
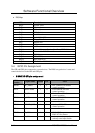
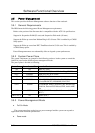
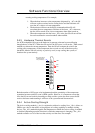
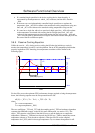
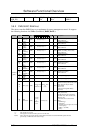
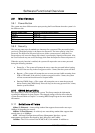
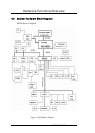
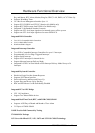
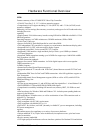
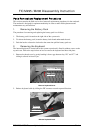
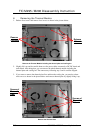
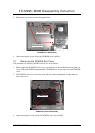
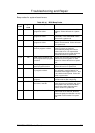
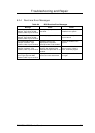
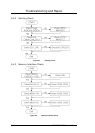
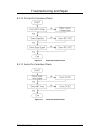
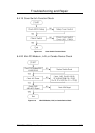
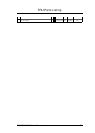
4. Locate the memory module socket. Align the notch with the notch in the socket connector
and insert the module as follows:
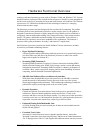
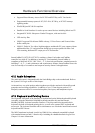
− Hold the SODIMM at a 60-degree angle and align the SODIMM connector with
the socket in the system. Push the connector into the socket.
− Press down on the edge of the SODIMM until the locking tabs on the sides snap
into place, securing the module.
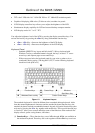
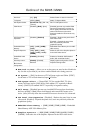
45 ~ 60 de
rees
Figure 2-12 Insert Memory Module
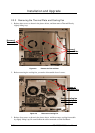
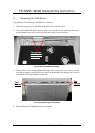
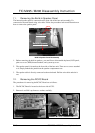
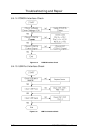
5. To remove a SODIMM, press the locking tabs away from the sides of the module until
the module pops up. Then, remove the SODIMM.
6. Reassemble the notebook components as follows.
− Put the DIMM door back.
− Replace the screw and turn the system over.
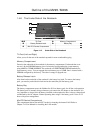
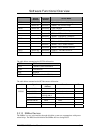
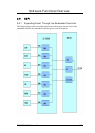
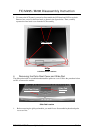
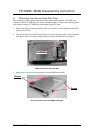
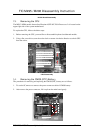
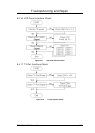
2.3.7 Removing the Internal Hard Disk Drive
The notebook provides a built-in hard disk for the primary IDE controller. The HDD is an
industry standard 2.5” IDE disk drive with a maximum height of 9.5mm, and can be upgraded
with another standard 2.5” HDD with a maximum height of 9.5mm.
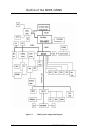
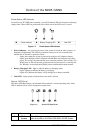
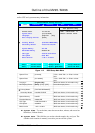
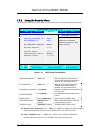
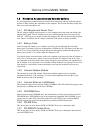
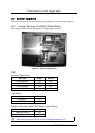
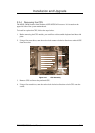
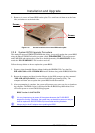
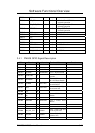
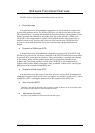
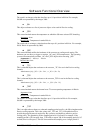
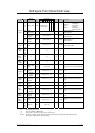
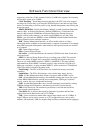
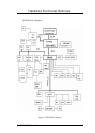
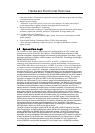
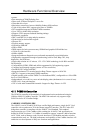
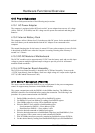
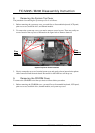
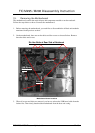
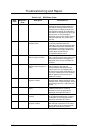
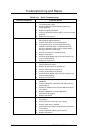
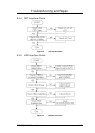
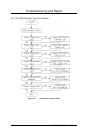
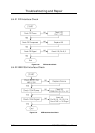
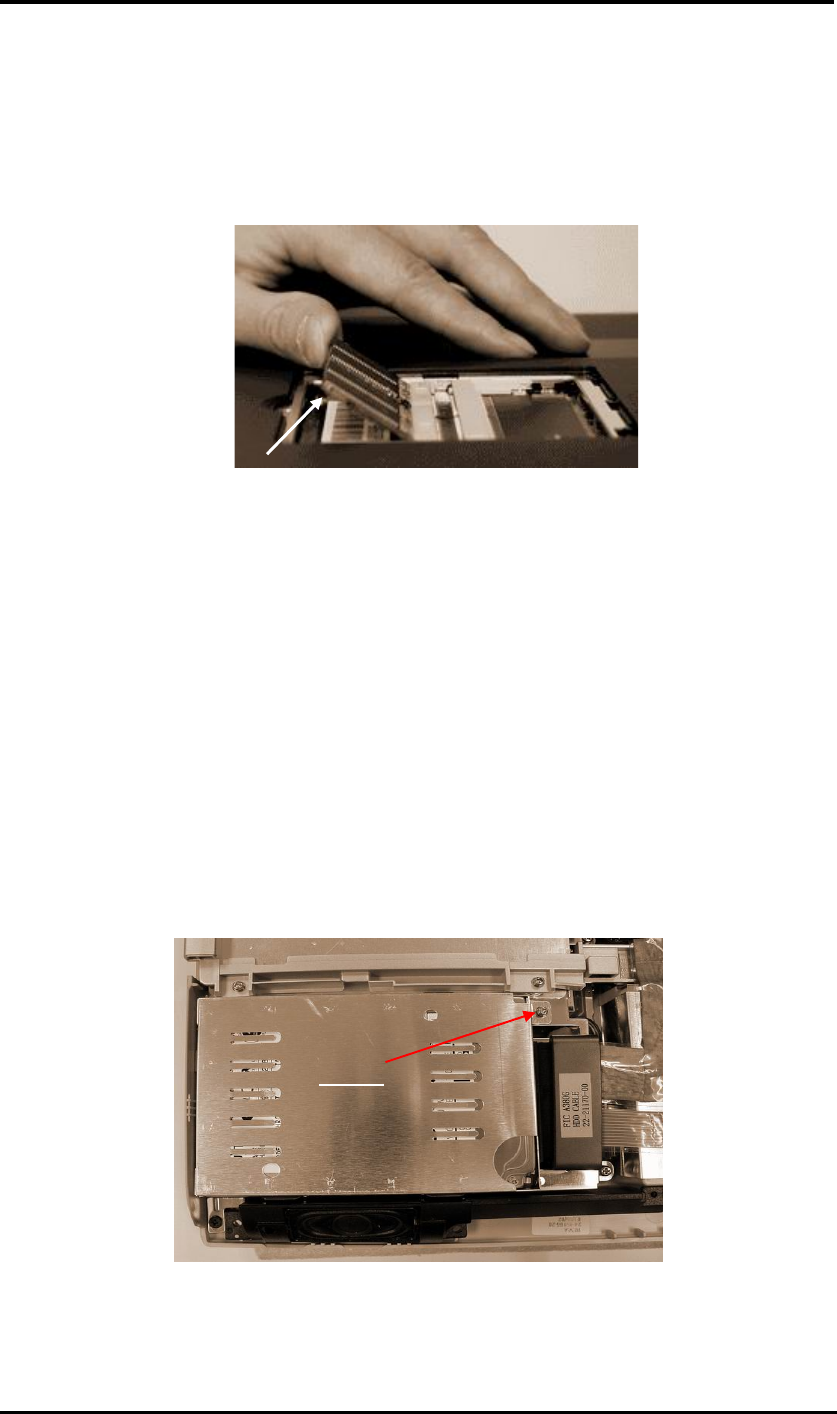
1. Find out the built-in hard disk secured with one screw at the upper right corner of the hard
disk. Remove this screw and carefully pull the hard disk module from the connector.
Screw
Figure 2-13 Remove One Screw Securing HDD
FIC M295/M296 Service Manual 2-13