


53
Recording
2. Various recording
methods
Using Quantize while you record
The Quantize function corrects the timing of your
performance while you record.
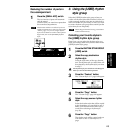
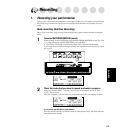
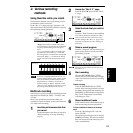
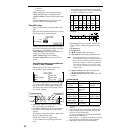
In the “Rec 2/3” page, press the “Quantize” cell,
and use the dial or the [VALUE] switches to specify
the resolution (timing precision).
“High”: Data will be recorded at the maxi-
mum resolution (a quarter note is divided into
96 parts), and the timing will not be quan-
tized.
“ ”–“ ”: The timing will be corrected to the
specified note value. When “ ” is selected,
the timing will be corrected to the nearest 32th
note triplet. When “ ” is selected, the timing
will be corrected to the nearest quarter note
unit.
If you use a rough quantization such as or
when recording damper pedal or other control
data, the result may sound unnatural when
played back. To avoid this, record with a
quantize setting of “High,” and then use the
“Rec 3/3” page “Quantize” function to correct
the timing of only the note data. (☞p.57)
Multitrack recording
You can layer up to five tracks of recording onto the
data that was recorded in “KBD,” “Control,” and
“Chord.”
Here’s how to load the performance data you
recorded in “Basic recording” and use it as the basis
of a multi-track recording.
1
Load the performance data that
you saved
Load performance data that you saved in
“Basic recording” or in step recording.
(☞p.51)
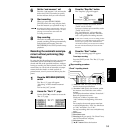
2
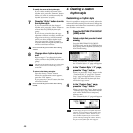
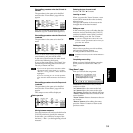
Access the “Rec 2/3” page
Press the [PAGE ®] to access the “Rec 2/
3” page.
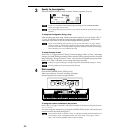
3
Select the track that you wish to
record
Press the “Track” button for the track that
you wish to record, to should say “Rec.”
Only one track at a time can be set to “Rec.”
The Rec setting in the “Rec 1/3” page is auto-
matically cancelled by the “Rec” setting you
make here.
4
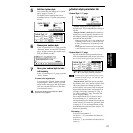
Select a sound program
Press the “Program” cell, and select a pro-
gram for the track on which you will be
performing. (☞p.24)
The Layer or Split functions cannot be used
for tracks 1–5.
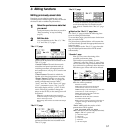
5
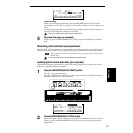
Start recording
Press the RECORDER [PLAY/STOP]
switch, and the switch indicator will light.
After a two-measure count-off, recording
will begin.
To stop recording
Press the RECORDER [PLAY/STOP]
switch. After a message informs you that
the data is being stored into memory, the
[RECORD] switch indicator will go dark.
The “Track” button that was recorded
will change to “Play.”
6
Record additional tracks
Select another track as described in step 3,
and record using the same procedure.
To record additional material on the same
track
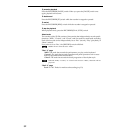
Press the “Recording mode” cell, and
select “OVDB.”
The following record types can be selected.
OVWR (overwrite): The newly-recorded
data will overwrite (and erase) the previ-
ously-recorded data.
“Quantize” cell
With a setting of