81
Chapter 3 Using the Registration Buttons
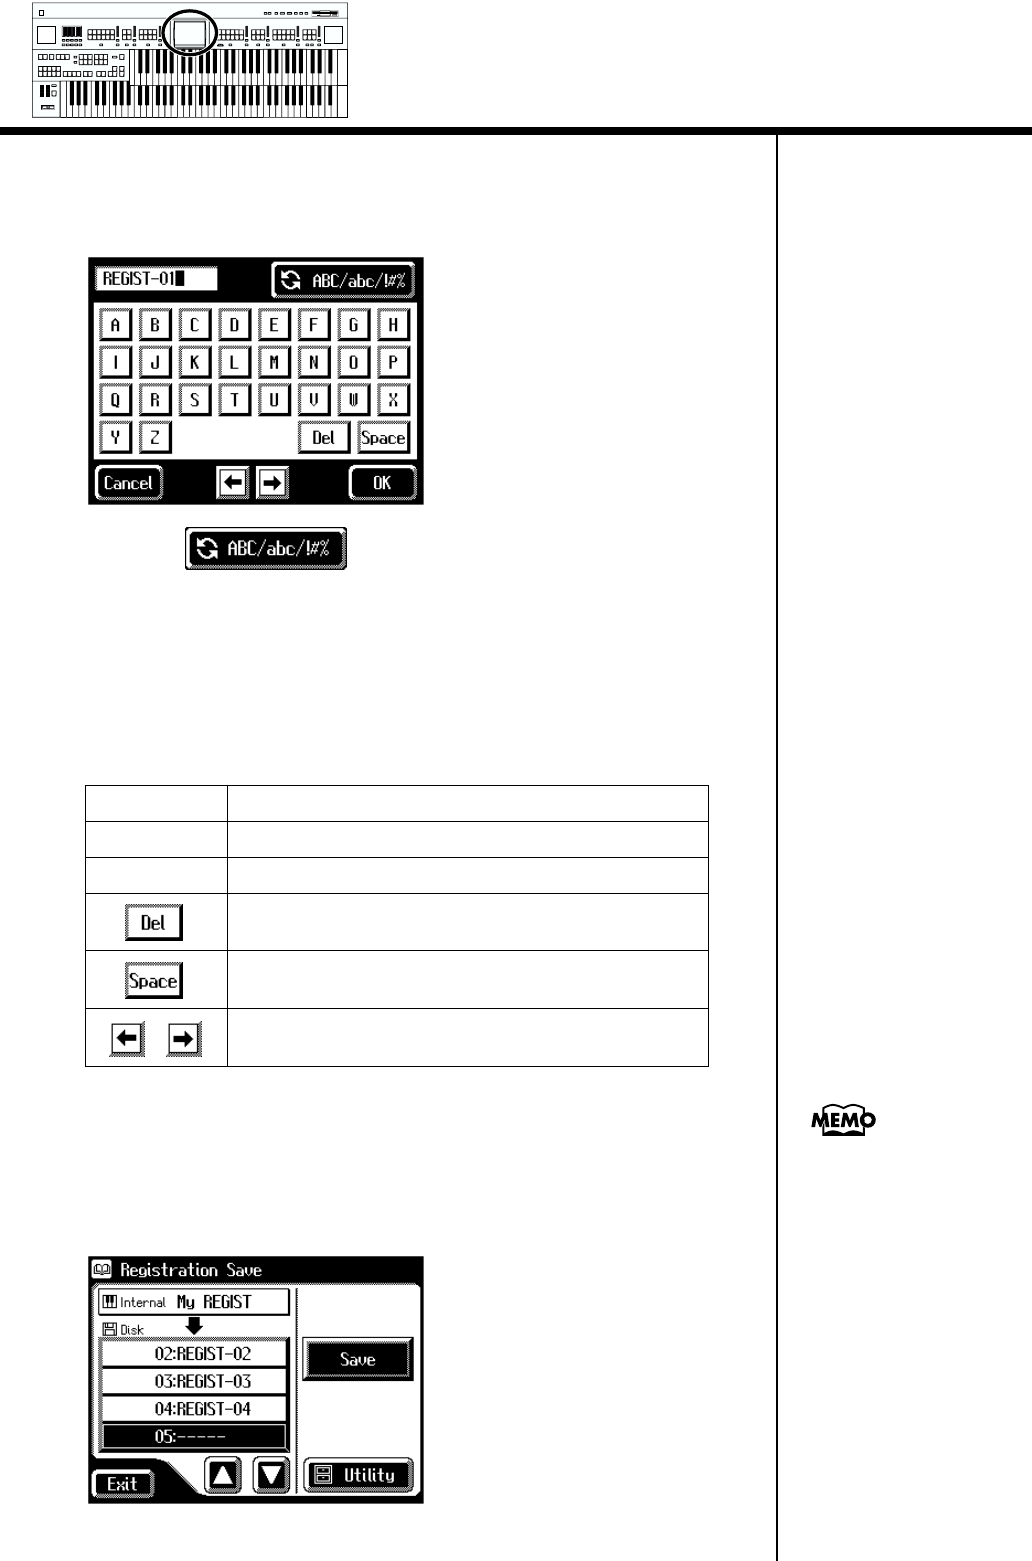
4. Touch <Rename>.
The Rename screen appears.
fig.03-11_55
5. Touch < > to change among uppercase/
lowercase/symbols.
Each touch of the character switch button takes you to the next available
choice, like this: uppercase → lowercase → symbols → uppercase ....
6. Touch the screen to specify the desired character.
The following characters can be selected.
To cancel the operation, touch <Cancel>.
7. When you’re done making the settings, touch <OK>.
The Registration set in the AT-90S/80S/60S’s internal memory has now
been named.
fig.03-12_55
Uppercase A B C D E F G H I J K L M N O P Q R S T U V W X Y Z
Lowercase a b c d e f g h i j k l m n o p q r s t u v w x y z
Symbols ! “ # % & ‘ ( ) * + , - . / : ; = ? ^ _ 0 1 2 3 4 5 6 7 8 9
Delete a character.
Insert a space.
Move the cursor (the symbol that indicates the location at
which characters will be input) to left or right.
The Rename screen can
also be opened in the
following ways.
Main screen
<Registration>→ <Regist
Load>
→ Registration Load
screen <Utility>
→ Utility
screen <Rename>
Main screen <Registration>
→ <Regist Filer> → Regist
Filer screen <Rename>
Min
Max
Min
Max
Min
Max
Min
Max
Harmony Intelligence


