


18
Getting Familiar
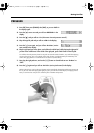
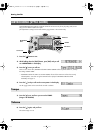
* This function uses the sound assigned to the large right pad (M5) in the current kit. Be sure there is a
sound assigned there or that the volume of that sound is not too low.
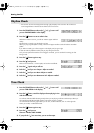
1.
Press the [COACH] button and use the [ ] or [ ] cursors until
you see <RHYTHM CHECK> in the display.
2.
Press the [ ] button now to see what it does.
Within the 2 measure count in, you will see <Listen> appear and then
<Play>.
The idea here is to simply copy the rhythm you hear.
When you play/copy the rhythm correctly, <Good> will appear and the Coach will advance to another
pattern.
If you make a mistake, you will see <Again> in the display until you get it right.
It does not make any difference which pad you play during this exercise.
So if you have optional foot switches or kick triggers connected, you can use them for training your foot
timing as well.
3.
Press the [ ] button again to stop.
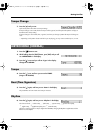
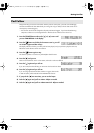
4.
Press the [ ] and you see:
There are 5 Grade levels. 1 is the simplest, and 5 is the most difficult.
5.
Press the [ ] again and you will see:
6.
Push the [ ] until you see <Tempo>. Adjust as needed.
7.
Push the [ ] until you see <Beat>. Adjust as needed.
8.
Push the [ ] until you see <Metronome Vol>. Adjust as needed.
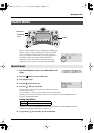
1.
Press the [COACH] button and use the [ ] or [ ] cursors until
you see <TIME CHECK> in the display.
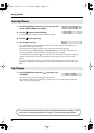
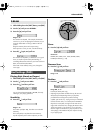
2.
Press the [ ] button, watch the display and start playing in time
with the metronome.
You will see a little dark ball indicating exactly where you are playing in reference to the tempo. When you
play ON the beat the little dark ball appears in the center over the + indicator.
“S” at the left side of the bar graph means you are slow, or behind the beat, and “F” on the right side
means you are fast, or ahead of the beat.
3.
Press the [ ] button again to stop.
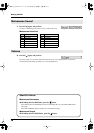
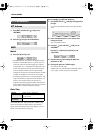
4.
Press the [ ] and you see:
There are 2 Grades: EASY & HARD.
5.
If you push the [ ] one more time, you can set the tempo.
Rhythm Check
Time Check
HPD-10_e1.book 18 ページ 2006年4月7日 金曜日 午後2時14分