


12
Preparations
fig.01-08_50
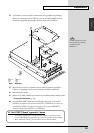
3.
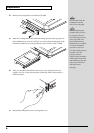
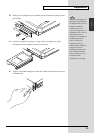
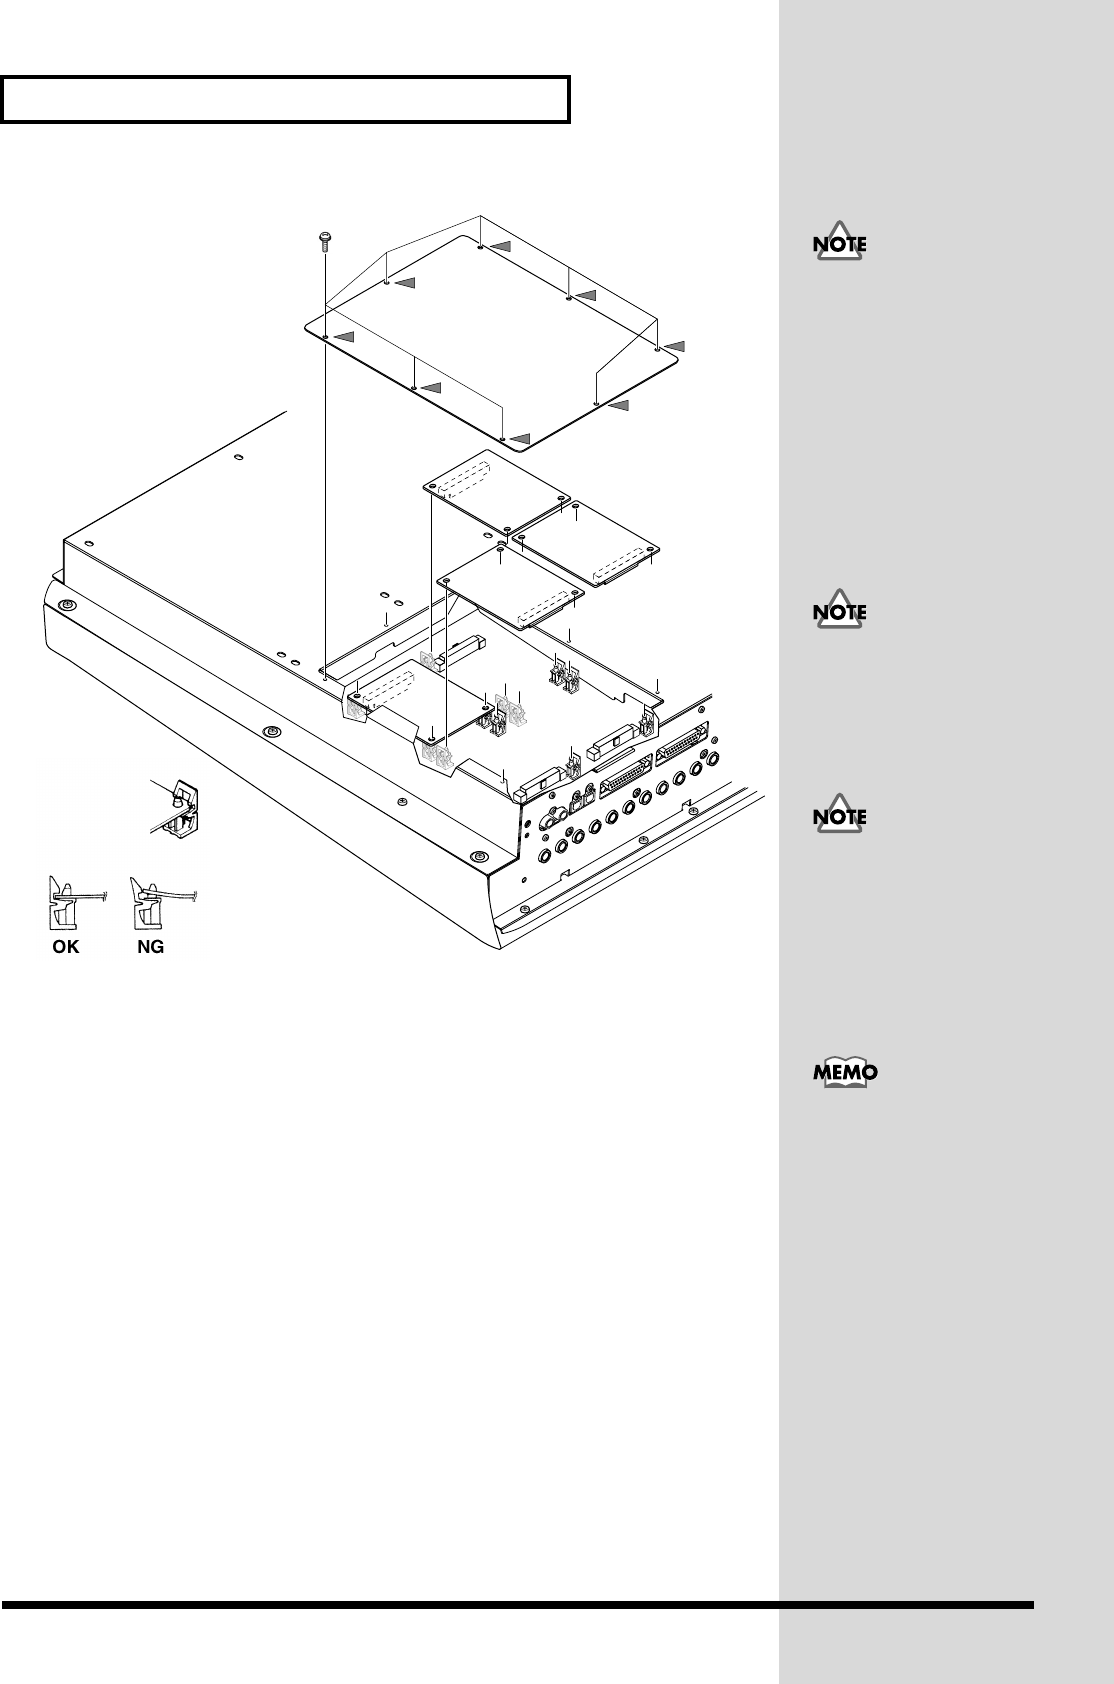
Inside, there are four connectors and 12 resin pins. Insert the connectors of
the VS8F-2 in to the internal connectors, and simultaneously insert the resin
pins into the holes of the VS8F-2 to fasten the unit in place.
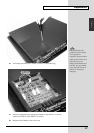
4.
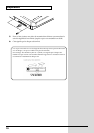
Use the screws that you removed in step 2 to fasten the cover back in place.
This completes installation of the effect expansion board.
5.
Connect the cables that you disconnected earlier.
6.
Turn on the power, as described in “
Turning On the Power
(p. 19).”
7.
After proper startup of the VS-2480/2480CD, press [EFFECT] and confirm
that the FX 1 and 2 icons are displayed. If two VS8F-2 units are installed,
press [EFFECT] and confirm that the icons for FX 1–4 are displayed.
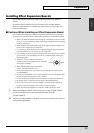
EFFECT B
EFFECT C
EFFECT D
EFFECT A
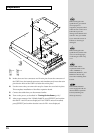
When turning the unit
upside-down, get a bunch
of newspapers or
magazines, and place them
under the four corners or at
b
oth ends to prevent
damage to the buttons and
controls. Also, you should
try to orient the unit so no
b
uttons or controls get
damaged.
When turning the unit
upside-down, handle with
care to avoid dropping it,
or allowing it to fall or tip
over.
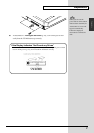
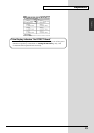
Install VS8F-2 effect
expansion boards in the
order of EFFECT A,
EFFECT B, EFFECT C, and
EFFECT D. Do not skip
slots when installing these
b
oards.
The VS-2480/2480CD
comes equipped with one
internal effects expansion
b
oard (containing two
effects processors).