


Nucleus User Guide Page 21
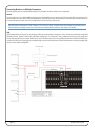
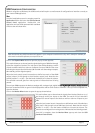
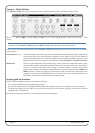
REMOTE LAYER SELECTION
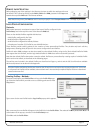
B
efore adjusting any of the settings in the Remote, the Layer to which the settings refer must
b
e defined. This is done by clicking on the DAW 1, DAW 2 and DAW 3 buttons in the Layer area
t
owards the top of the DAW tab in the Remote window.
Note that the only area of the DAW tab which is not Layer-specific is the Transport Master area – see Page 24 for details.
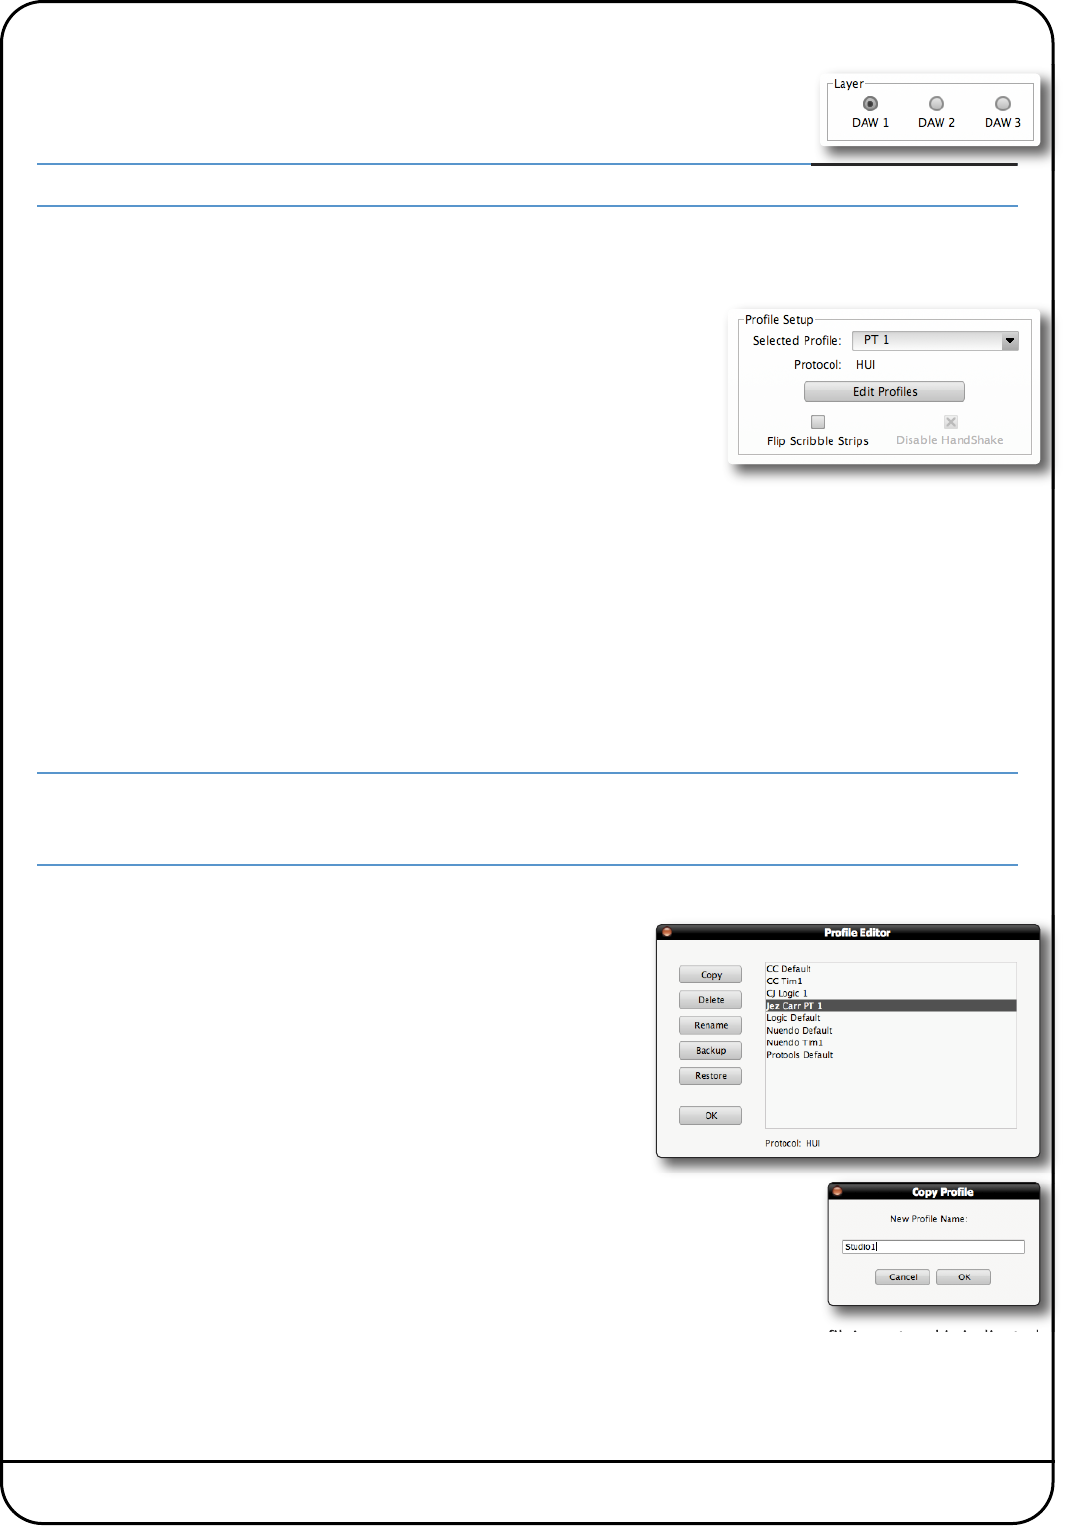
LAYER PROFILE CONFIGURATION
Protocols
DAW control protocols are selected as part of the Layer’s Profile, configured in the
Profile Setup area in the top left corner of the Remote’s DAW tab.
There are four default Profiles supplied with Nucleus:
- A HUI Profile configured for Pro Tools
- An MCU Profile configured for Logic
- An MCU Profile configured for Nuendo/Cubase
- A Continuous Controller (CC) Profile for use with MIDI devices
These Profiles provide starting points for the creation of more personalised Profiles. They include only basic soft key
assignments, allowing plenty of space for the user to configure their own Profiles.
Profiles for other DAW packages can also be created from the default Profiles, using the Pro Tools default Profile for DAWs
that support the HUI interface, and the Logic default Profile for DAWs that conform to the MCU protocol.
Note that the default Profiles themselves cannot be edited. Profiles are personalised by creating copies of a default Profile
which can then be edited, as described on the following pages.
The soft key sets included in the default Profiles are described on Pages 25 and 26 and the full list of functions available
within each protocol can be found in the Appendix.
All of the Profiles available to Nucleus are stored on the SD card in the card slot on the rear panel of the unit – if the card
is not present no Profiles will be available; when a blank card is inserted the four default Profiles will be re-created and
stored on the new card.
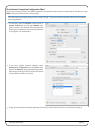
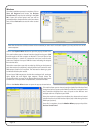
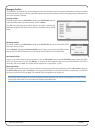
Creating Profiles – Method 1
To create a new Profile, press Edit Profiles to bring up the Profile Editor pop-
up. Select the Profile which you wish to use as a starting point and click the
Copy button.
Type a name for the new Profile into the Copy Profile pop-up which appears, and click on OK.
After a moment, the new Profile will appear in the Profile list in the Profile Editor. The selected Profile’s protocol is indicated
at the bottom of the pop-up, as well as in the Profile Setup area.
Click OK to exit the Profile Editor.