


4-63
the time picker that will be described in section 4.3.2 automatically.
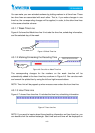
4.3.1.4 76BMarking/Unmarking the Recording Time
You only need one click on the left mouse button to mark the time on this time-line.
The operating method for the hour time-line is the same as that of the week time-lines.
Please refer to Section X4.3.1.1X for details.
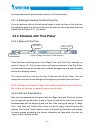
4.3.2 51BSchedule with Time Picker
4.3.2.1 77BBegin and End Time
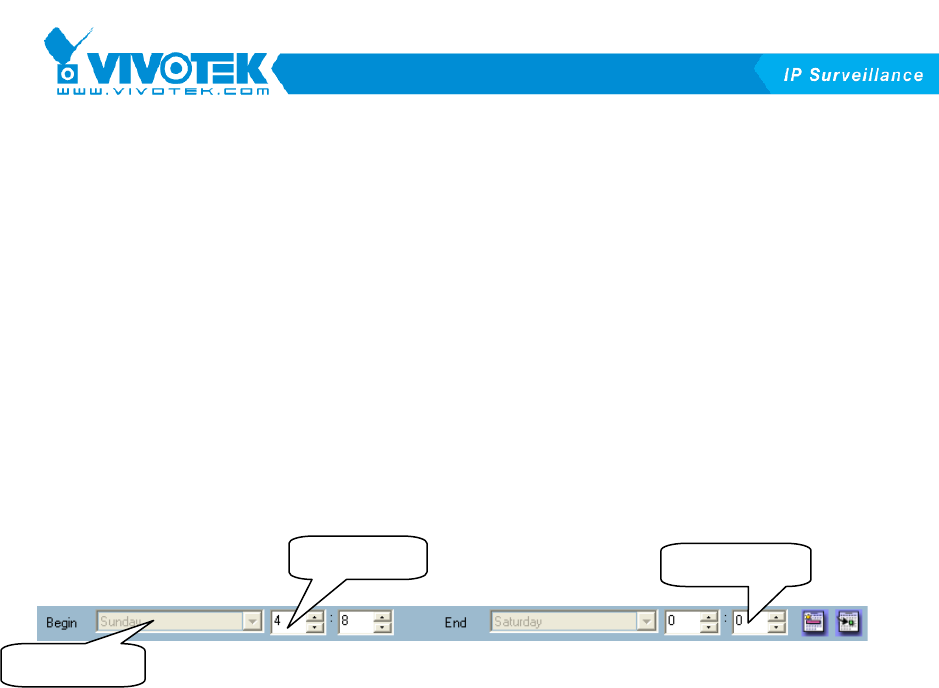
Figure 4-8 Begin Time and End Time Selectors
There are three controlling units in both “Begin Time” and “End Time” selectors, as
shown in XFigure 4-8X. The first part of each of these two selectors is the Day Picker.
You can select the day of the week with it and set the beginning time and the ending
time for the recording interval.
The second and third units are the Hour Picker and the Minute Picker. You can
change the hour and minute settings for the beginning and ending time with them.
NOTE: Normally, the time set in “Begin time” must be earlier than that in “End time”.
But if this is not the case, it means the time is over two days.
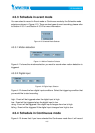
4.3.2.2 78BAdd and Erase Buttons
After you have selected the time period with the “Begin time” and “End time” pickers,
you can apply the period picker, shown in XFigure 4-9X and set the type of time interval
that associates with the beginning and end time. After having the settings in “Begin
Time”, “End Time” and “Period Picker” done, click on the “Apply” button to confirm the
settings. Click on the “Erase” button to clear all scheduling information just entered.
All newly entered scheduling time interval information will take effect only after the
“Apply” button has been clicked.
Day picker
Hour picker
Minute picker