


18
GETTING STARTED
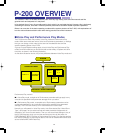
This section explains how to set up the P-200 and the proper procedure for turning it on, playing the
preprogrammed Demo songs, and basic voice selection.
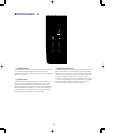
■ Setting up the P-200
Although setting up the P-200 for basic play is easy and straightforward, be sure to
take heed of the Precautions on page 6 before you begin, then carefully follow the
simple steps as outlined below.
P-200 SETUP PROCEDURE
1.
Prepare a suitable location.
The P-200 is relatively small for an 88-key instrument, but it is very solidly built
and therefore quite heavy. First you’ll want to prepare a suitable location for
your P-200. Please do not hesitate to ask someone to help you take it out of
the box and carefully place it on an optionally available Yamaha LP-3 keyboard
stand or a sturdy table.
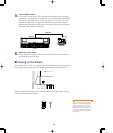
2.
Plug in the power cord.
Next plug the P-200’s power cord into an AC outlet. Do not turn on the
[POWER] switch until you have made all connections as described below.
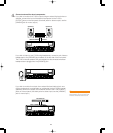
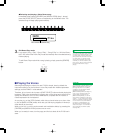
3.
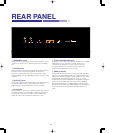
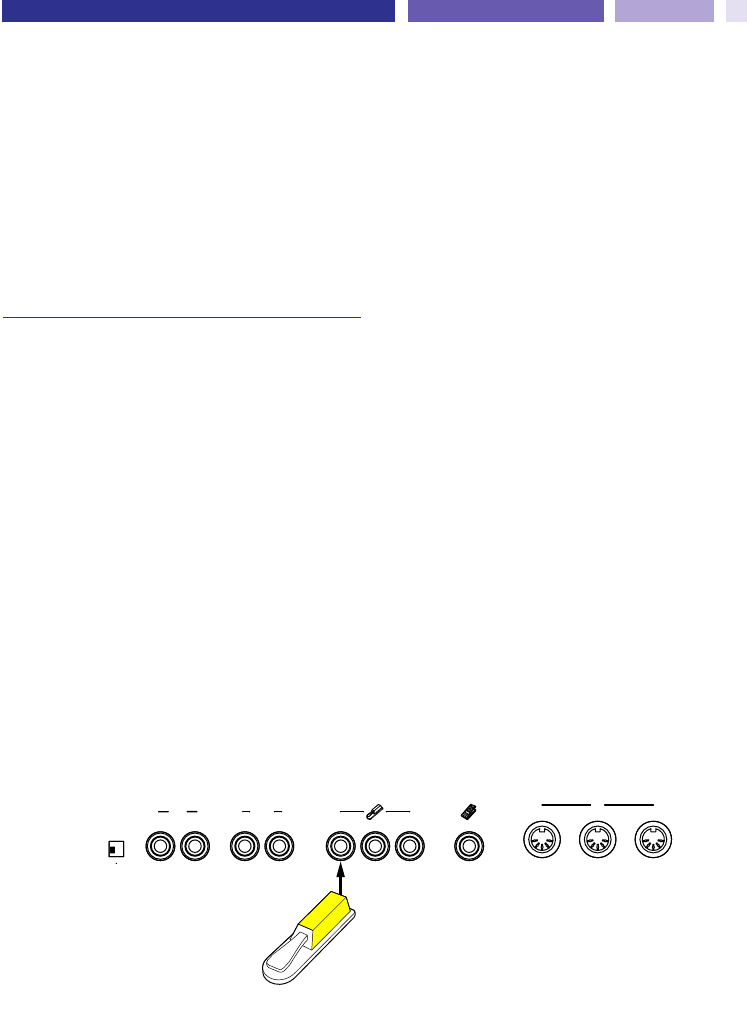
Connect the sustain pedal.
Next plug the supplied FC4 footswitch into the [SUSTAIN] jack on the rear
panel, so you can use it as a sustain pedal. If you have purchased additional
FC4 or FC5 footswitches, connect them to the [SOSTENUTO] and [SOFT]
jacks.
Footswitch FC4
SPEAKER
ON OFF
INPUT
R L/MONO
R L/MONO
OUTPUT
SUSTAIN
SOSTENUTO
SOFT
FOOT CONTROLLER
THRU
MIDI
OUT
IN