ARTURIA – Analog Factory EXPERIENCE 2.5 – USER’S MANUAL 45
6.3 Aftertouch
This keyboard can transmit channel aftertouch (that is a pressure value common to all
pressed keys).
Aftertouch (AT) can be calibrated to your liking this way:
1. Turn power off, press both “Shift” button and the push button on the left most knob,
then turn power on
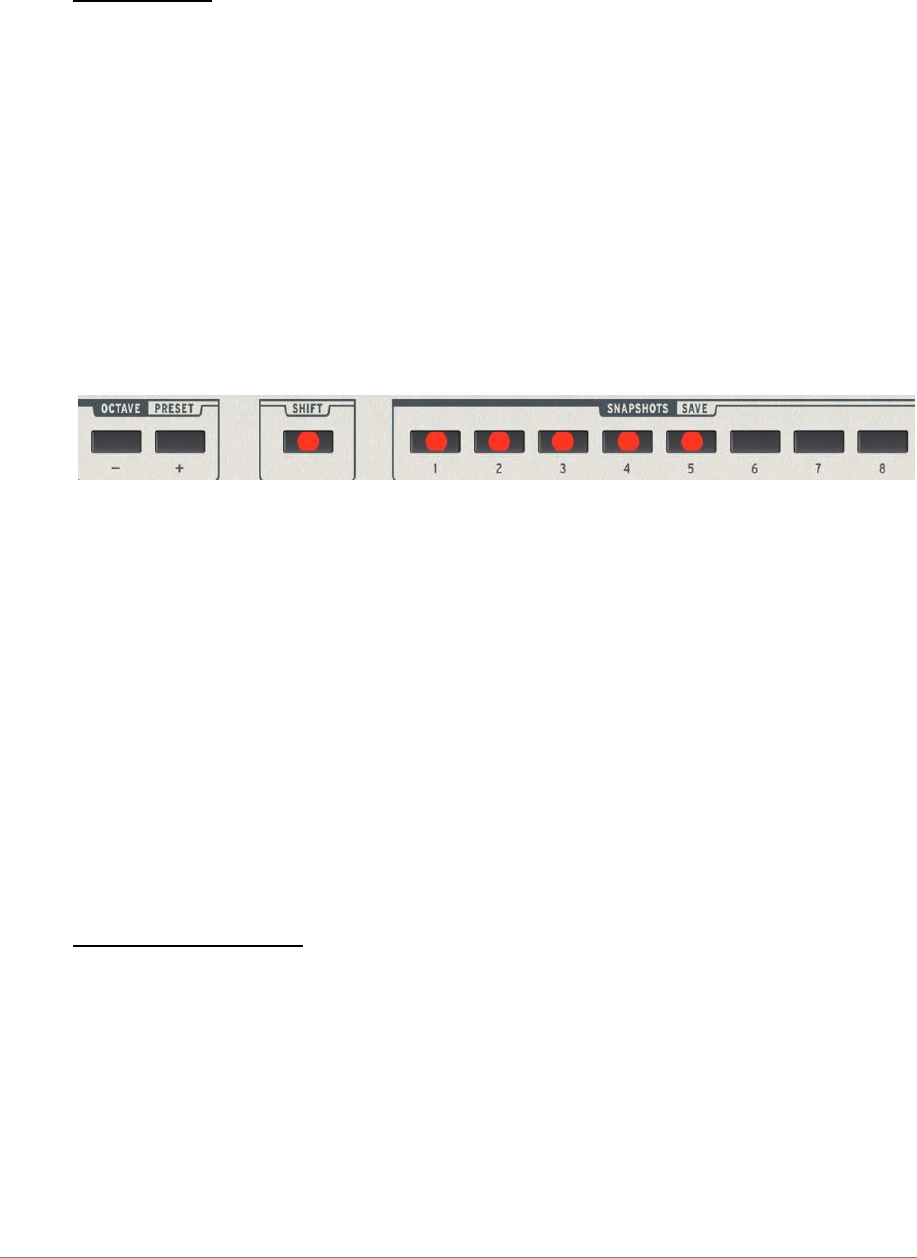
2. The keyboard enters the after touch calibration mode. LEDs will light up, showing the
current configuration. The 11 leds from all buttons are used in this mode. The
leftmost LED (“Octave 1”) shows the first block of AT values, while the rightmost one
(“Snap #8”) shows the highest AT values. The actual range used for aftertouch will
be highlighted (one LED represents about 12 aftertouch steps so the range shown
below is about “24..96”) :
3. Press a key using a force that will not generate any aftertouch effect (aftertouch 0).
The LEDs will show its approximate position. Pressure lower than that is used for
normal playing.
Please note that the highest aftertouch value issued between note on and note off
will be taken into account. In other words, if you are going too far, you have to
release the note and try again by pressing another note.
4. Press the push button on the left most encoder to confirm.
5. Press a key using a force that will generate the maximum aftertouch effect
(aftertouch 127). The LEDs will show its approximate position.
Please note that the pressure must be higher than the one used at step #3.
6. Press both Shift button and the push button on the leftmost knob to confirm your
settings and exit.
7. Your setting will be saved in non-volatile memory.
This setting will however revert to its default value if the keyboard is re-initialized.
6.4 Synthesis section
This part presents all the synthesis parameters for Analog Factory 2.5.
6.4.1 Filter setting rotary encoders
There are two rotary encoders available to alter the filter settings of the selected preset.
These two encoders are ‘Cutoff’ and “Resonance”.
