


69
Organizing your songs
Section 1
Erasing songs (Song Erase)
Use this function to erase songs from your hard disk.
fig.16-05
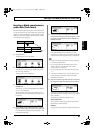
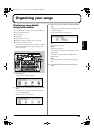
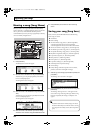
1.
Press [UTILITY].
The Utility Menu screen will appear.
fig.12-12d
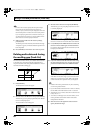
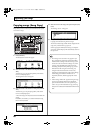
2.
Move the cursor to the SONG icon and press [ENTER/
YES].
Alternatively, you can press [F2] (SONG) if the SONG
icon is currently displayed.
The Song Menu screen will appear.
fig.16-03d
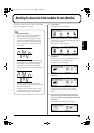
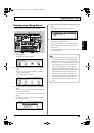
3.
Move the cursor to the ERASE icon and press [ENTER/
YES].
Alternatively, you can press [F4] (ERASE) if the ERASE
icon is currently displayed.
A list of the songs currently stored on the hard disk will
appear.
In addition, an asterisk (*) is used to indicate the song
that is currently loaded.
fig.16-12d
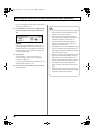
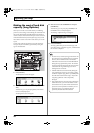
4.
Move the cursor to the song to be erased and press [F4]
(GO).
The message “Erase Song OK?” will appear.
fig.16-13d
5.
Press [ENTER/YES].
The selected song will be erased.
If you erase the song that is currently loaded, the BR-
1600CD will select and load the song with the lowest
song number.
If no songs remain on the hard disk, a new song will be
created automatically.
2,3
5
1
4
The message “Save Current?” may appear if you
have recorded new audio data, performed editing,
modified mixer settings, or changed the effects’ song
patch (p. 76, p. 117, p. 124, Basic Operation; p. 58) in
the current song. If you want to save the current
mixer settings, song patch, etc., before erasing a
different song, press [ENTER/YES]; if this will not
be necessary, press [EXIT/NO]. If Song Erase is used
without first of all saving the current song, any
changes made since the last time it was saved,
including recorded audio data, edits, mixer settings,
and the song patch selection will be lost. It is
important, therefore, that the appropriate care be
taken.
BR-1600_R_e.book 69 ページ 2007年12月6日 木曜日 午前9時52分